 Salesforce is a giant in the CRM world, and–once it’s set up–it’s fairly simple to integrate it with GMass. Using GMass’s BCC feature, you can automatically log your outgoing emails into Salesforce.
- First, you’ll need a Salesforce account. You may already have one, but if you don’t, Salesforce does offer a 30 day free trial, and it is fine to use for the purposes of this tutorial. Their website does not validate the input, so if you’re unsure of the details of your account (such as if you haven’t actually formed a company yet), you can still try them out.
[Note: I have been informed by at least one user that the sign up process brought him to a screen that just hung there without progressing, shown here:
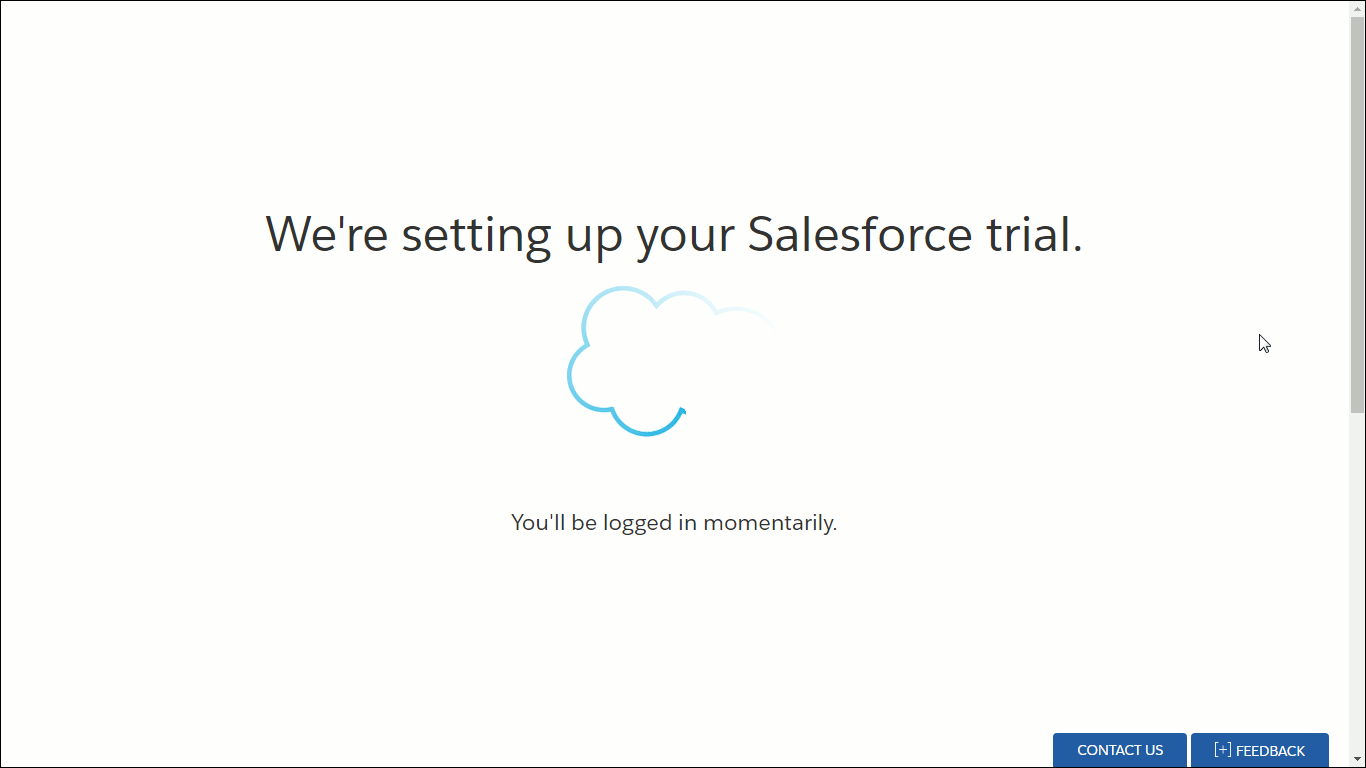 This happened tested using Chrome, Firefox, Internet Explorer and Opera. However, if this happens, you will still receive an email to the email address you signed up with, and that email will have a link for you to sign in, and from there everything will work fine.]
Our goal is to have emails that you sent via GMass to be “logged” in Salesforce. This means that Salesforce will record that you sent this Contact an email at that time, and store the content of the email easily accessible from the person’s Contact page. This way, all your Gmail correspondence to this person is available from within Salesforce.[Note: If this is the first time you’re using Salesforce, you will probably be using what they call the “Lightning Experience”, which is their newest and slickest user interface. This is in contrast to their older user interface, which they call “Salesforce Classic”. You are free to use either, but for simplicity’s sake and to get you set up right away, we are going to do this all within the Lightning Experience interface.]Before starting to connect GMass to Salesforce, let’s just review your Salesforce Contacts to show that it does not yet have your GMass email recipients as contacts. In our example, the “contacts added this week” will start as completely empty (Of course, if you already have been using an active Salesforce account, you likely have a list of contacts already.).[Note: Salesforce does pre-populate your Contacts with sample contacts, but to keep things simple, we’ll avoid showing that.] - To see the contacts, start by clicking on Contacts in the menu bar near the top of the Salesforce main page. Click directly on the word “Contacts” itself, not the down arrow.
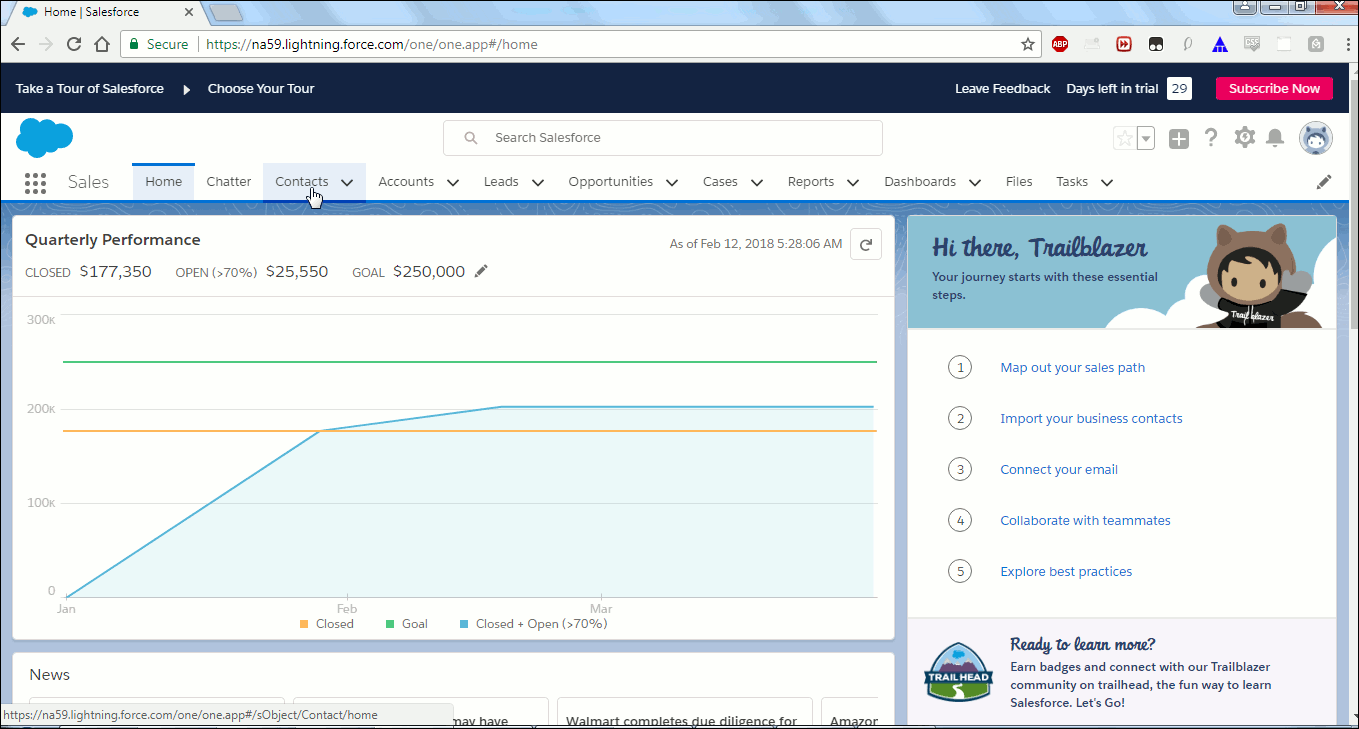
How to find your Contacts from Salesforce main page As you can see below, I have no new contacts this week. That will change once we send out some emails using GMass.
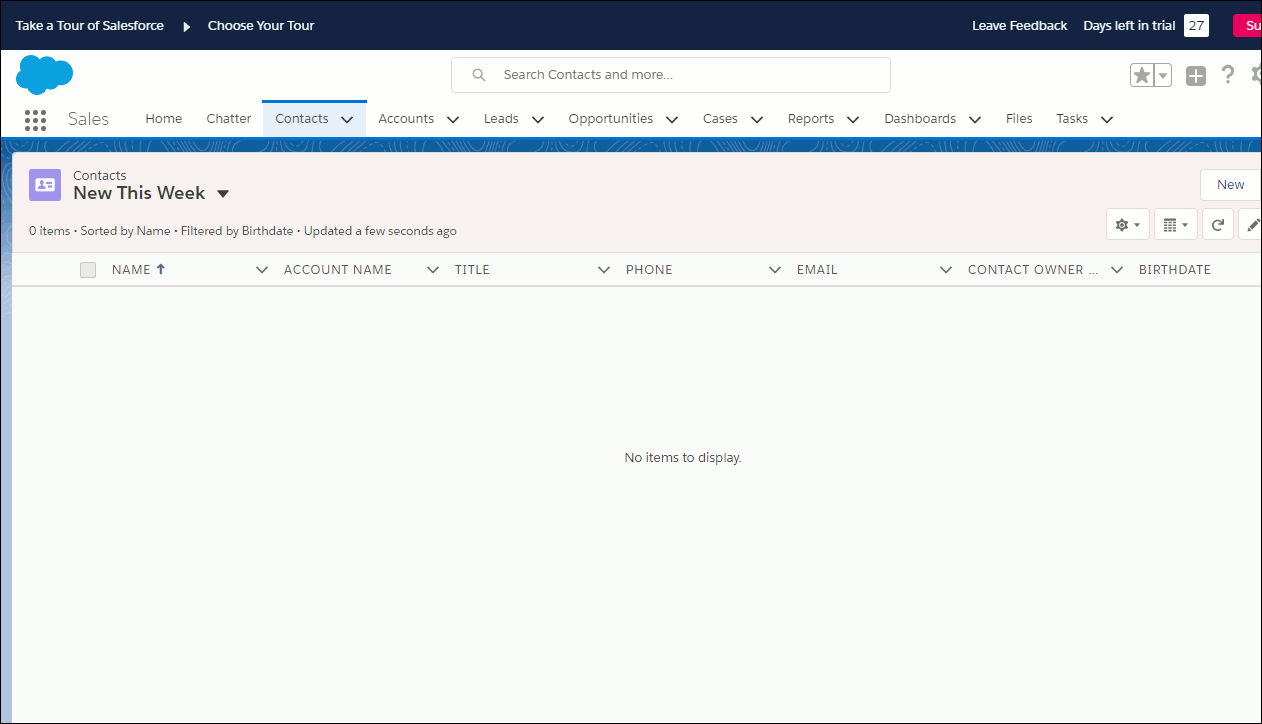
No new Salesforce contacts this week–yet! Now, in order to use the BCC function in GMass to log your emails into Salesforce, you will need to find your specific “My Email to Salesforce” email address. This will take a few steps, so gets its own section.
Activating Email to Salesforce functionality.
- The first step within Salesforce is to activate the “Email to Salesforce” functionality, which, as a default, is disabled.
[Note: if you already have this option activated from previous use, you should skip steps 3-14 and pick up this tutorial at step 15 ].
To do that, first click on the Setup Icon, found between a question mark icon and a bell icon near the upper right corner of the Salesforce window. The Setup icon looks like this: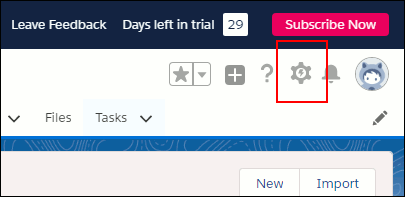
Click here to access Setup. - Click on the “Setup” item in this dropdown menu.

Click on Setup from within this small dropdown menu. A new Setup tab will be opened.
- From this Setup window (in its own tab), under “ADMINISTRATION” on the left hand menu, click on “Email”.

- More options will be revealed. One of these menu items is “Email to Salesforce”. Click on it. Alternately, you can write “Email to Salesforce” in the Quick Find search box at the top of the left hand menu and it will bring it up and you can click on it there.
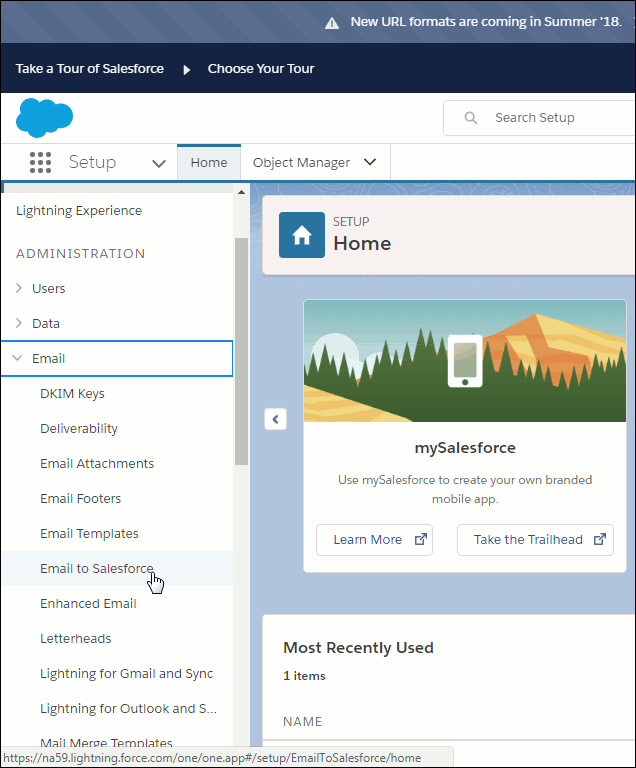
Clicking on Email reveals more options below it. This will then change the center of this window to the Email to Salesforce page:

Here you can activate the Email to Salesforce functionality. - You need to edit the default settings to activate the functionality. Click the small Edit button.

- The screen will change to allow you to check or uncheck the checkboxes. Click on the small checkbox to the right of the word Active. It will become checked.

Check the checkbox next to Active to turn on the Email to Salesforce functionality. - Click Save. A popup window titled “Send Notification Email to Users” will come up.
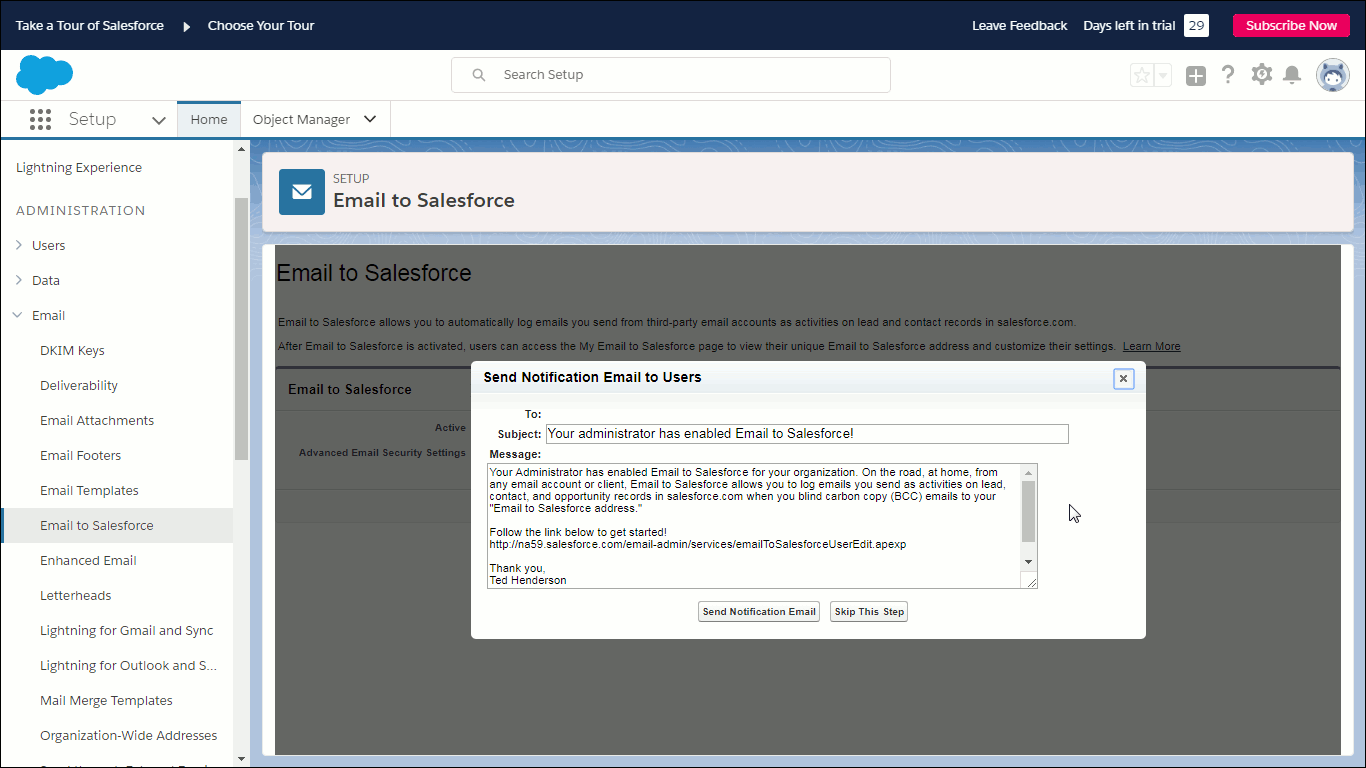
This email can be sent out to other users of your Salesforce account, such as co-workers. If you have users in your company that are registered with your Salesforce account, this email—or an edited version, since you can edit it on this screen–can be sent out to them, alerting them to the option for the “Email to Salesforce” option and providing them with a link to the page in which the email address to use is shown.
- If you would like to do that, click the “Send Notification Email” button. If you do not have other users in this account or do not want to alert users to this at this time, you can skip this step by clicking the “Skip This Step” button. Once you choose one of the two buttons and click it, the screen updates and a yellow notification area alerts you, “You have enabled Email to Salesforce for your organization.”

Congratulations! You have enabled Email to Salesforce. - Close this “Setup” Salesforce tab in your browser and return to the original Salesforce tab.
Finding your “My Email to Salesforce” email address
- Surprisingly, in order to refresh the user interface to show the “Email to Salesforce” menu item where you need it, you have to actually log out of Salesforce and then log back in. To do that, first click on the user icon found in the upper right of the Salesforce window. Currently, the default icon looks like this:

The default Salesforce user icon (outlined in red) - Then click “Log Out”.

Logging out (for just a moment). This will update the screen and show a Salesforce login screen.
- Click the blue Log In button to log back into Salesforce

Logging back in to Salesforce. - Click on the user icon again in the upper right hand corner of the Salesforce screen.
- Click on “Settings”, located two lines below your username.

Click Settings here to get to the User Settings area. A new screen will be displayed, including a new left hand side menu.

Need to use the menu on the left of this page. - On that left hand side menu, locate the “Email” menu option and click it.

You need to click Email from this menu. - This will drop down a few more email-related options. Find “My Email to Salesforce” and click on it.
[Note: this is not the “Email to Salesforce” link you clicked on in step 6, despite having a rather similar name. That was in the “Setup” page while this is in “Settings” page. Potentially confusing.]
Click on My Email to Salesforce to get to its page. - This will bring up the My Email to Salesforce page.

Showing My Email to Salesforce page. - The key piece of necessary information here is the email address that you will use in GMass. That is found in the yellow message area

Message from Salesforce showing the My Email to Salesforce for this account. Select and copy the email address displayed in the yellow message box. You will be using this in GMass.
These email addresses are long and appear to be mostly gibberish, though they start with “emailtosalesforce…”. They are so long and multi-part that they don’t even appear to be an email address—but they are. For example, “Ted” from Ted’s Tadpole Tanks has this one:Fortunately, you will never have to type that in ever in your life! You can paste it into Gmail the first time, and Gmail will remember it for you: just start typing “emailtosalesforce…” and Gmail will autocomplete it.
Tip: While you are on this screen, take a moment to familiarize yourself with its options. You can specify which emails are acceptable ones that are allowed to email to the My Email to Salesforce address. By default, the email you used to sign up to Salesforce is pre-populated into the field to the right of “My Acceptable Email Address”. There are also somewhat more advanced options shown below that are a bit beyond the scope of this tutorial but are fairly self-explanatory. If you do make any changes to the default options, be sure to click save to save the changes.

Various options for how you want to configure My Email to Salesforce functionality. BCC’ing an email from GMass to Salesforce
- Let’s get back to GMass. Go to Gmail and write an email that includes however many people you intend to send individual emails using GMass—but don’t send it yet. In our example, Ted will be using three recipients.Then, in the compose window, click anywhere in the To field in order to reveal the option for including a CC or BCC in this email. (Alternately, you can use Ctrl-Shift-B while in the Gmail compose window). Finally, into the BCC field, paste in the “My Email to Salesforce” address that you should have stored in the clipboard (if you don’t, go back to Salesforce and copy it; see step 20). It will paste in your “My Email to Salesforce” address. You should see something like this:

An email in Gmail ready to go out with GMass. Note the My Email to Salesforce in the BCC field. - Now you can simply send via GMass as you normally would. Click on the red GMass button with the envelope to send out these three emails (and their BCCs)
- :

Ready to send out, just need to click GMass… - At this point you will notice that a warning popup window has appeared on top of your Gmail compose window. This is only because you included an email address in the BCC field of this email and GMass is making sure you intended to do this.

Warning: Are you sure you want to send a BCC in GMass? [Note: Be sure to read and understand this important warning.]
- Click OK in the warning popup window. GMass will then send out your emails. As usual, your emails went out as individual emails to your list of recipients in the To field, but also, in each case, to the “My Email to Salesforce” address as a BCC—meaning your recipients will not know that a copy of the email they got was also sent to Salesforce (which is what you want).
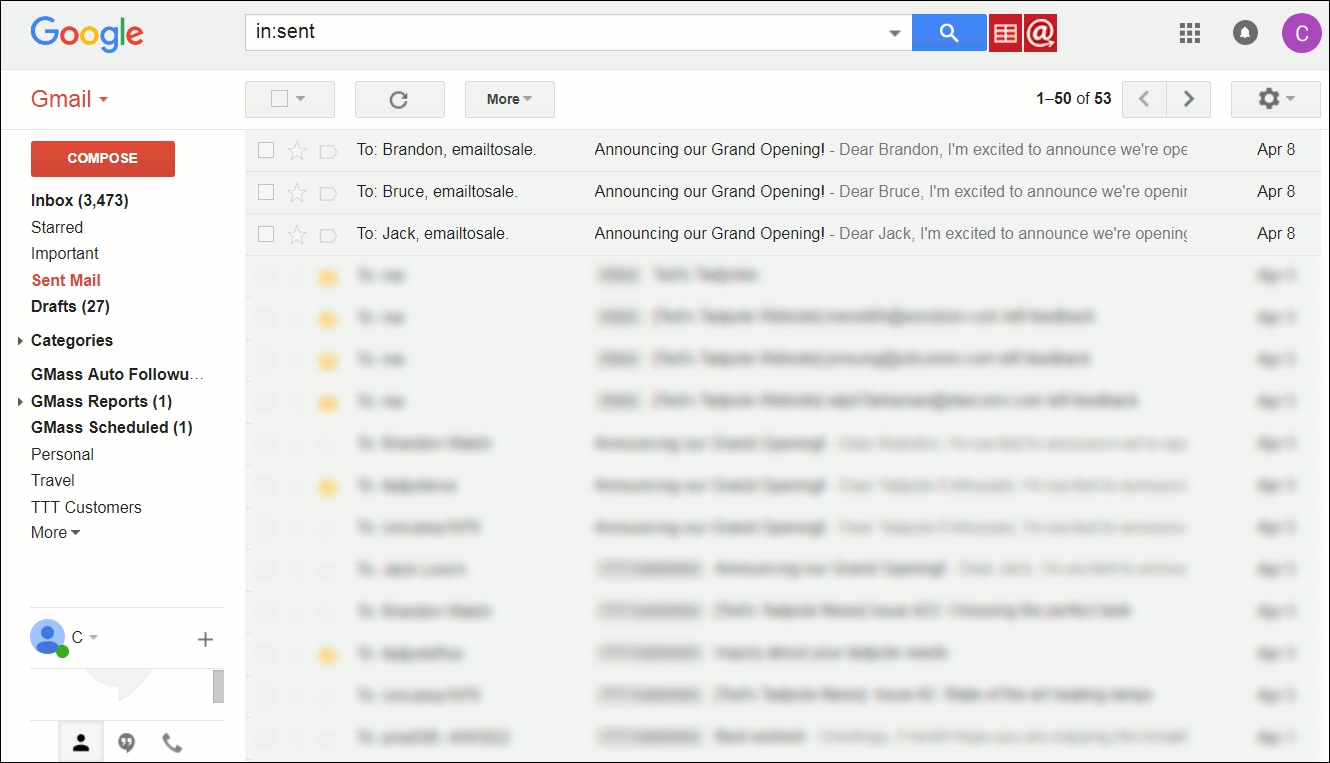
Three individual emails sent out to your customers, with BCC to the My Email to Salesforce for each. Associating the email to a new Contact in Salesforce
So, let’s see what happened back in Salesforce. First, you should know that Salesforce takes the attitude that it should not automatically associate the addresses from incoming emails to new contacts (though see note below in case you’re game enough to try setting that up yourself). So, in order to associate these emails to contacts, you’ll have to create the contacts yourself, manually, and associate these emails to those contacts.
[Note: There are do-it-yourself ways to set up Salesforce to automatically associate emails sent to the “My email to Salesforce” BCC address. One is to follow the rather complicated and technical approach described in this page from Salesforce—though Salesforce states that often there are good reasons not to do this automatically. Another may be to use Evercontact with Salesforce.]
- To start, let’s find the emails that you sent via BCC to Salesforce. They will be found in Salesforce under Settings > Email > My Unresolved Items. Remember, as shown in steps 15-17, to get to this Email area, click your user icon in the upper right corner, then Settings. Then select “Email” from the menu bar on the left. It will drop down those same options as shown before, but this time select My Unresolved Items. This will bring you to the My Unresolved Items page:

The Salesforce “My Unresolved Items” page, under Settings. - Click on the Emails tab under the words “My Unresolved Items”.

Let’s look at the emails considered “My Unresolved Items” - You will now see the emails categorized as “unresolved items” in Salesforce. They are “unresolved” because they are not associated with other objects in Salesforce, like your Contacts.[Note: You will notice that in this example only two such Contacts are currently shown. But I sent out three emails in Step 22–what happened? This is something to be careful about. In preparing this tutorial, to test Salesforce I used the JackLovich501@gmail.com email and added Jack Lovich as a Contact. I then deleted him from Contacts. However, once I did that, all further emails that were sent to the “My Email to Salesforce” via the GMass BCC option did not get logged in the My Unresolved Items emails. ]
- But at this point, you can associate them manually. To start that, I am going to choose to associate the 2nd email contact, shown as Brandon Walsh, with email shown as “brandonwalsh8477@gmail.com”. So, select and copy that email.
- Click on the magnifying glass next to the blank field that is to the right of the pulldown that says Contact.

Starting process of adding a new Contact (associated to this email address). This brings up the Contact Lookup window.

The Salesforce Contact Lookup window. In this window, click the button labeled “New”. This will bring you to a new screen within that window populated with many empty fields, allowing you manually enter the Contact’s information.

Manually entering information about this Contact. - Paste in the Contact’s email address into the email field. Then manually fill in the other information you have, particularly the person’s first and last name, as shown above. Finally, click Save at the bottom of this smaller window.
At this point, Brandon has been added as one of your Contacts! (I’ll show you that in just a bit). - You still have to associate this email address to Brandon’s Contact. To do that, in the Lookup window, you will see that the bottom section is labeled “Recently Viewed Contacts”, and under that you will see a link for Brandon Walsh, the Contact we just added. Click that link. (If, though, you wanted to associate this email address with another Contact, you could choose any Contact that you searched for in the Lookup window.)

Click Contact’s link to populate it into the right place in My Unresolved Items Emails This
will populate Brandon Walsh into the right field in the previous screen, which is My Unresolved Items > Emails.
- Click Save at the bottom of this My Unresolved Items > Emails tab screen. The screen will update and you will see Brandon’s email is no longer considered “unresolved”—it has disappeared from the list, and Salesforce lets you know the changes have been saved.

You have “resolved” the BCC’d email that was also sent to Brandon. You can then repeat this process for your other unresolved emails, but for this tutorial we are just doing this first one.
- At this point, let’s check that Brandon has been added to Contacts. Click again on the Contacts tab. It should automatically bring you to the My Recently Viewed section:

Brandon has been added to your Contacts. Here you will see that Brandon has been added.
- Also, let’s check that the email from GMass to Brandon has been logged in his Contact. Click on the link of Brandon’s name.

Clicking on Brandon’s link from within Contacts to bring up more on this Contact. This will bring you to Brandon’s Contact page. In the lower right hand corner on my expanded screen, under Past Activity, almost at the edge of the screen, you can see the email we just sent Brandon from GMass.

Can just see our BCC’d email to Brandon here at the bottom of his Contact page. - Click on that link (“Email: Announcing our Gran…”). This will bring you to the full page about the Task of the email sent from GMass’s BCC to Salesforce and associated with Brandon’s Contact.

The full page for this email we BCC’d to Brandon through GMass. You Did it!
Congratulations! You’ve successfully logged one of your GMass recipients into Salesforce and associated an email to him into his account.
Now, here’s the good news: in the future, if, using GMass, you send further emails to Brandon and other such recipients who you have already added as Contacts into Salesforce and you BCC it to the My Email to Salesforce, Salesforce will automatically log the emails to these contacts, since they already exist in your Salesforce account. There’s no need to do any of these steps again.
[Note: Whenever you add a new email address in the list of recipients, you will have to manually associate it with either an existing contact, or create a new Contact and then associate it with that one.]
GMass + Salesforce can be a powerful combo, and even if you have never tried Salesforce, by following this tutorial you can start logging customers in Salesforce for free for 30 days to test it out. Give it a try!
Email marketing. Cold email. Mail merge. Avoid the spam folder. Easy to learn and use. All inside Gmail.
TRY GMASS FOR FREE
Download Chrome extension - 30 second install!
No credit card required


Hi, anyway to have in the tracking, bouncing and unsubscribing logged in Salesforce?
Hi, anyway to have the tracking, bouncing and unsubscribing logged in Salesforce?
Is there anyway to send BULK email through GMASS, G-suite SalesForce? We have dont have GMASS, and are highly contemplating moving back to outlook…. We need to be sending a minimum of 2000 emails per account, and according to GMASS and G-Suite we should be able to but all I am reading is peoples accounts being blocked. Now If I send an email to 1,500 people, but just one email, does that really mean I can only sent out 500 more for the day? Please advise
Hi Glen,
Our subscriptions do not have usage limits. Although Gmail accounts are officially limited to 500 emails per day, we have noticed over time that there are other factors that affect the send limits for an account. Age is a huge factor in this, as Google limit accounts to lower sending capacity until the account establishes its credibility. This is a measure to prevent scammers and spammers from opening accounts and sending at full capacity.
There’s some more information about these limits and factors here: https://www.gmass.co/blog/how-many-emails-can-you-really-send-with-gmass-and-gmail/
How to send mass email without using an excel sheet, means directly using salesforce don’t make an excel sheet.
Because excel sheet takes more time.
please help me…………..
Thank you a lot to provide individuals with a very spectacular possibility to read critical reviews on this site.