The GMass dashboard is a unified place to find campaign reports, account-wide settings, and many other useful features and tools.
That being said: It’s entirely possible to use GMass without ever going to the dashboard. But if you’re like the vast majority of GMass users, you’ll visit the dashboard for reporting, reply management, and account-wide settings changes — at least once in a while.
In this guide we’ll walk through everything you can do with the GMass dashboard (including some great features you might not even know about).
GMass Dashboard Guide: Table of Contents
- How to Access the GMass Dashboard
- Campaign Reporting and Management on the GMass Dashboard
- GMass Account Settings in the Dashboard
How to Access the GMass Dashboard
The simple way to reach the GMass dashboard is to click the dashboard icon in Gmail. It’s the third icon over from the search bar.

You can also directly access the dashboard via this URL: https://gmass.co/dashboard. I have it in my bookmarks bar. I’m pretty sure other people still also use the bookmarks bar, right?
Another way to get to your dashboard is via the Login link on the GMass website.

Campaign Reporting and Management on the GMass Dashboard
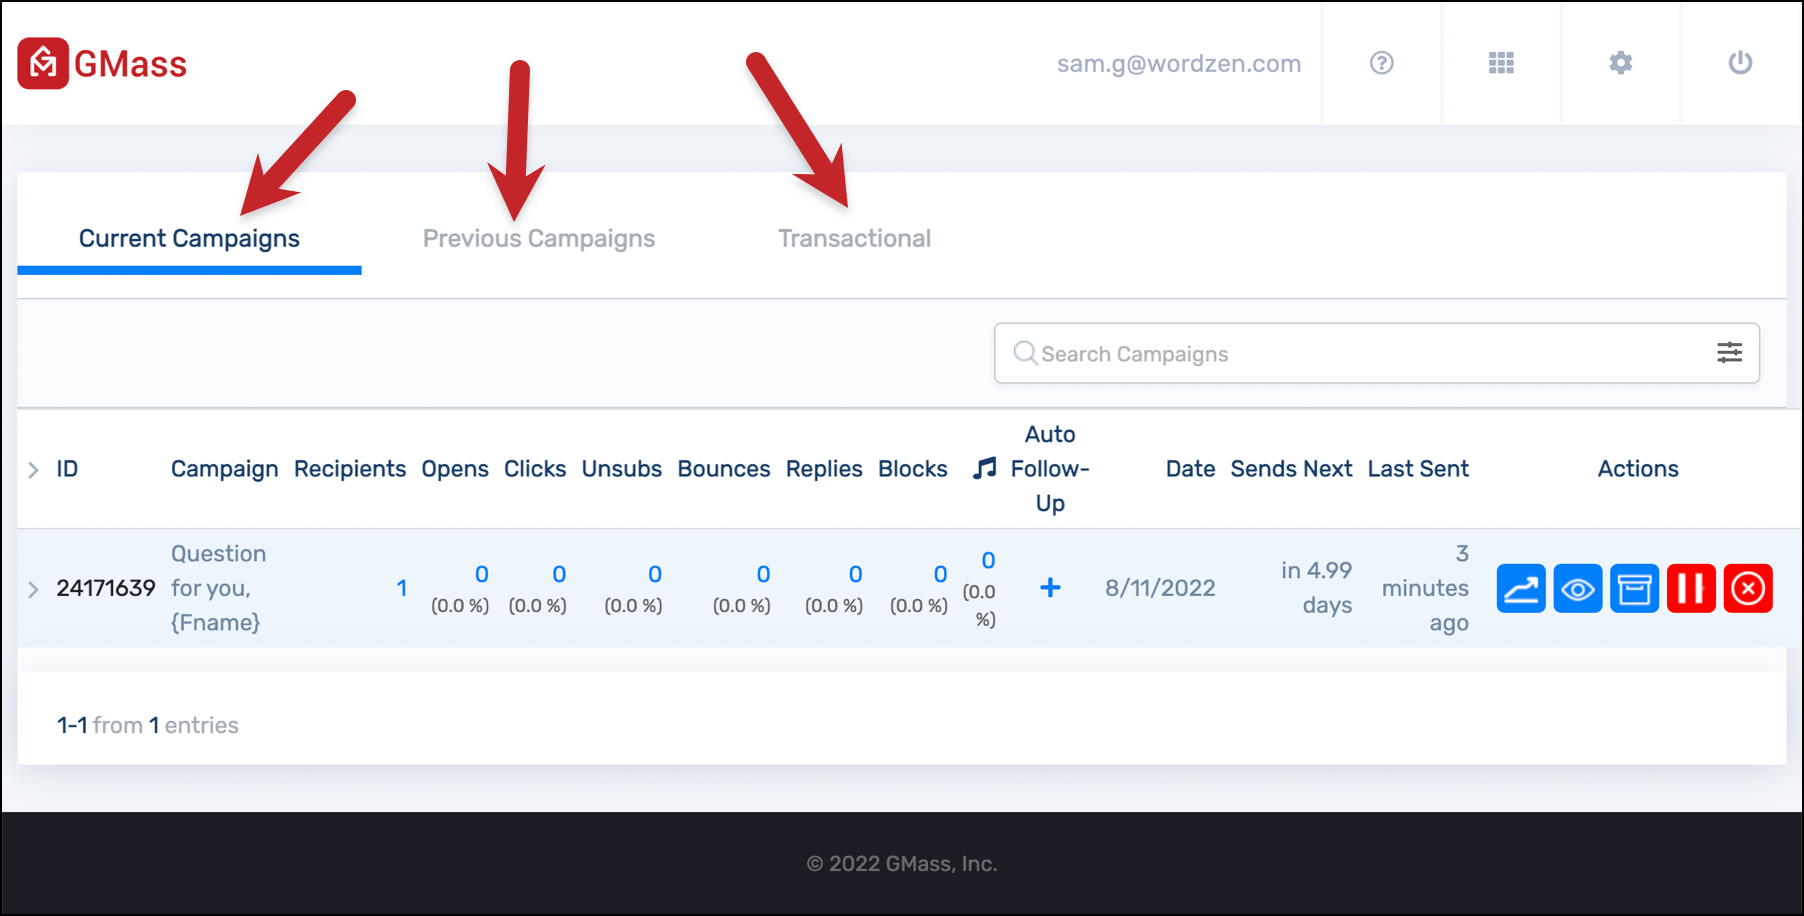
When you arrive at the GMass dashboard you’ll see campaign reporting for current campaigns. Though there are other places to find GMass campaign reports (including the web-based report, the email report, and the Google Sheet(s) connected to your campaign), the dashboard is a great way to get high-level overviews of your recent campaigns. And from there, it’s a great place to drill down for more info.
Your dashboard reporting is split into three sections:
- Current Campaigns, which are any campaigns you’re currently running (including recurring campaigns and campaigns with auto follow-ups yet to send).
- Previous Campaigns, which are campaigns you’ve sent (and where all automated follow-ups have also gone out).
- Transactional, which are the business-focused transactional emails you’ve sent from your account. (Either with GMass’s transactional SMTP service or by using the GMass API.)
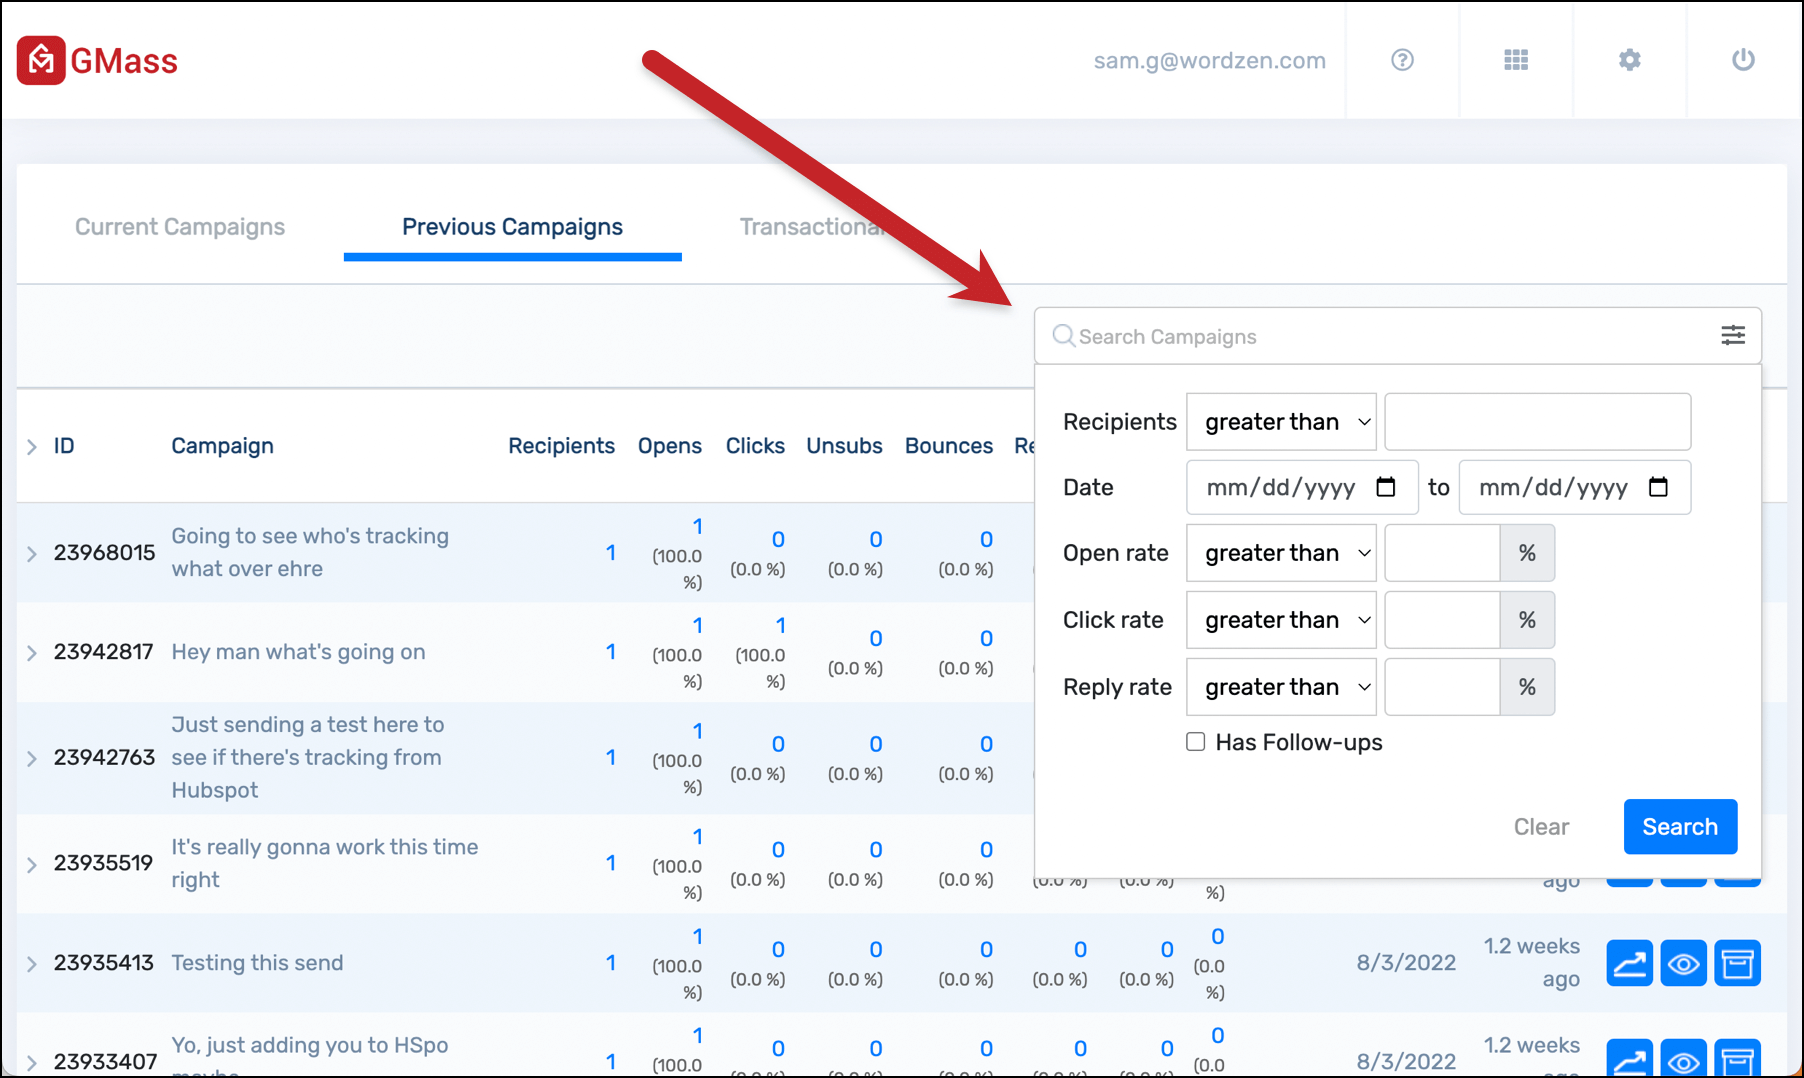
The search function here is ultra powerful; you can search campaigns by recipients, date ranges, open rates, click rates, reply rates, and whether or not campaigns have follow-ups. Note: You will only search in your current campaign tab. So if you’re in the Current Campaigns tab, your search will apply to current campaigns, not previous ones or transactional emails. Then if you click over to Previous Campaigns, you’ll need to run a new search.
Also, if you’re the leader of a GMass team plan, you’ll be able to toggle between your teammates’ to see their campaigns as well.
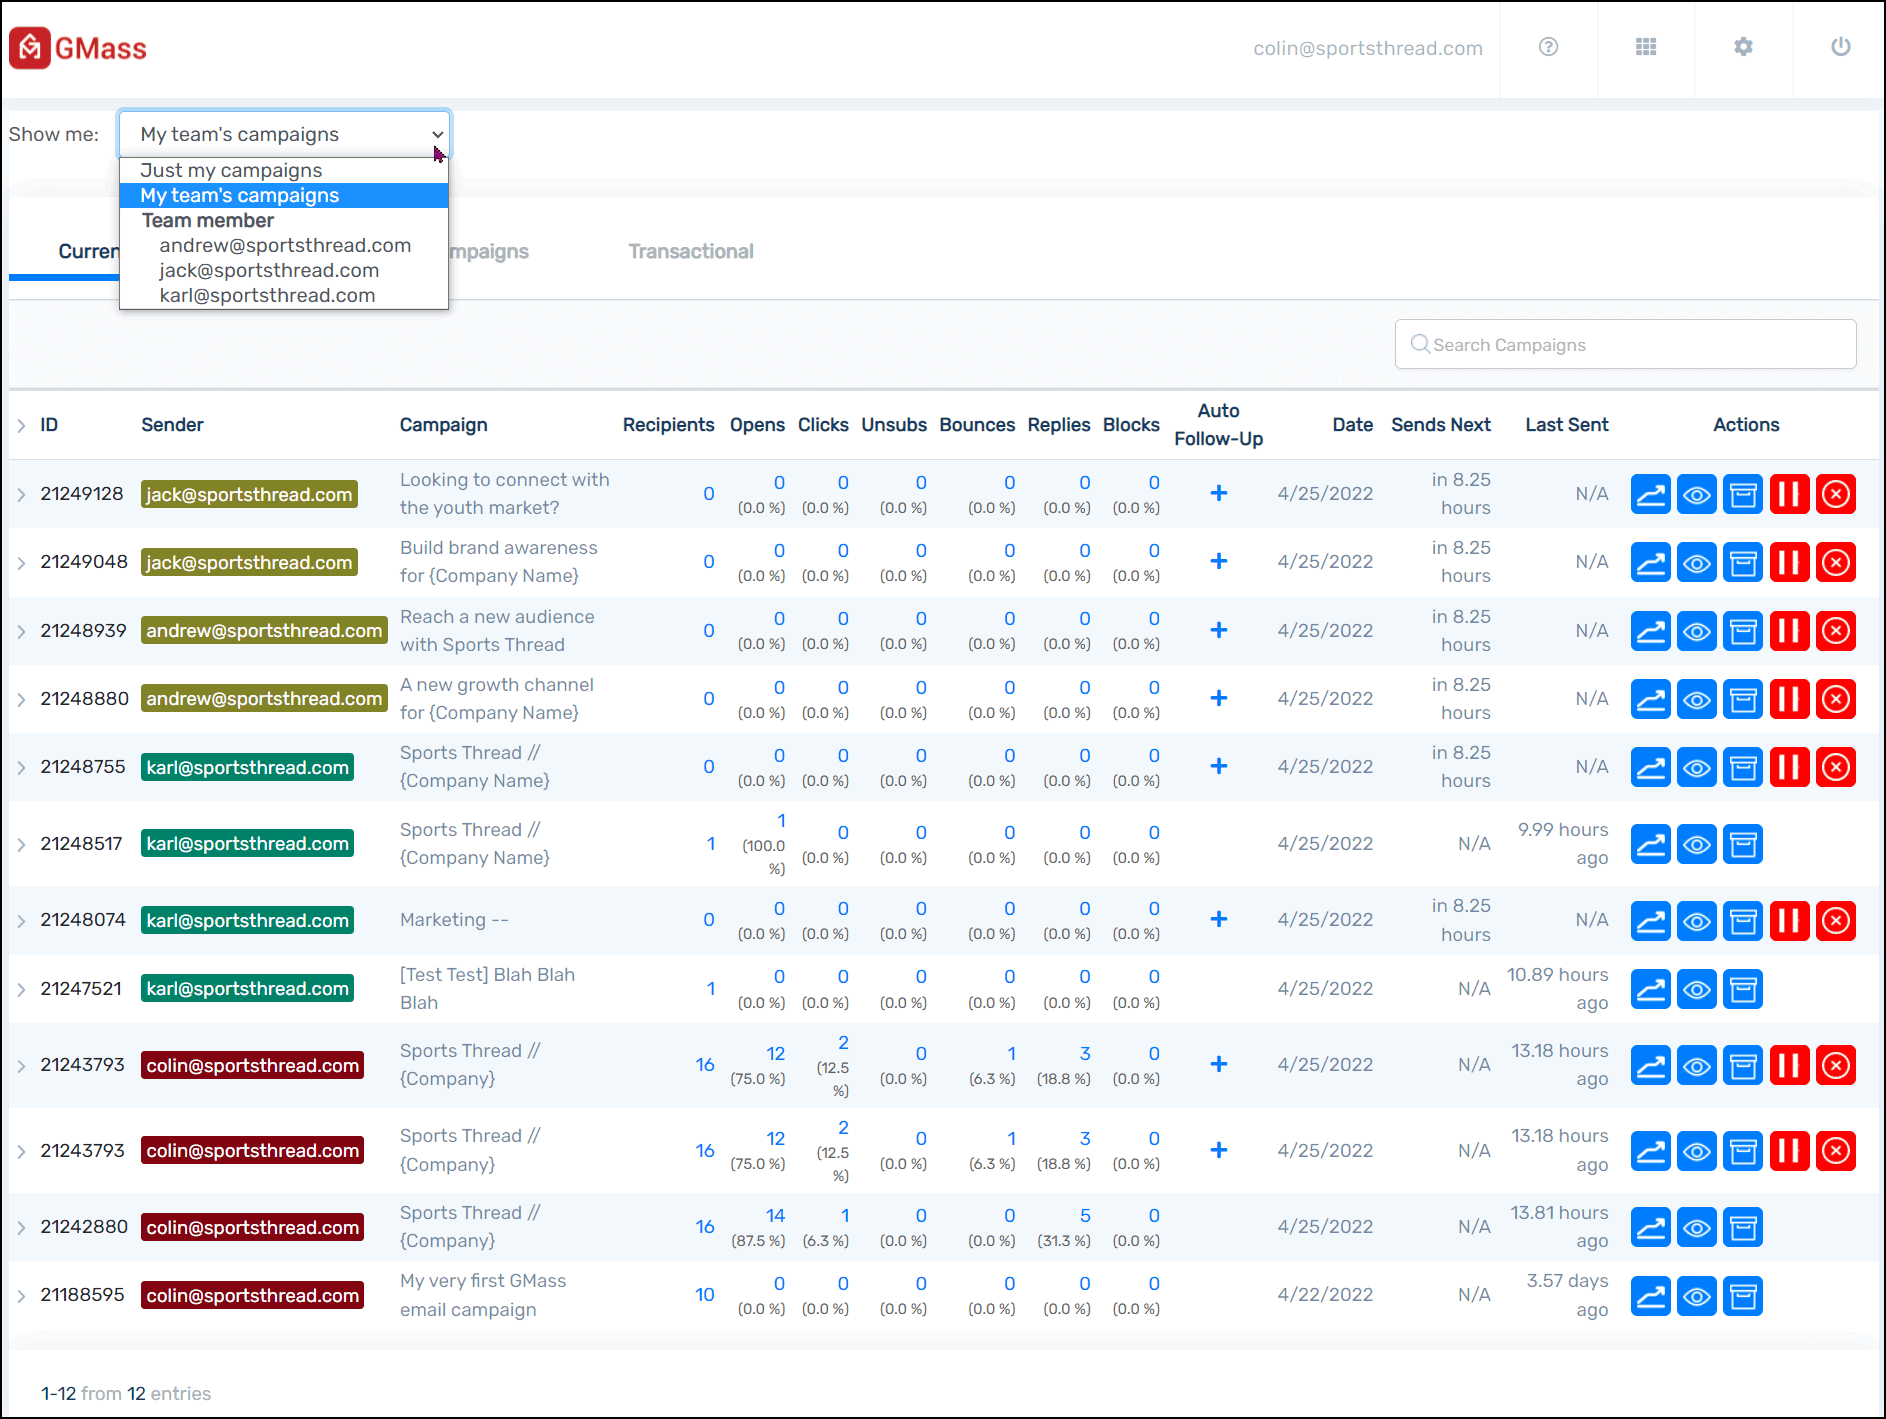
Exploring the campaign row
Each campaign has its own row on the dashboard reporting page. You can see the following data at a quick glance:
- Campaign ID
- Campaign subject line
- Number of recipients
- Total opens, and open rate
- Total clicks, and click-through rate
- Total unsubscribes, and unsubscribe rate
- Total bounces, and bounce rate
- Total replies, and reply rate
- Total blocks, and block rate
- Total poll voting
- Total audio listens (a popular feature for beat makers), and listen rate
- Whether the campaign has auto follow-ups
- Date of initial campaign
- When the campaign was last sent
For current campaigns, you’ll also see when recurring campaigns will send next.
When you click on the stats, a fly-out panel will appear from the right side of the screen showing you specific recipients who opened, clicked, and so on.
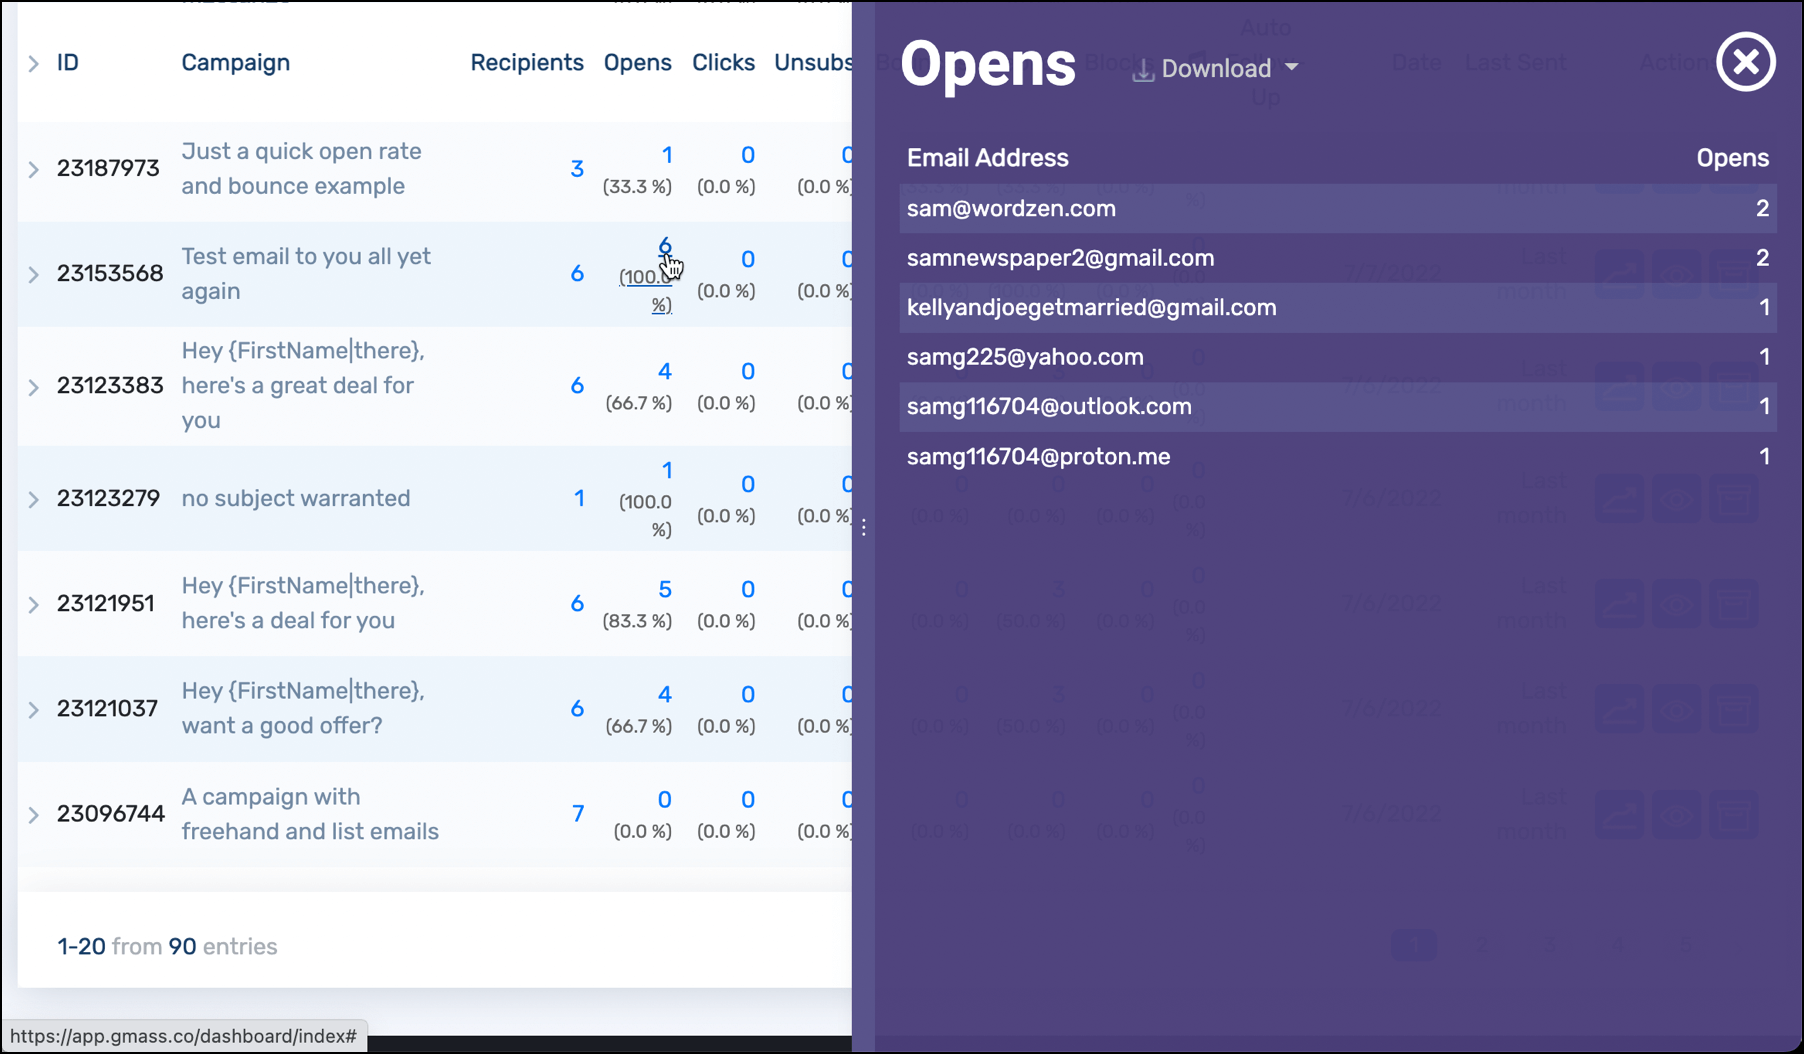
When you click on the number in the Clicks column you’ll see a breakdown of how each link in your email performed, along with which recipients clicked which links.
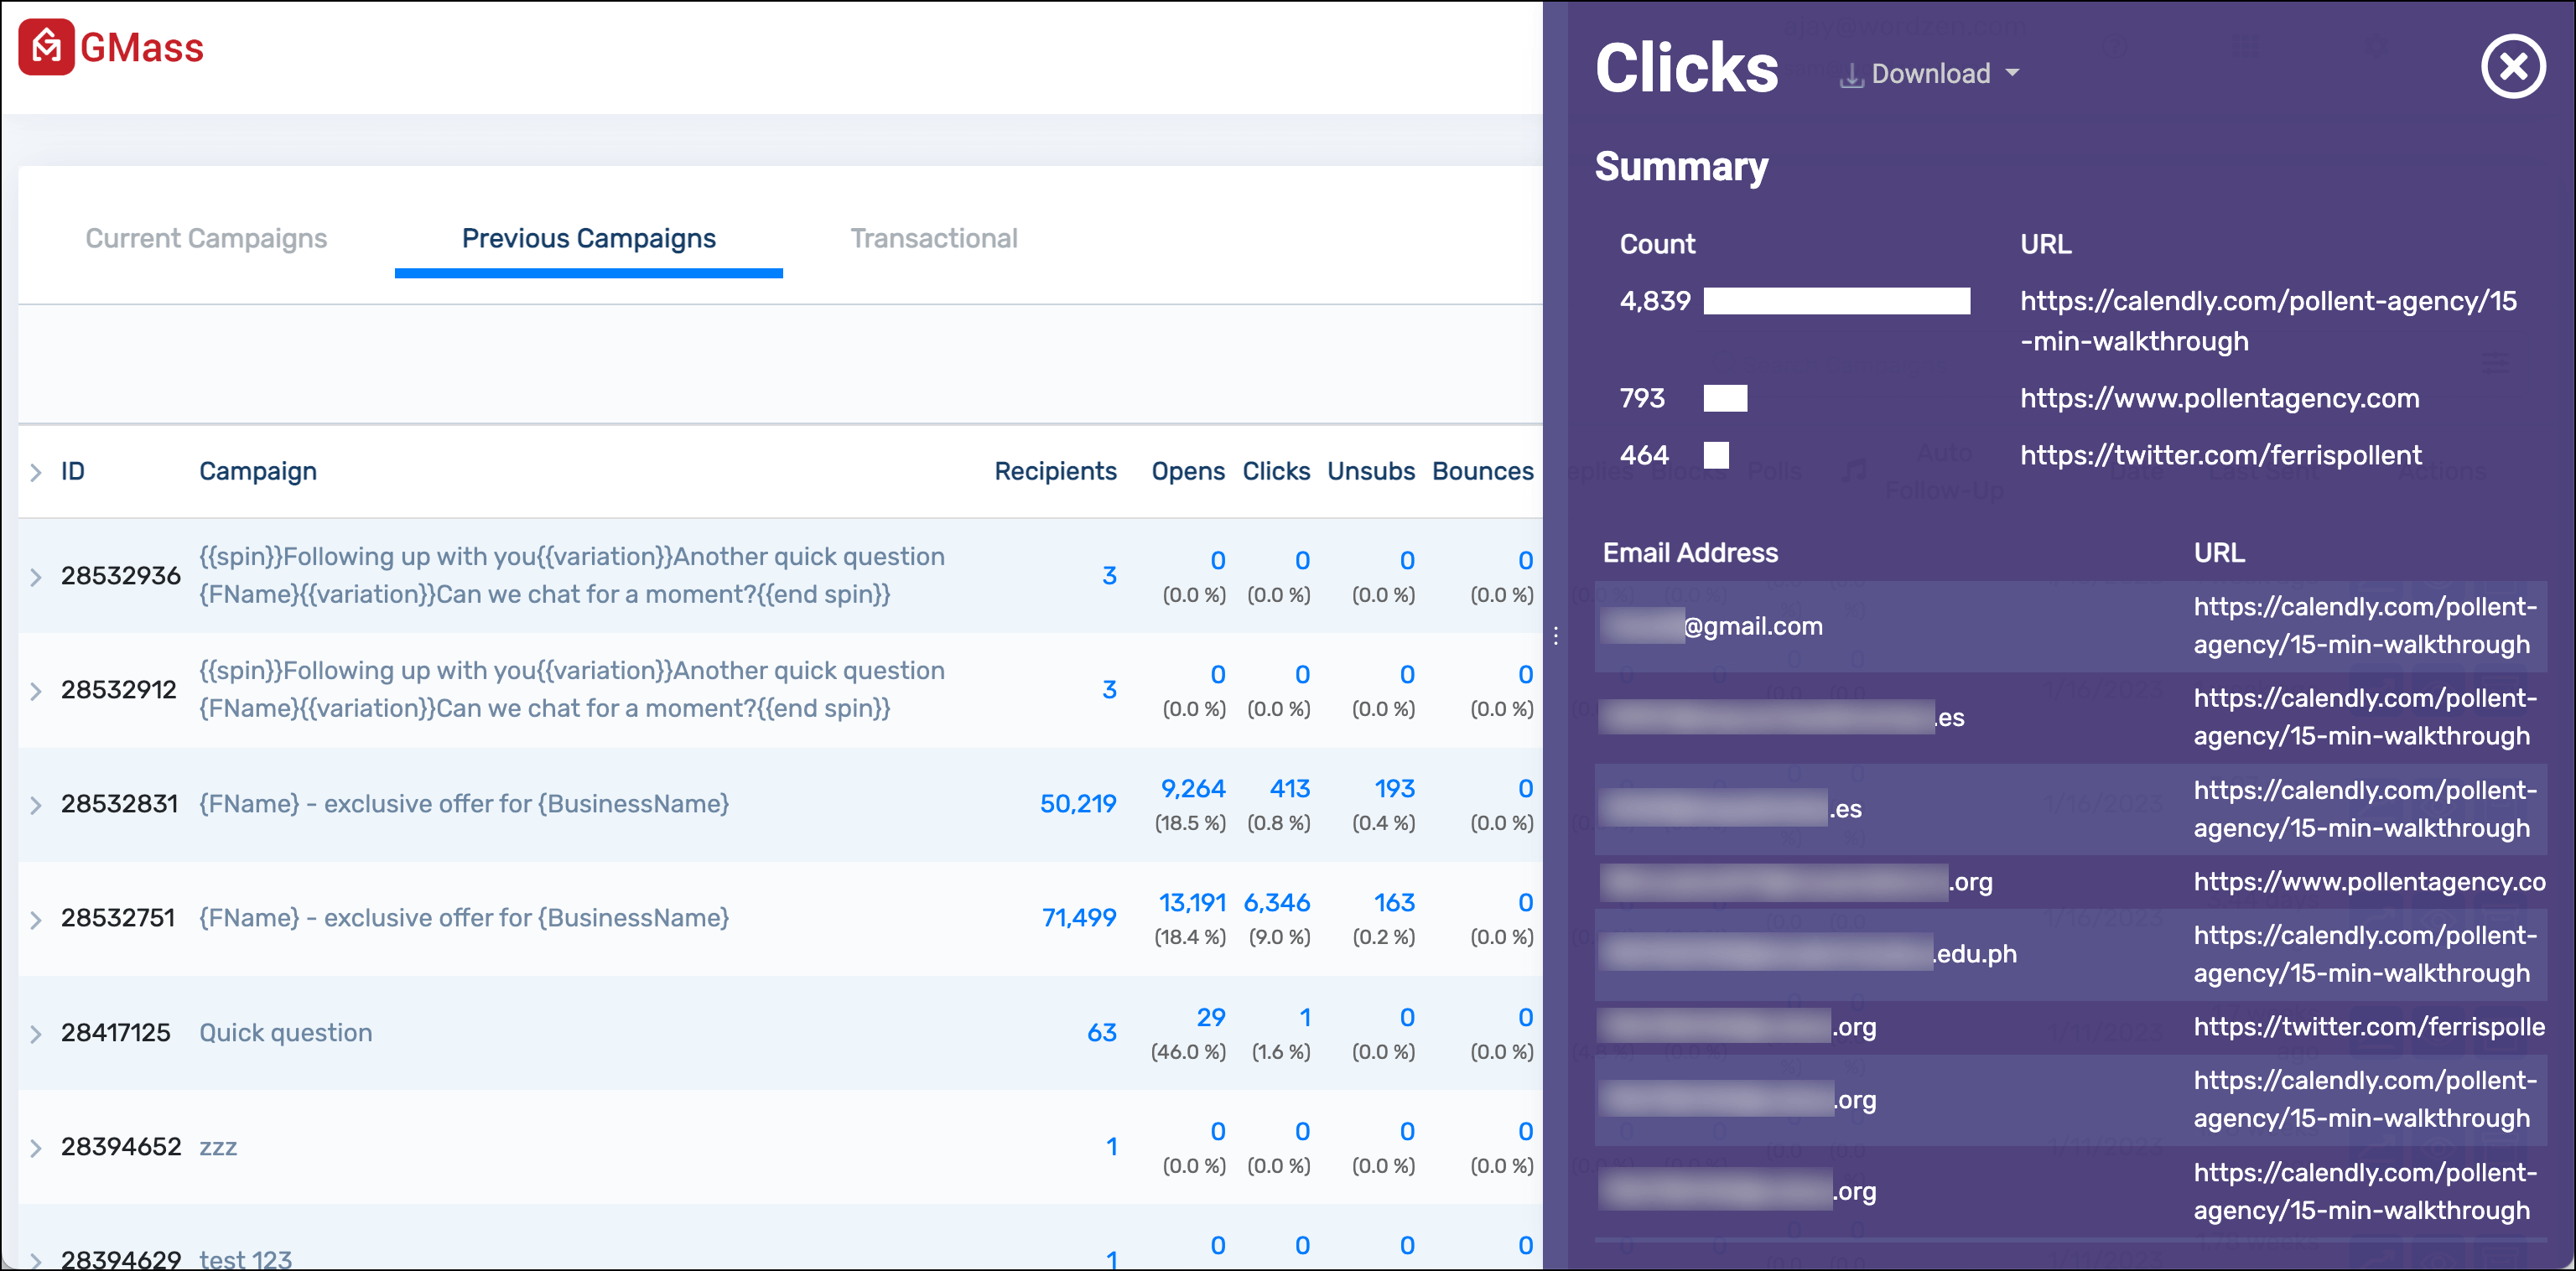
You can also download the results as a CSV or Microsoft Excel file from the “Download” link in the panel; or export directly to Google Sheets.
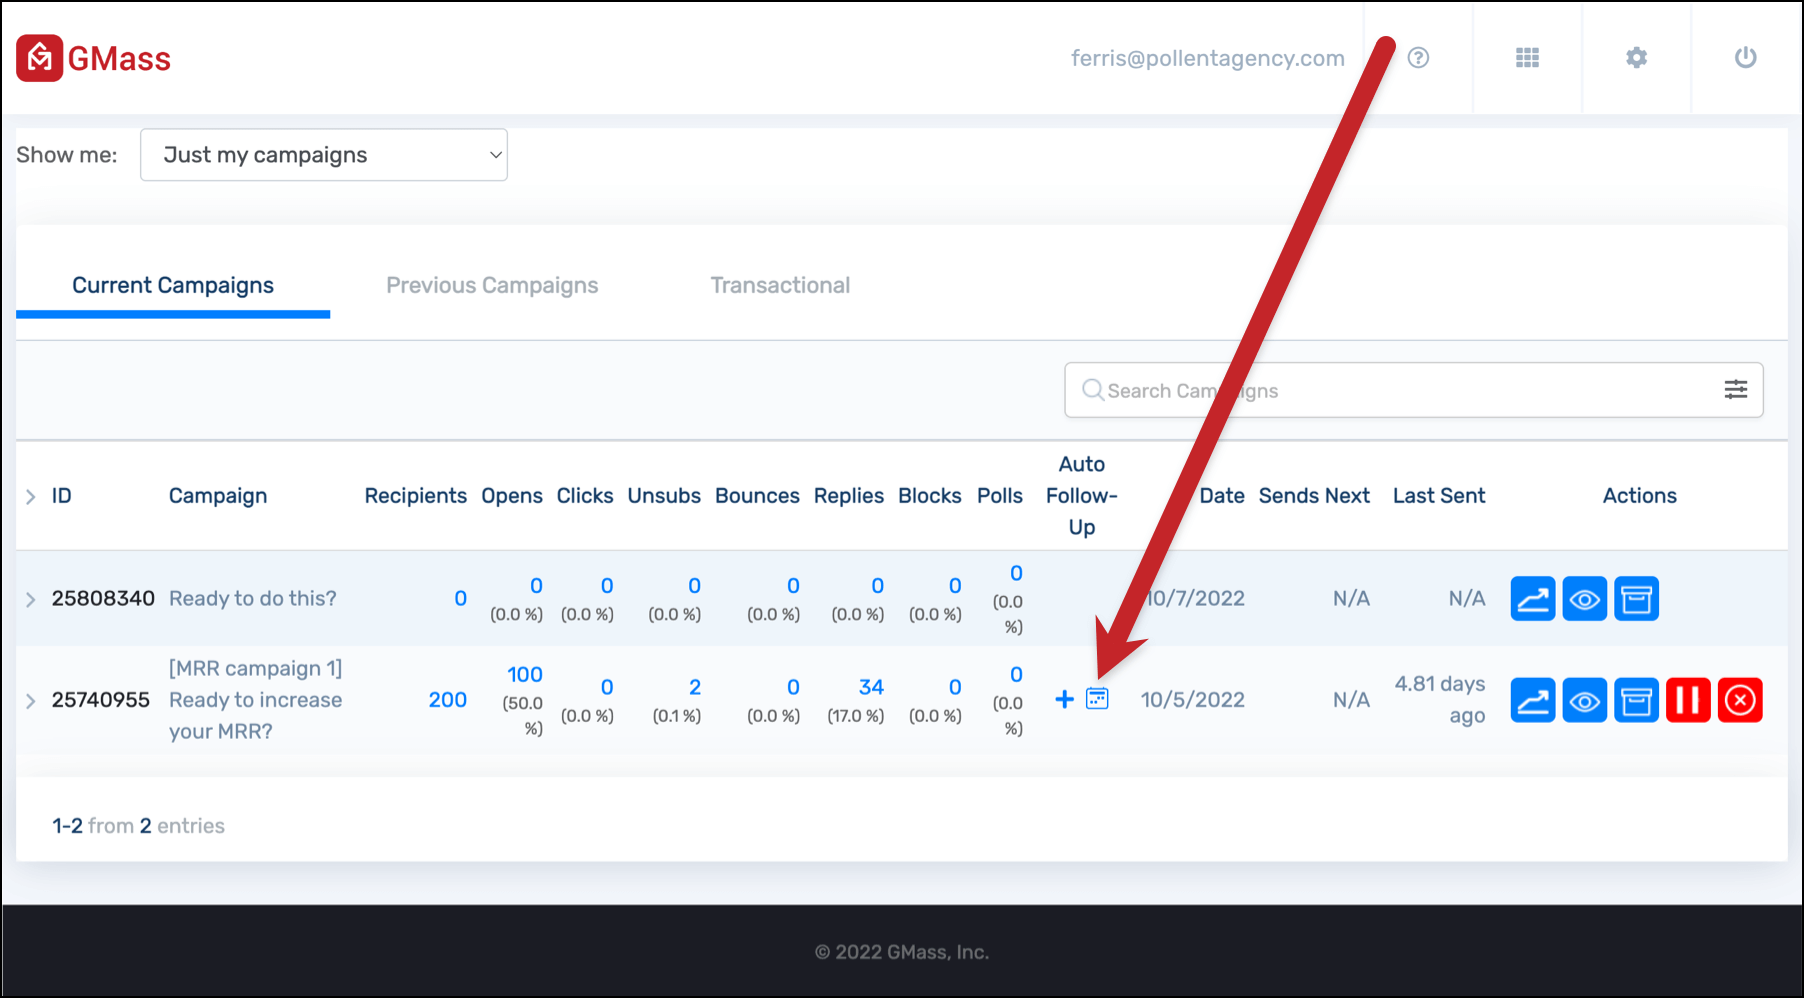
Also… you can use the auto follow-ups column to see past, current, and future auto follow-ups scheduled for the campaign. To go to the calendar view, click on the calendar icon in the campaign’s row.
That will take you to the calendar view showing your auto follow-up schedule.
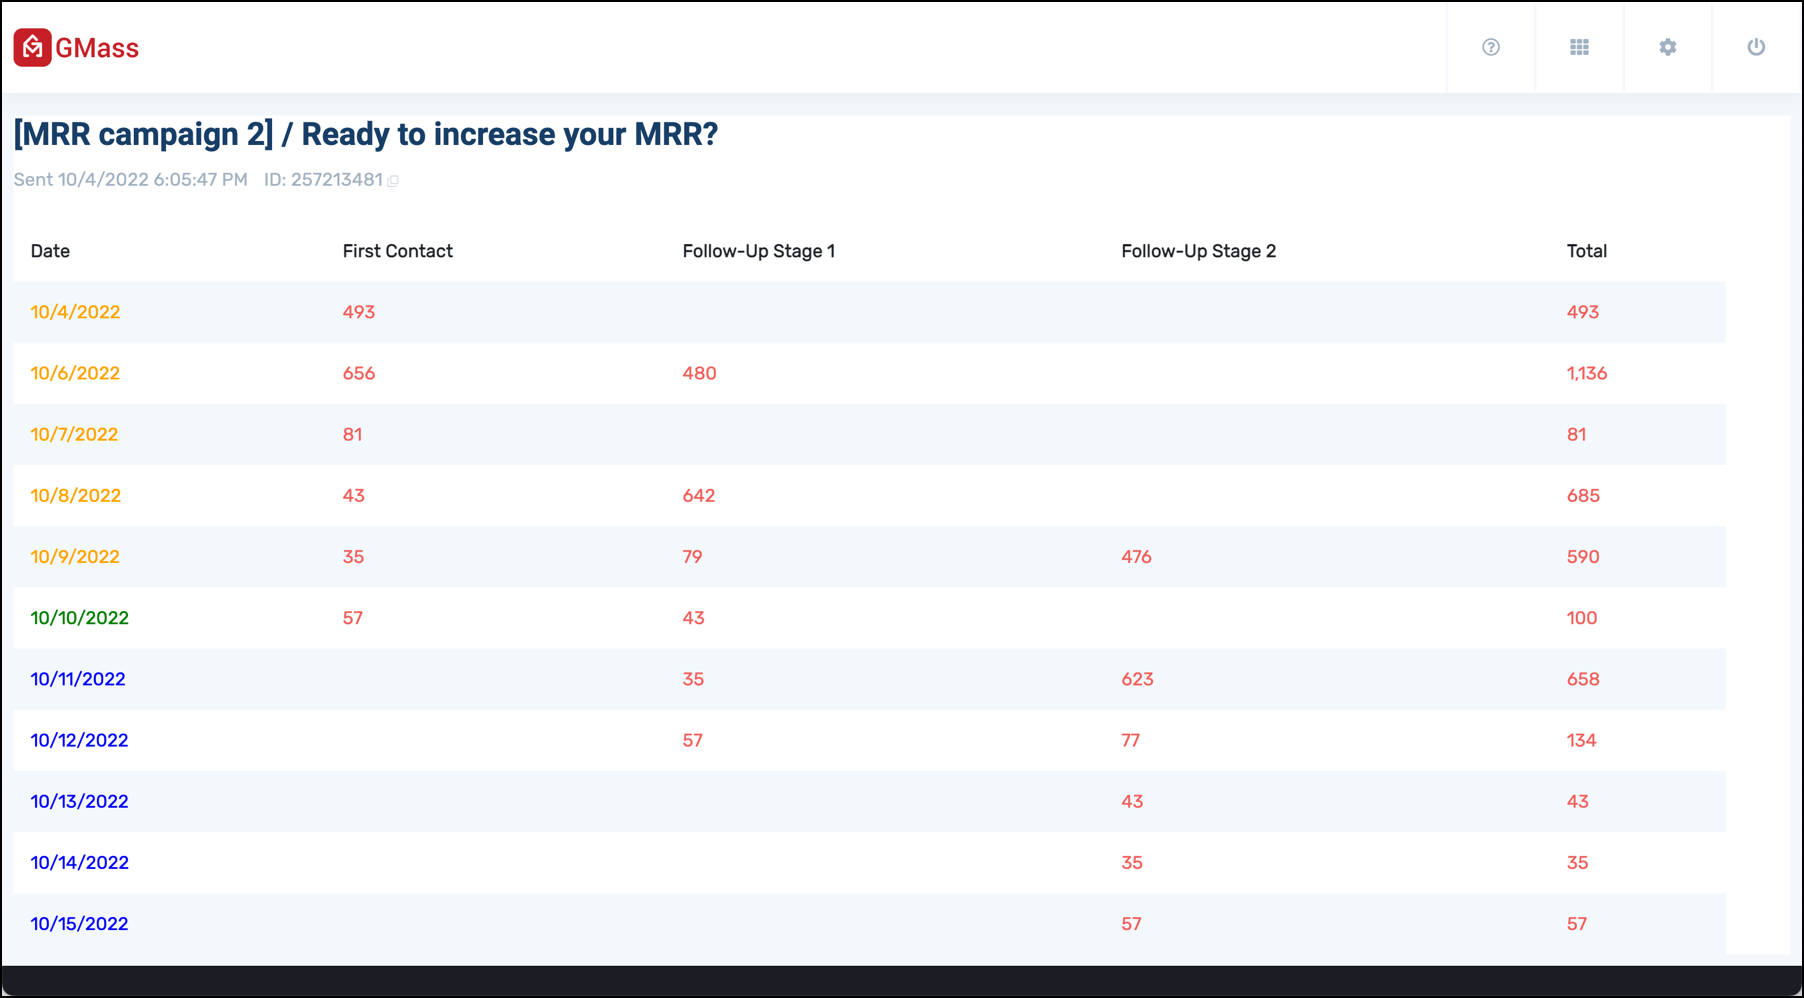
And you can click any number to view a list of all the recipients who received or who are scheduled to receive that stage on that date.

Using the fly-out panel for reply management
The fly-out panel for replies is packed with extra features for reply management.
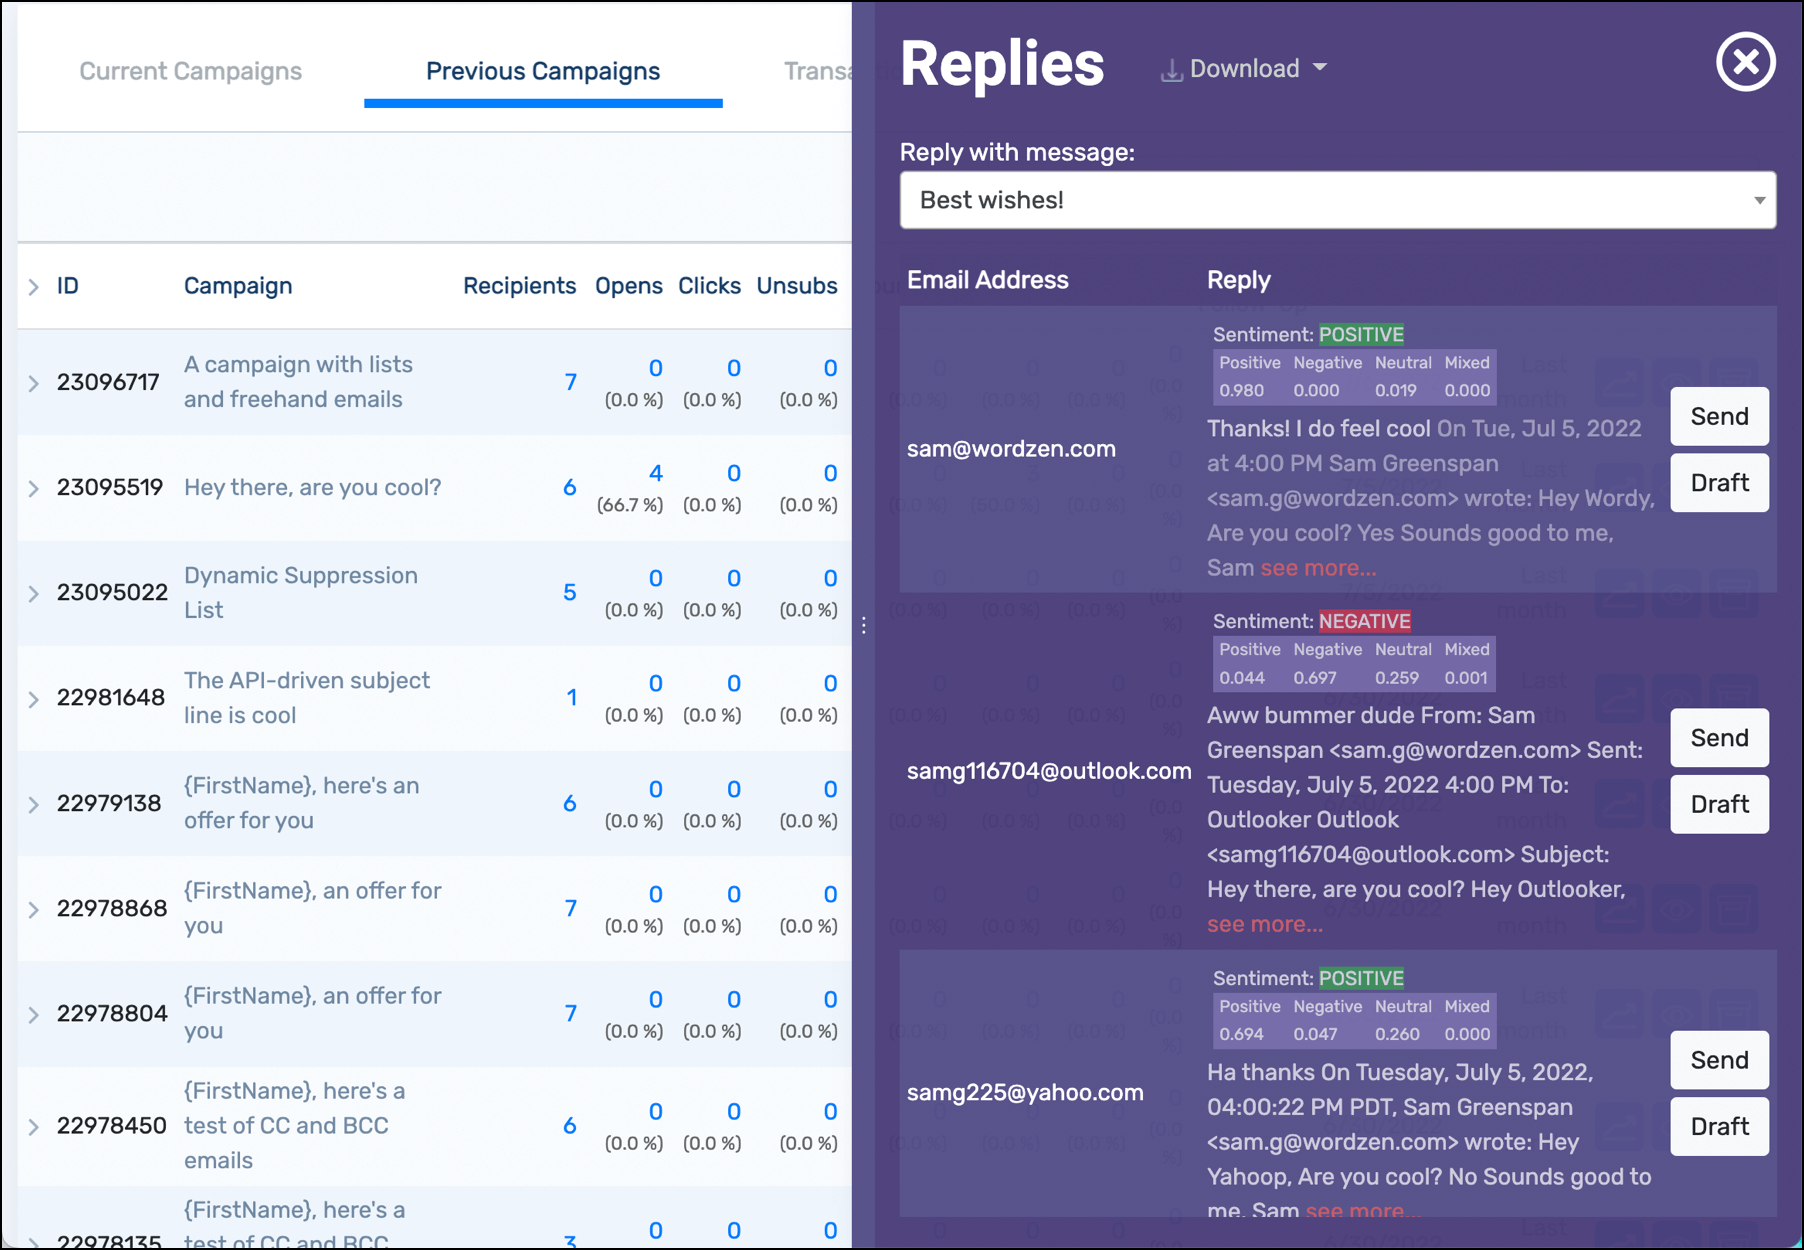
GMass has a sentiment analyzer that gauges whether each reply is (likely) positive, negative, or neutral.
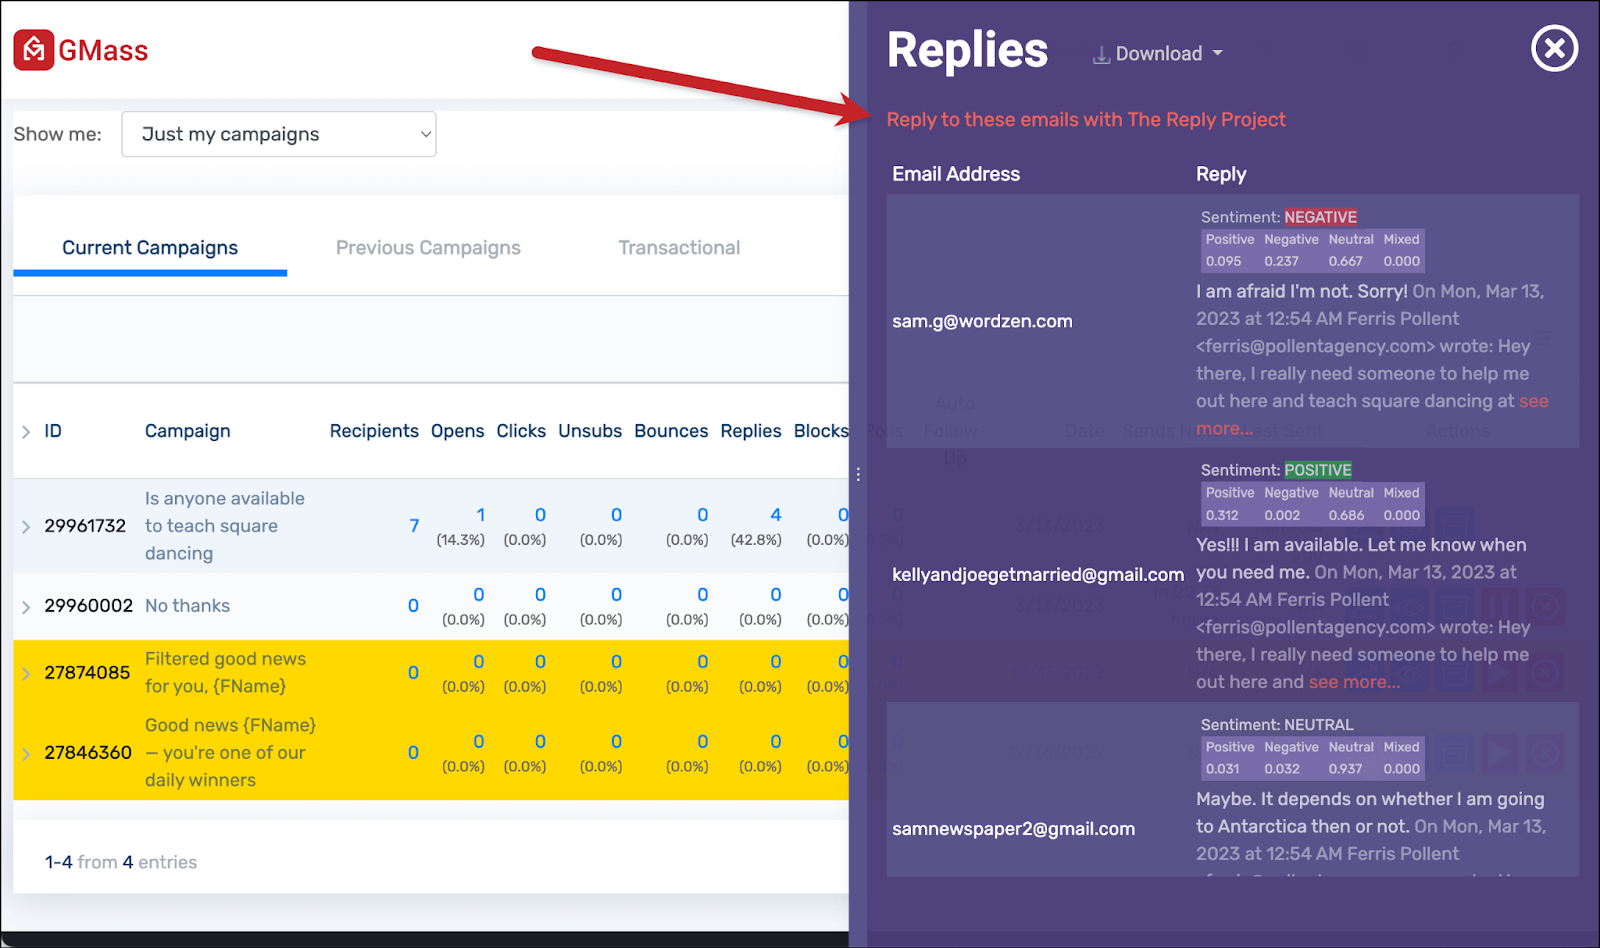
And you can use GMass’s feature called The Reply Project to respond to your replies in record time.
Extended campaign reporting and info
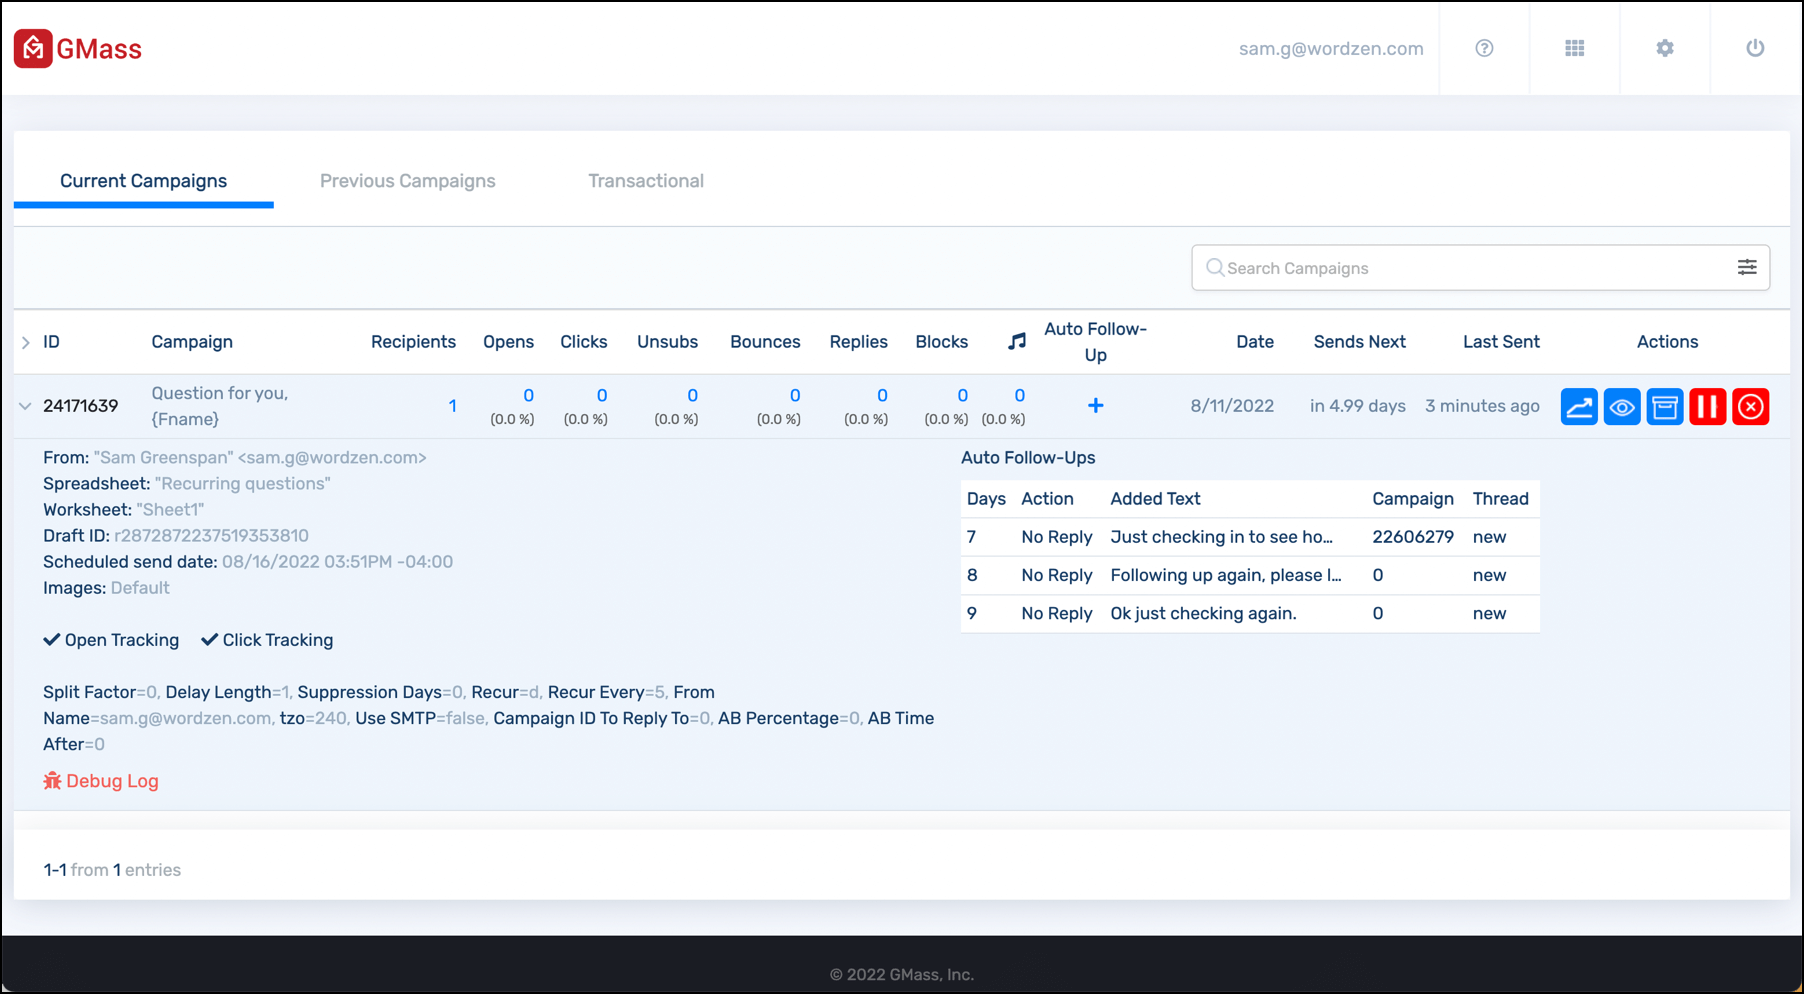
You can also get more detailed information about a campaign by clicking the right caret next to the campaign ID.
![]()
You’ll be able to see lots more valuable info about the campaign there, including your auto follow-ups, the recurrence, A/B testing info, throttling speed, and more.
The campaign buttons
Your campaigns have three blue buttons in their row (and current campaigns have two red buttons as well).

Here’s what each of these buttons does.
 |
Opens the sharable web-based report for the campaign. |
 |
Shows you the subject and message content of the campaign. |
 |
Archives a Current Campaign (sending it to previous campaigns) or de-archives a Previous Campaign (sending it to current campaigns). |
 |
Pauses a recurring campaign and, optionally, its outstanding follow-ups. |
 |
Cancels a campaign and, optionally, its outstanding follow-ups. |
 |
Restarts a paused campaign. |
Resetting a campaign that errors out
There may be a situation from time to time where a campaign you send errors out. It could happen if, say, GMass loses its OAuth connection to your account. Or if you alter your Google Sheet before the campaign goes out.
You can reset those campaigns directly from the dashboard by clicking the “Reset campaign” button.

GMass Account Settings in the Dashboard
Campaign reporting and management is the first primary feature of the GMass dashboard; account settings are the second.
Bring up the settings panel by clicking the gear icon on the top right.

The settings panel will fly out on the left.
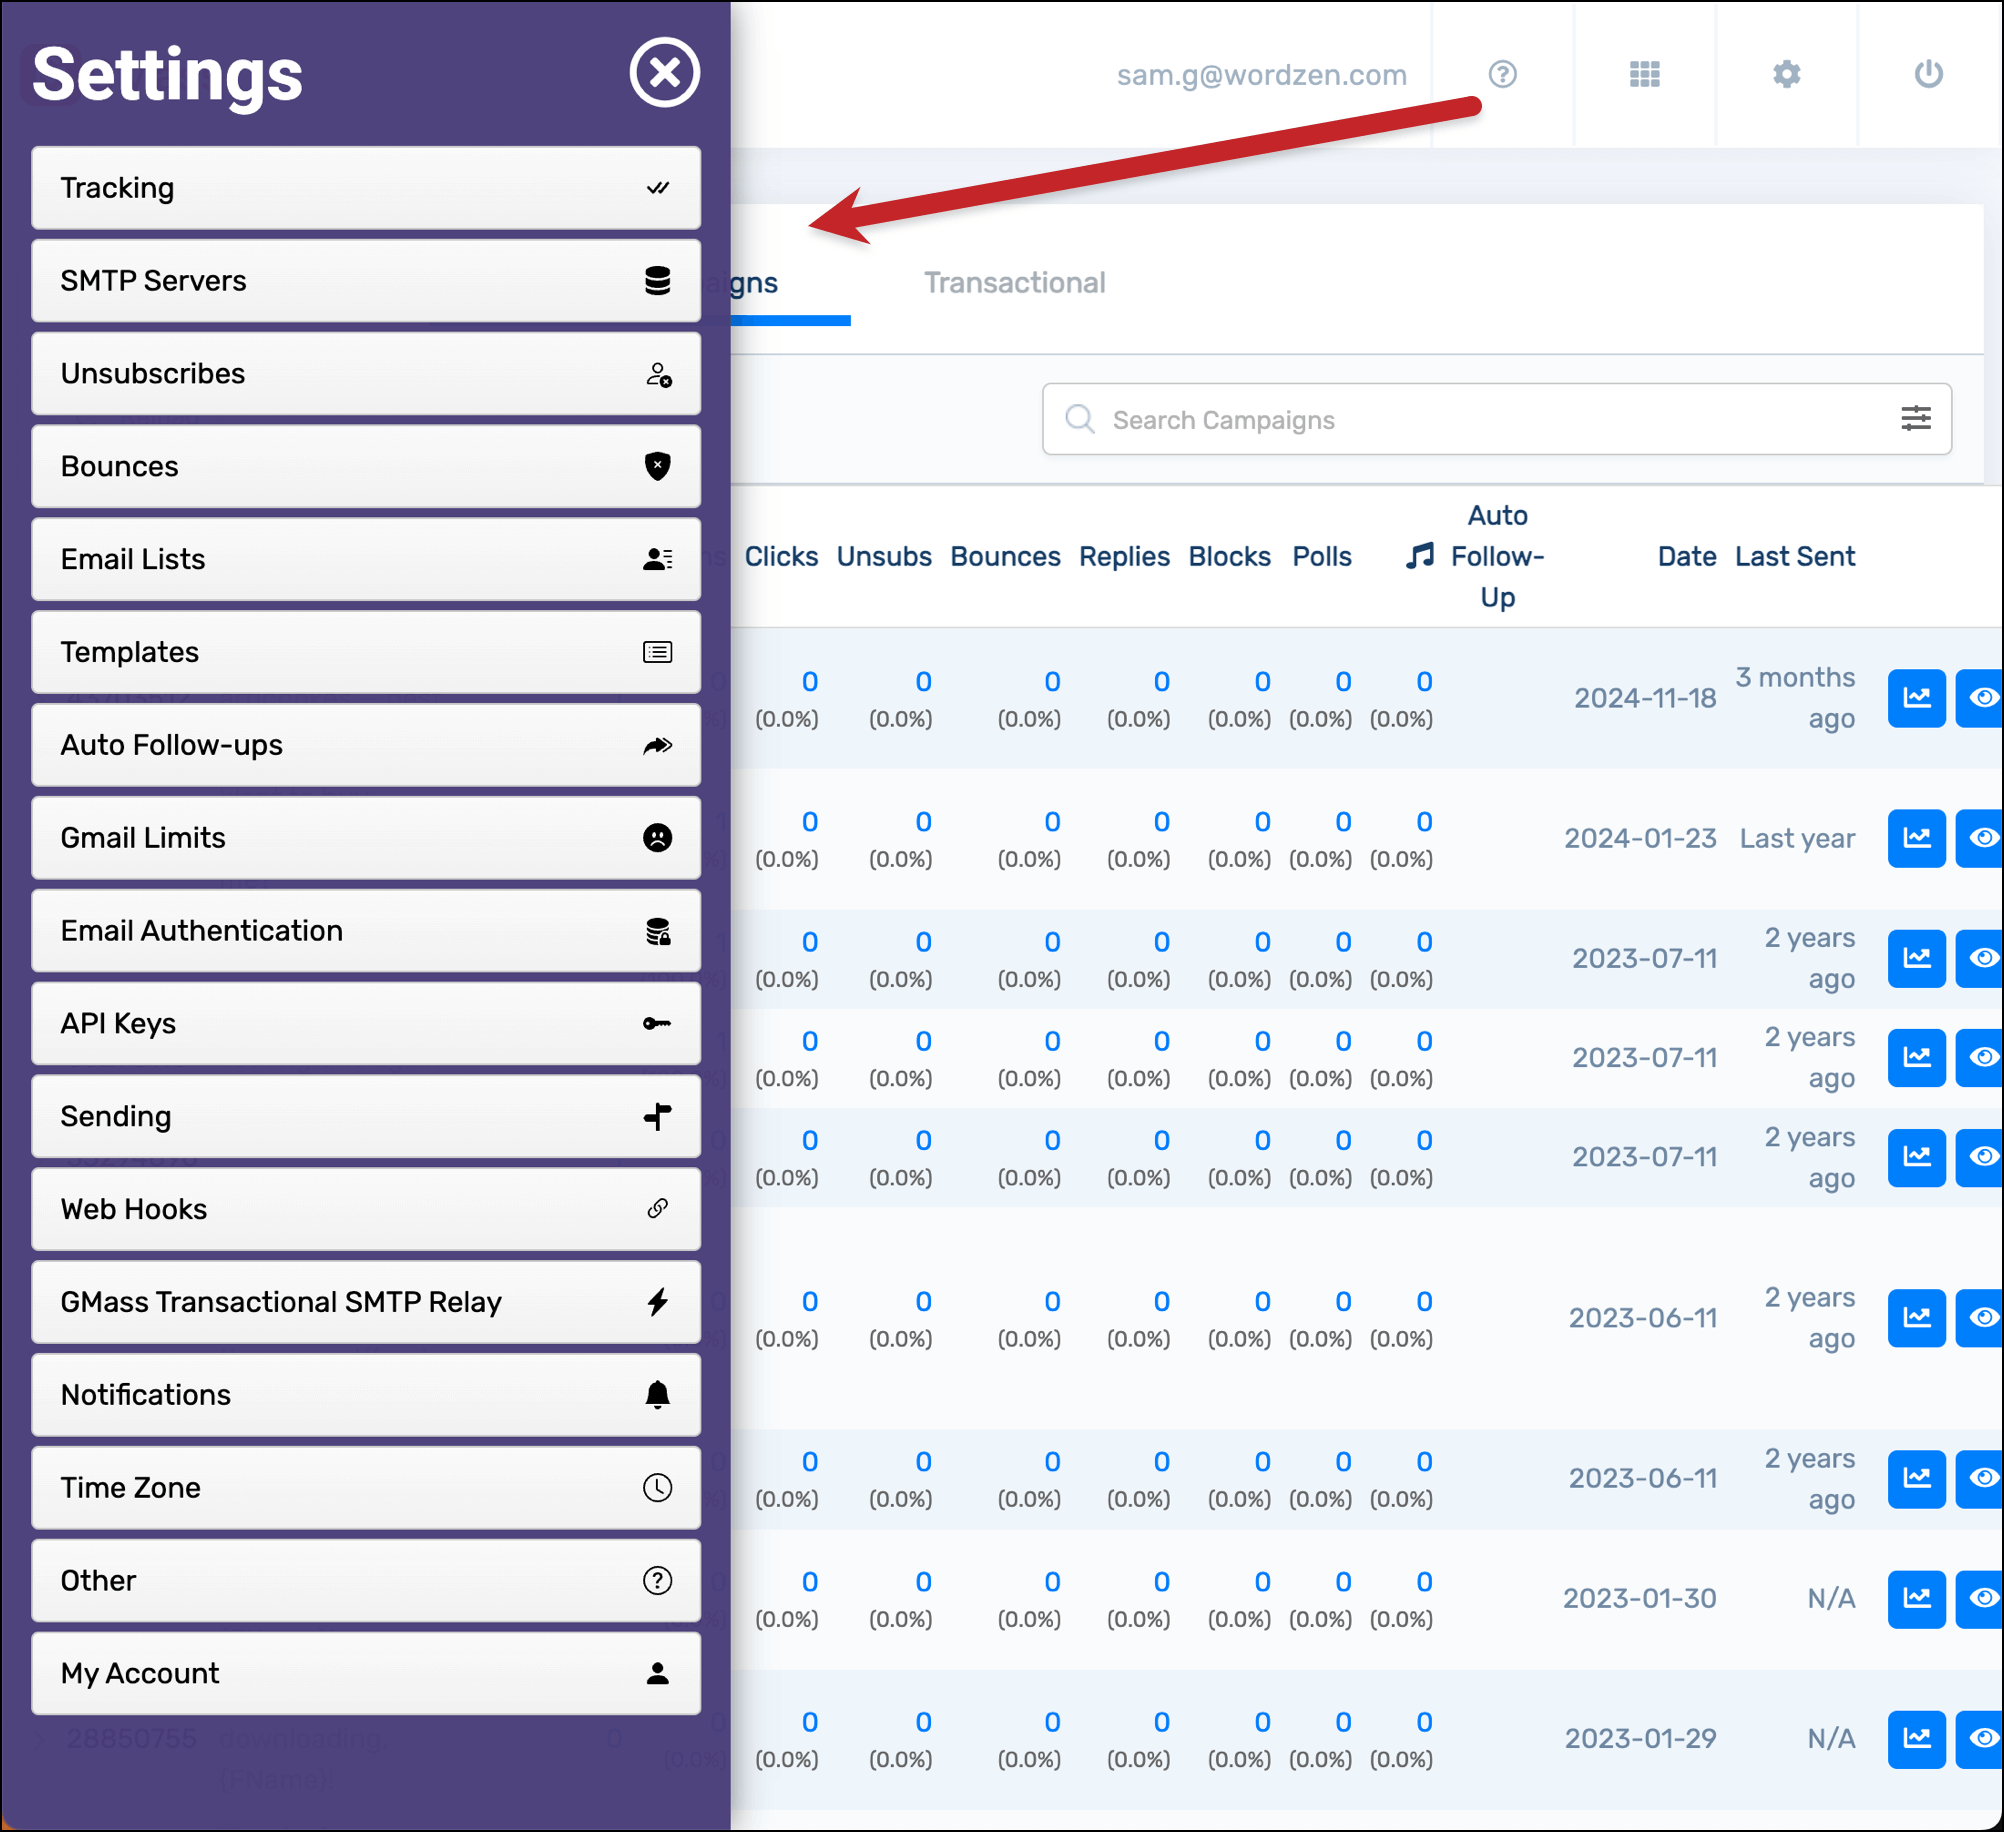
We’ll now do a quick run through the different areas of the settings box. Most of these have their own in-depth articles on the GMass blog; we’ve linked to those articles so you can dig in if you want to learn more about any specific topic.
Tracking
![]()
Use this area to set up a custom tracking domain. Custom tracking domains are beneficial for both email deliverability and branding; we recommend them for all senders.
You’ll also see a message here once GMass is serving your tracking domain securely. (Most other email platforms serve these insecurely.)
SMTP Servers
GMass has a unique feature that allows you to break Gmail’s limits to send 10,000 emails a day or more — in fact, you’ll be able to send virtually unlimited emails.
You’ll use the SMTP Servers section of the settings to enter your third-party server(s) information and authentication.
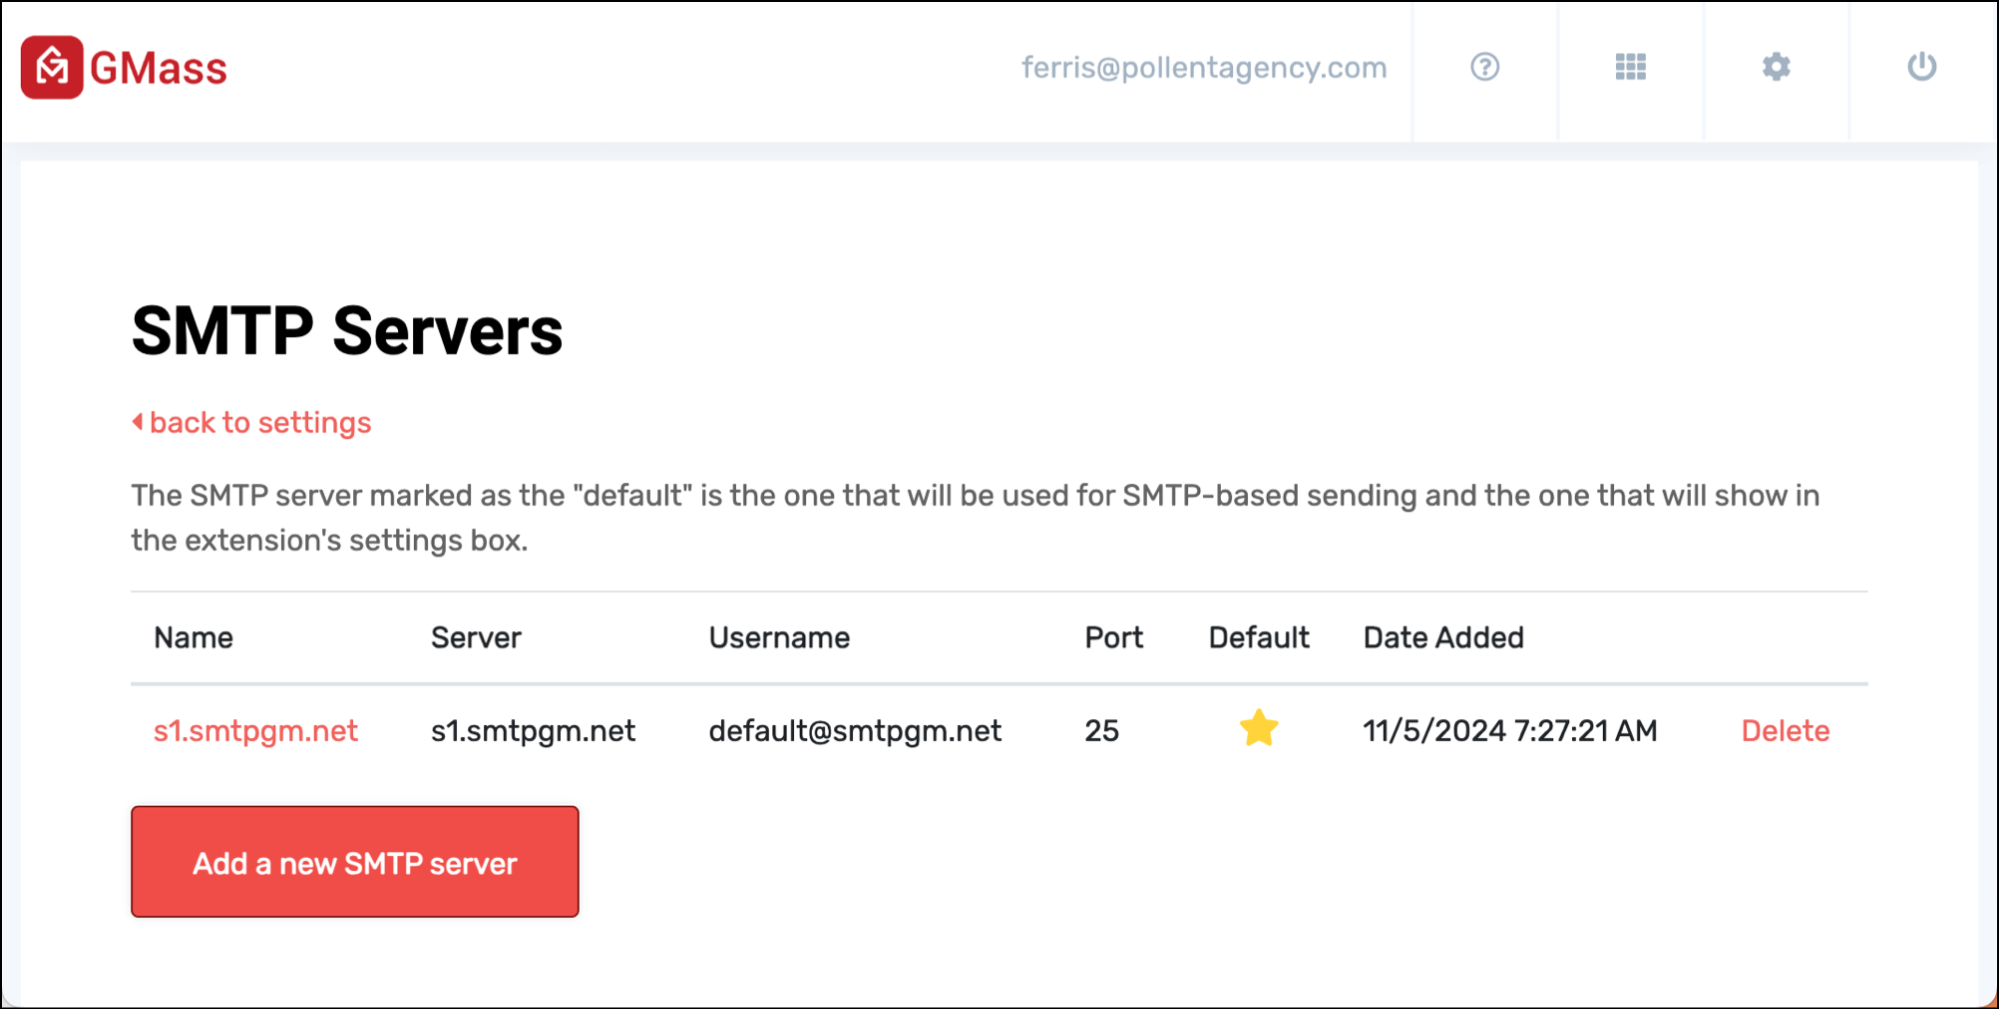
Add or remove servers here. You’ll be able to choose the server you want to use for a specific campaign from the GMass settings box. (You’ll also designate a default SMTP server to handle things like sending once you hit limits.)
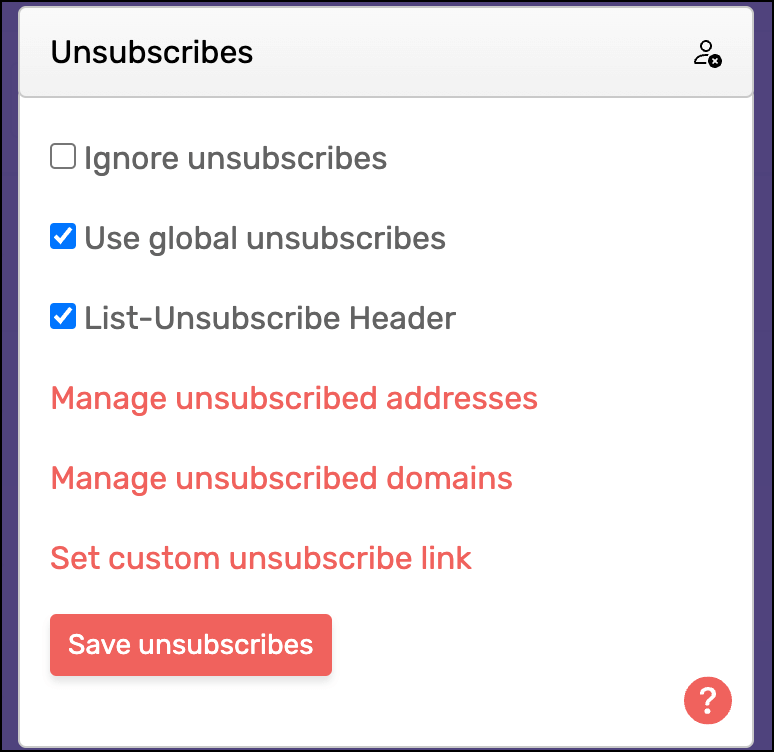
Unsubscribes
GMass handles unsubscribe management for you; if someone unsubscribes from one of your campaigns, GMass will automatically suppress future emails to that contact.
You can fine-tune your unsubscribe management here.
Ignore unsubscribes allows you to override GMass’s unsubscribe list to send emails to everyone, regardless of whether they’ve unsubscribed in the past. (Use this with caution.)
Use global unsubscribes is an option to have GMass suppress emails you send to any addresses on your teammates’ unsubscribe lists. (GMass checks the unsubscribe lists of everyone using the same sending domain as you, as well as everyone on your team plan.)
List-Unsubscribe Header is an option to allow email clients to add quick unsubscribe links or buttons to your emails. (Easy unsubscribe options can help curb the number of people marking your emails as spam.)
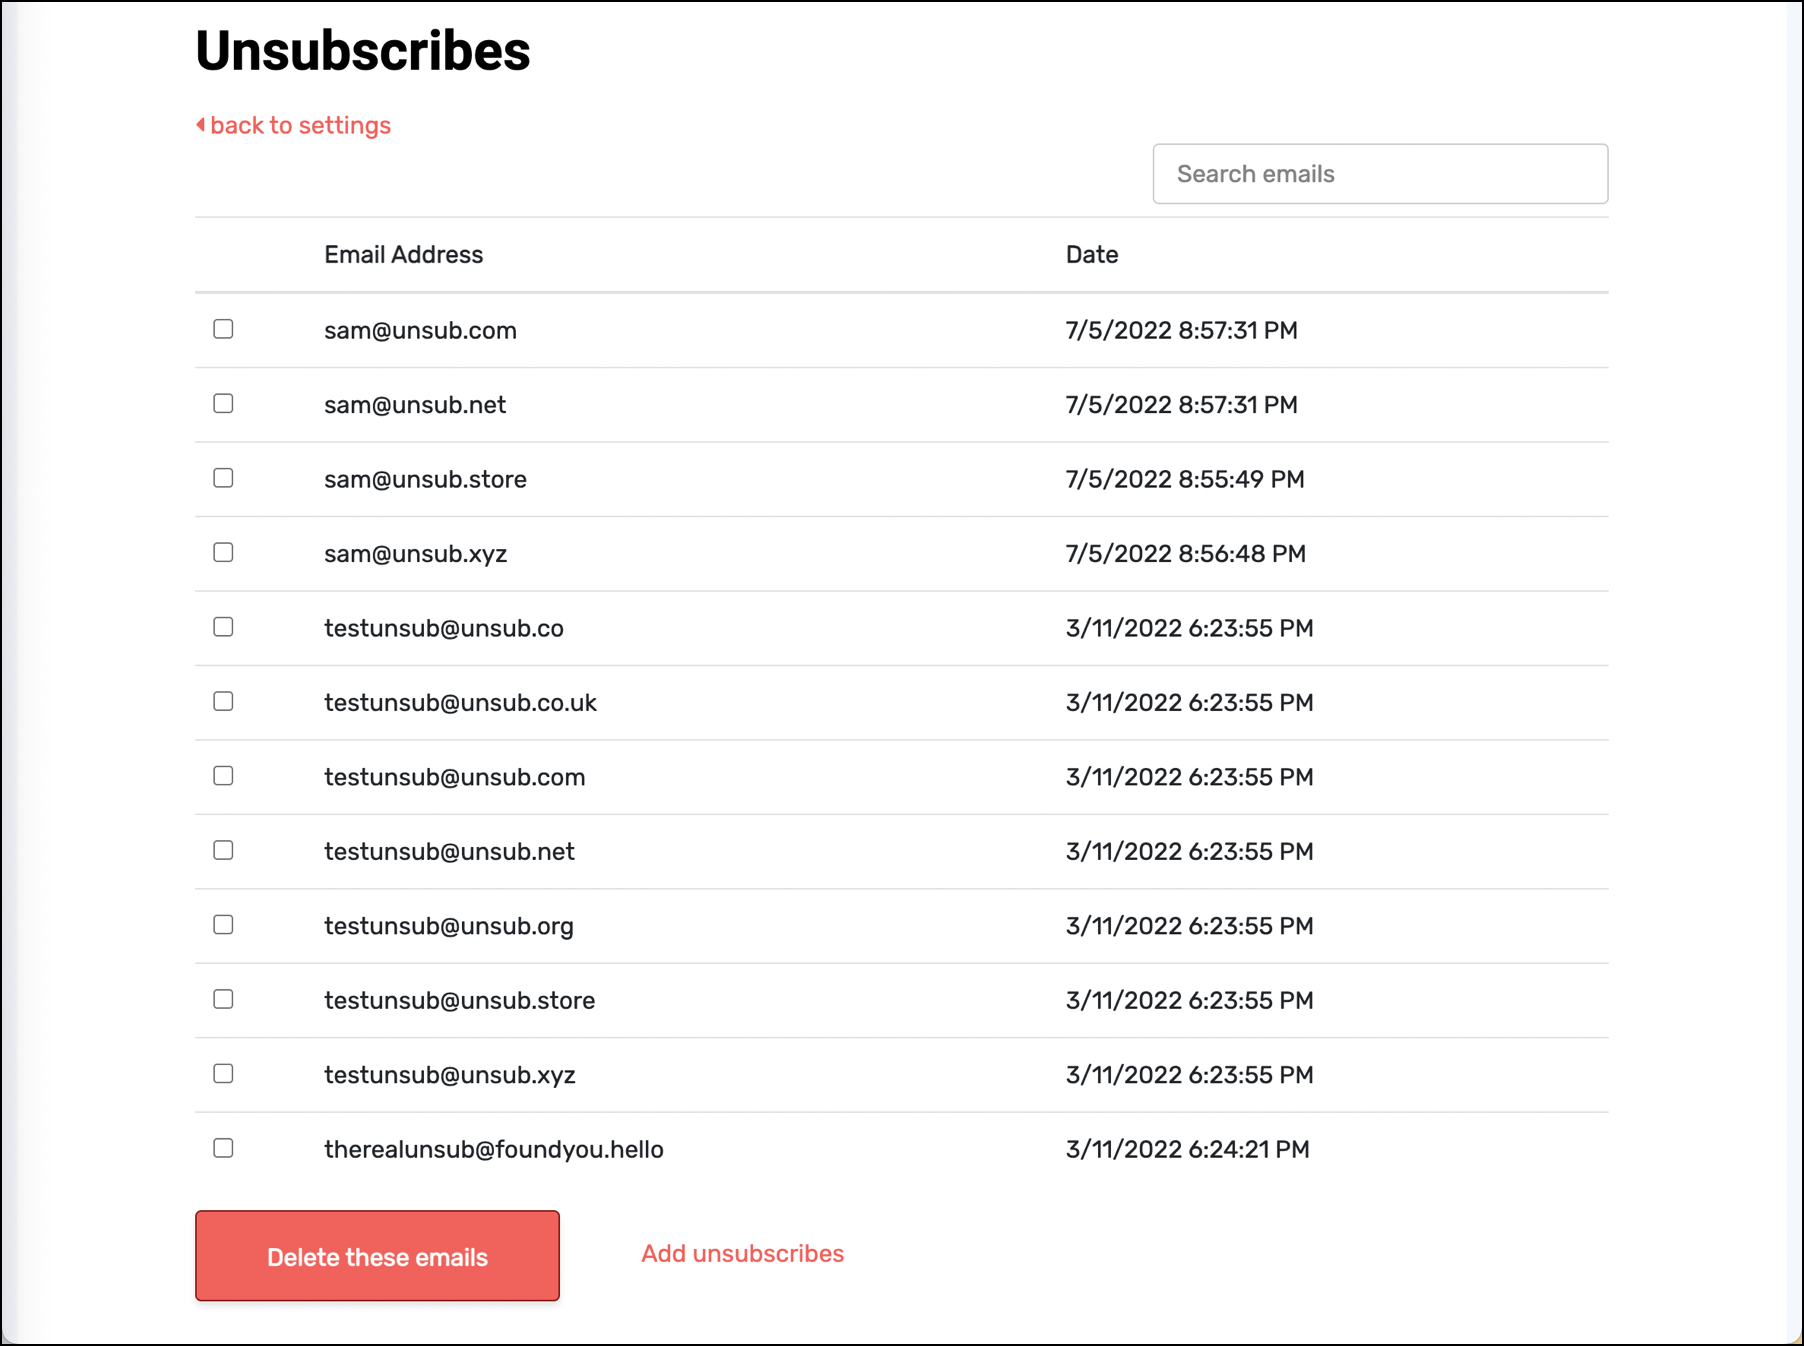
Manage unsubscribed addresses allows you to search, add, and delete email addresses from your account’s unsubscribe list.
Manage unsubscribed domains is an area where you can search, add, and delete unsubscribed domains from your account’s unsubscribe list. (Yes, GMass allows you to unsubscribe entire domains; this area of the dashboard is where you can manage those.)

With the custom unsubscribe link, you can create your own unsubscribe link text (and/or other email footer text) to insert into GMass campaigns with your unsubscribe link.
Bounces
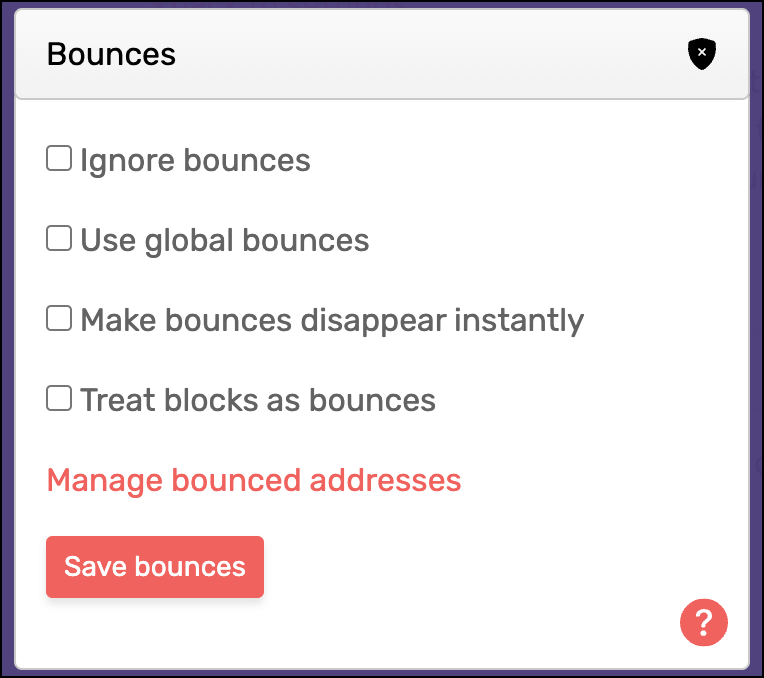
GMass’s bounce management is similar to unsubscribe management: GMass will automatically suppress future emails to addresses that have hard bounced.
The bounces section of the dashboard is where you can intervene in the bounce management process.
Ignore bounces is an option to override GMass’s automatic suppression and send emails to addresses that bounced in the past. Be careful with this: High volumes of bounces can affect your deliverability.
Use global bounces will suppress your emails to addresses that bounced for anyone across your Google Workspace organization and team plan.
If you check Make bounces disappear instantly, GMass will declutter your inbox by having bounce notifications get archived straight into the GMass Reports -> Bounces label.
Treat blocks as bounces means that GMass will add a blocked address to your bounce list, rather than keeping that blocked address viable in case the problem with it is fixed. (You can read more about blocks versus bounces in our article on advanced bounce handling.)
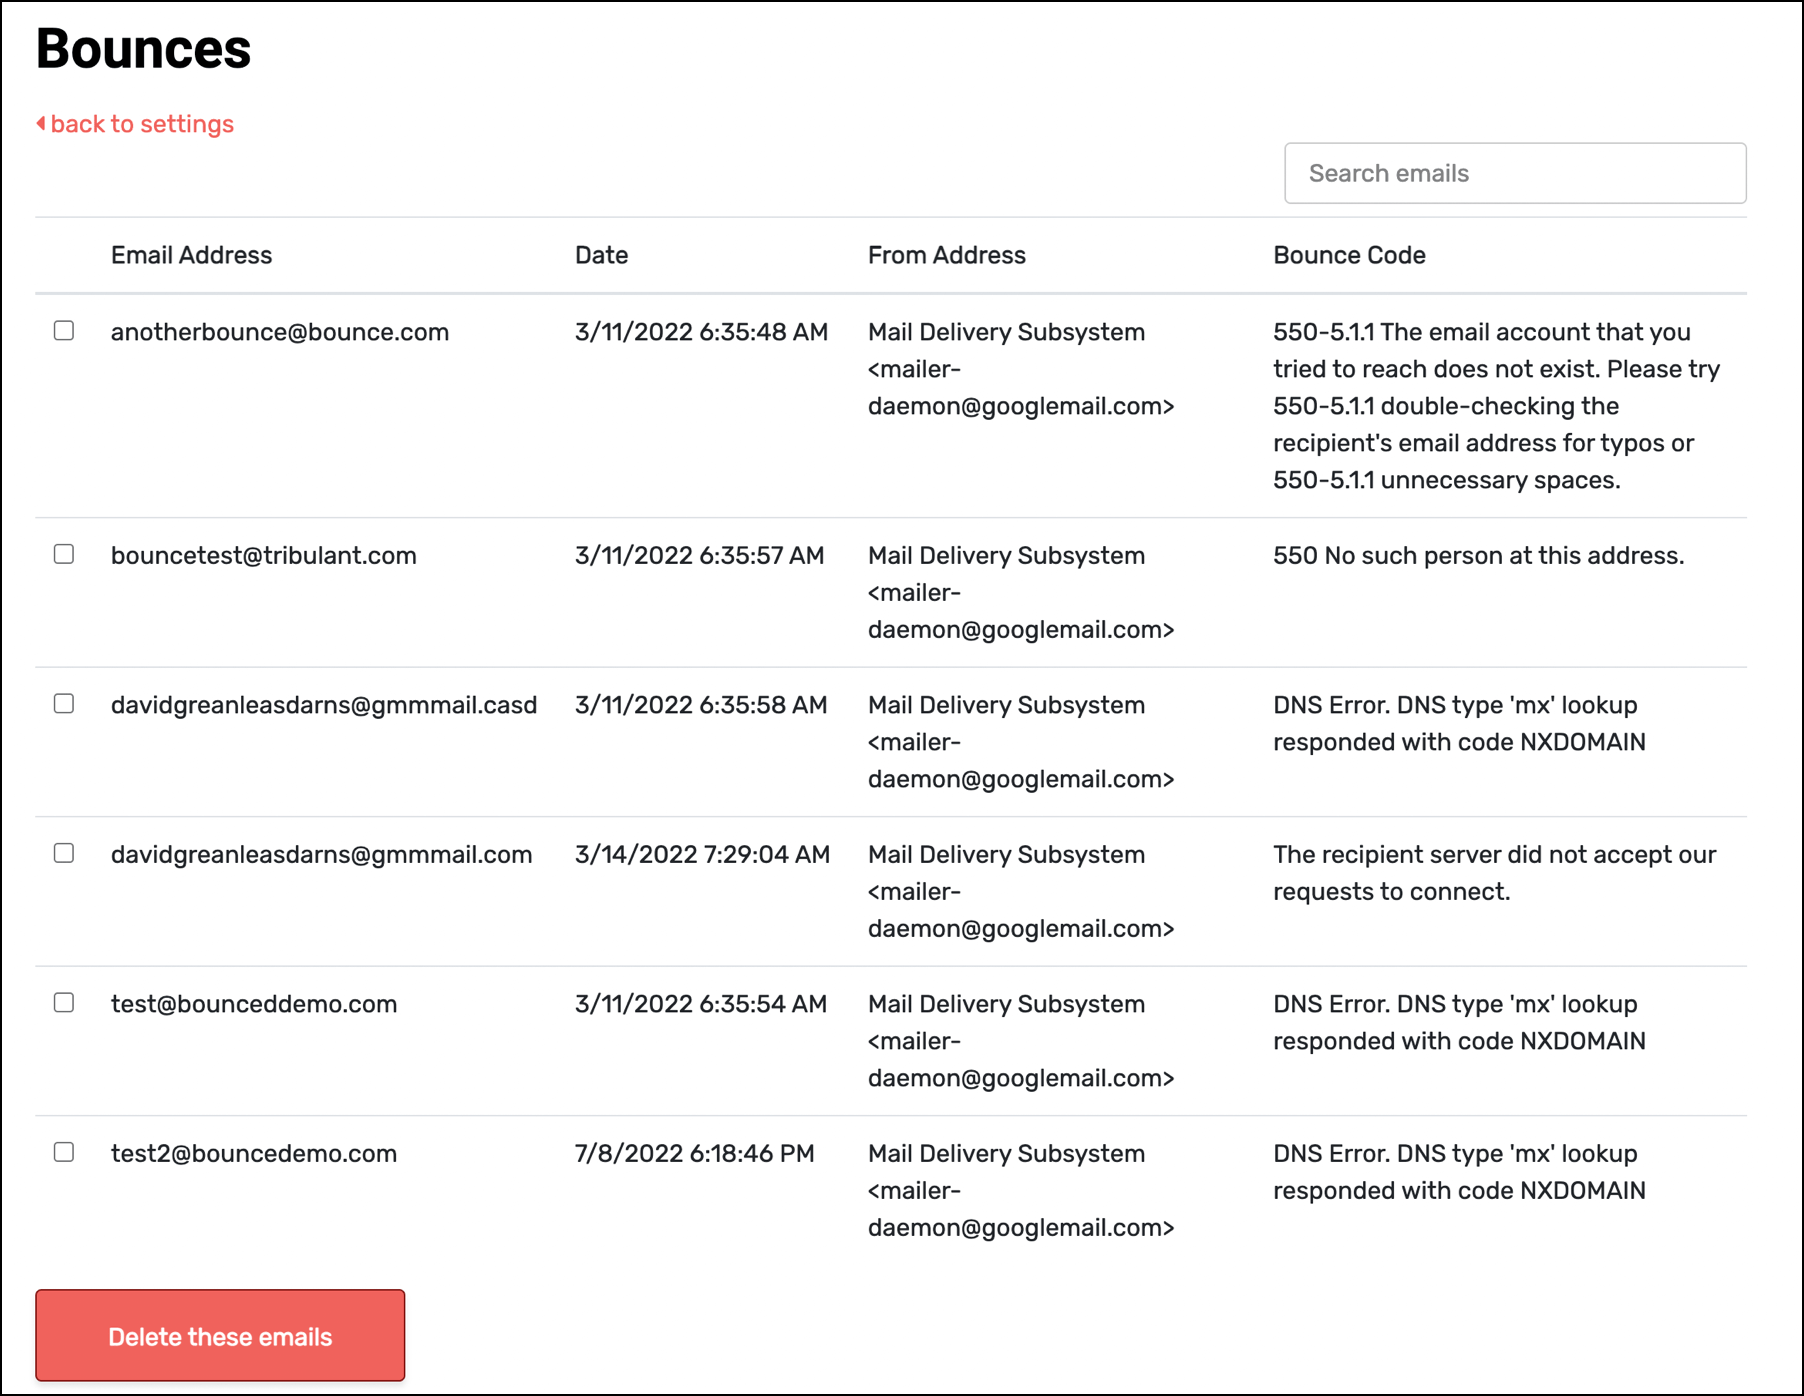
Managed bounced addresses is a place to search, examine, or delete addresses on your bounce list.
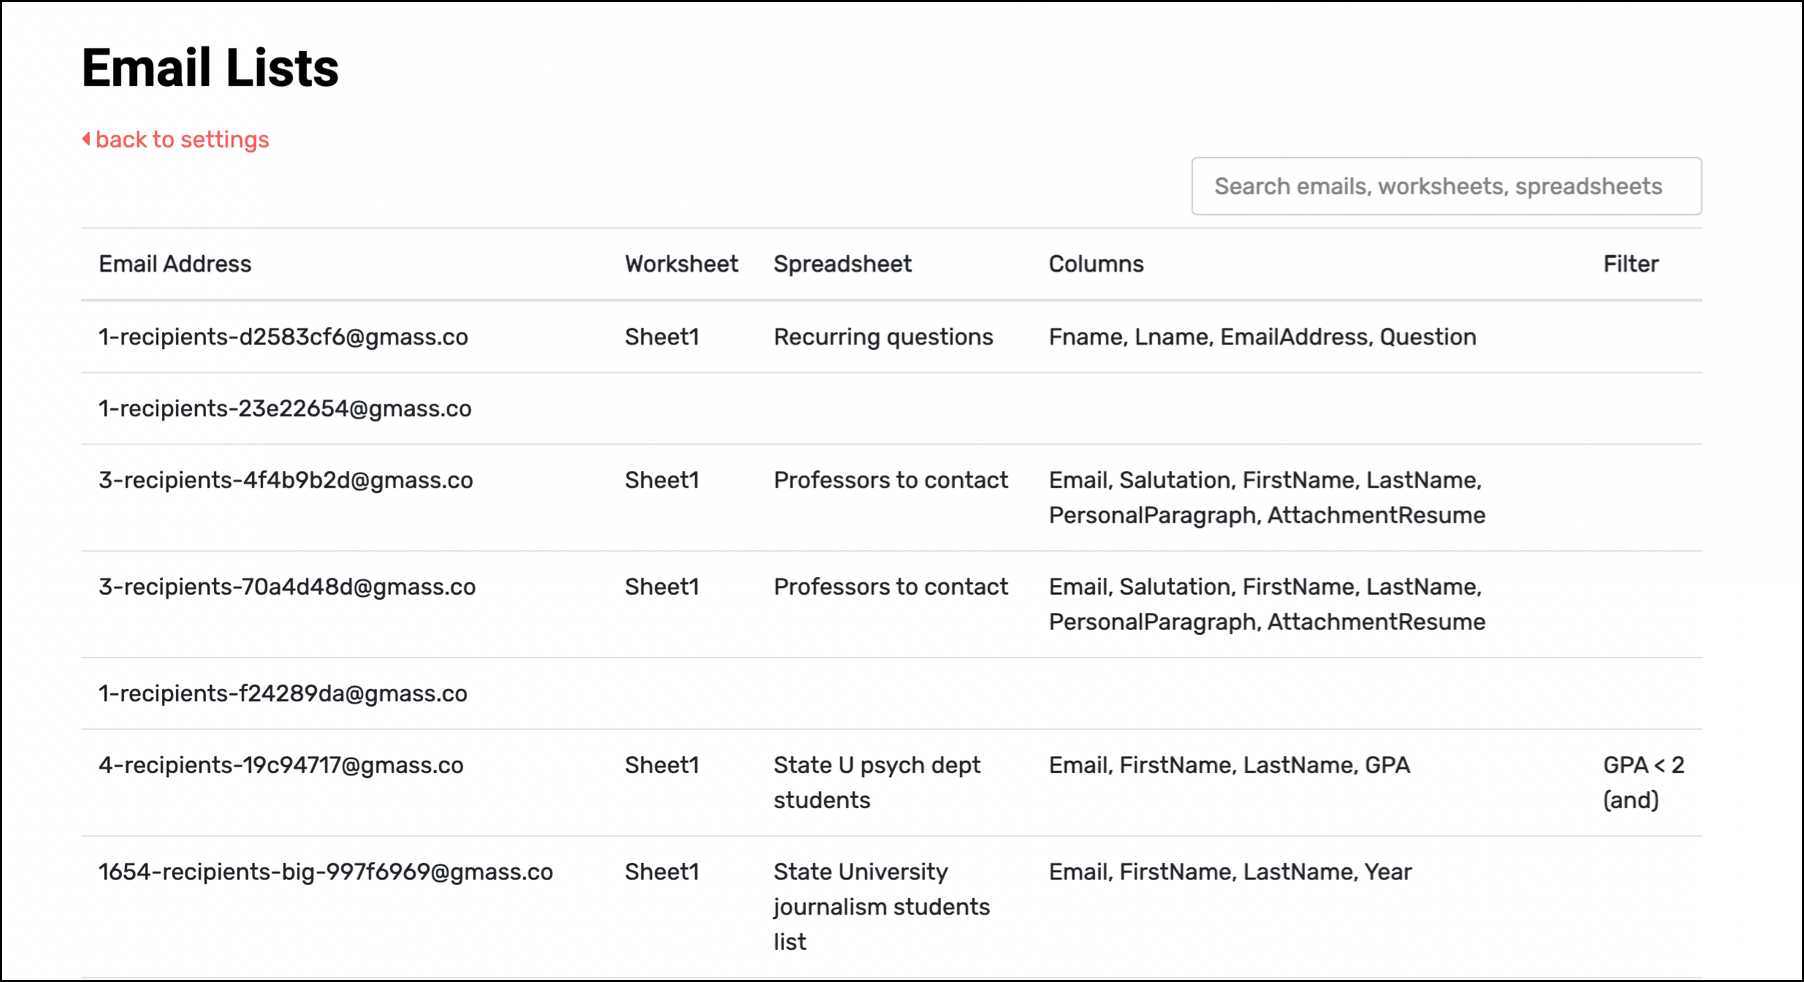
Email Lists
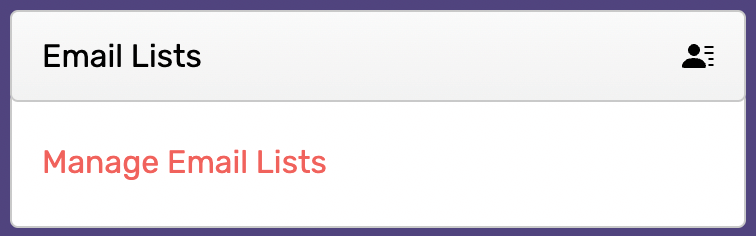
The Email Lists section of the settings is a catalog of all the email lists you’ve used in past campaigns. That includes the email alias (GMass reduces all of the addresses into one email alias), merge field names, and info about the Google Sheet you used for the list.
This is an easy way to fire off quick emails to a past list. The search is also a helpful way to find every campaign corresponding to a specific Google Sheet.
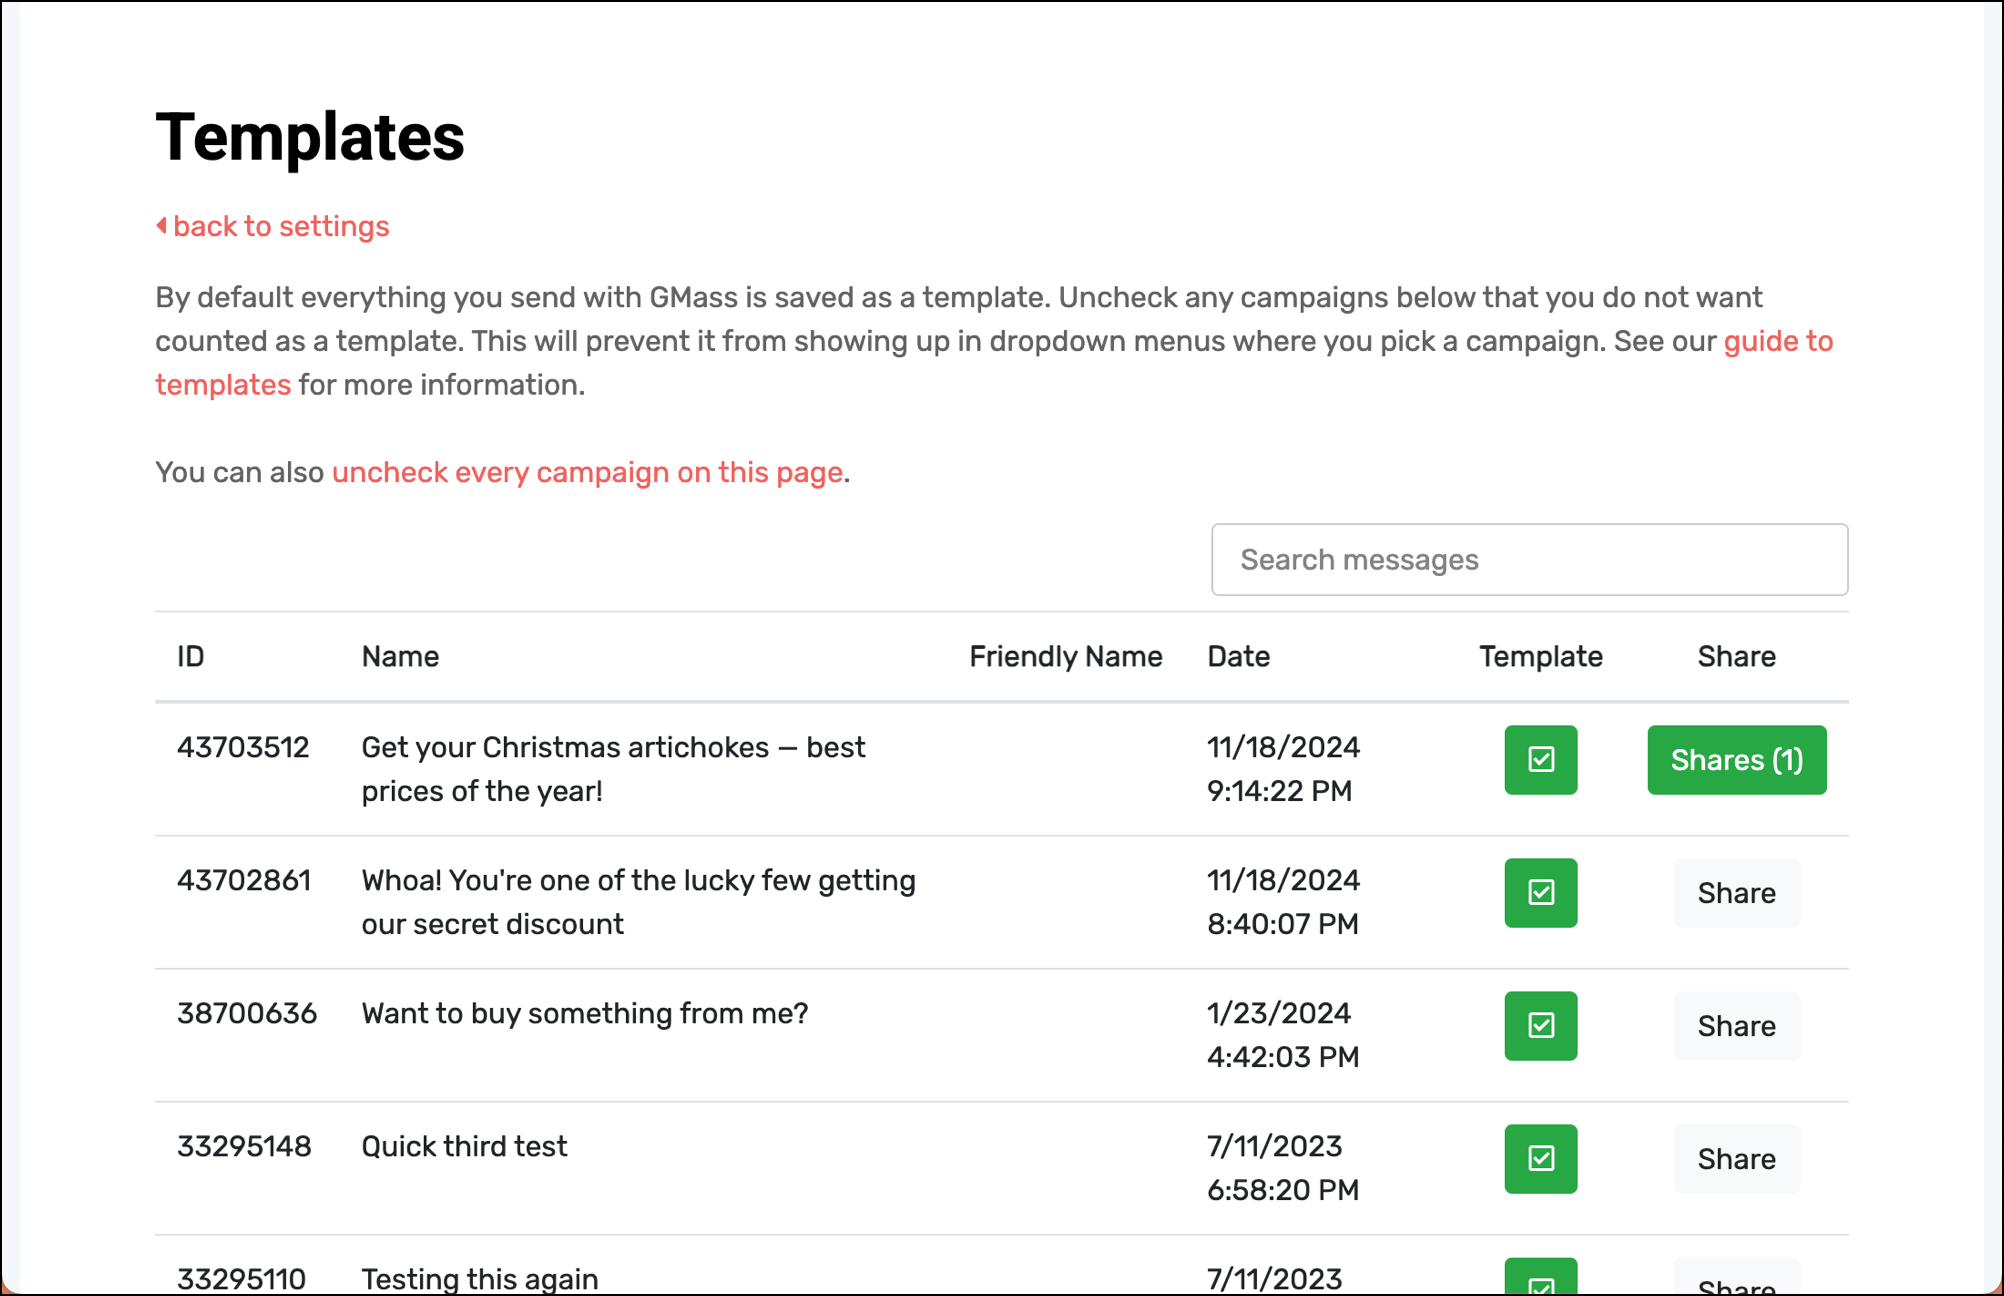
Templates
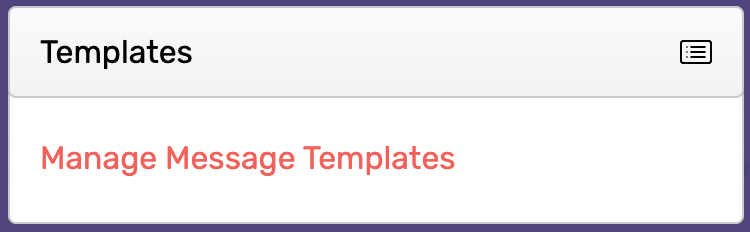
GMass automatically turns every campaign you send into a reusable template. You can manage those in the templates area of the GMass dashboard settings.
You can search for past campaigns by their subject line or the campaign’s friendly name. You can see the date of the campaign and choose to remove it from your templates list in the future.
This is also where you can share your templates with other GMass users.
(Want to quickly make it so all the templates displayed stop appearing in your templates list in the GMass settings box? You can use the link in the intro of the templates page to uncheck all of them.)
Auto Follow-ups
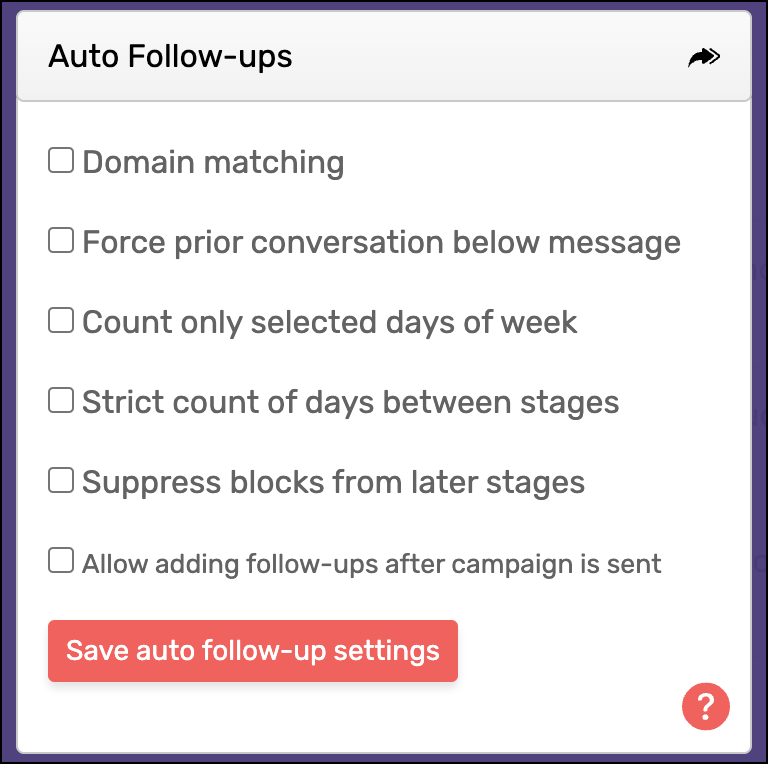
You’ll handle most of your auto follow-up settings on a campaign-by-campaign basis. The options here in the GMass dashboard are the few settings you’d apply across all campaigns.
Domain matching is a way to stop an auto follow-up sequence if anyone at a domain replies. For instance, if you sent an email to 100 people at uber.com in an attempt to get someone at the company to respond. You’d want to stop following up with everyone once that one person responded. With domain matching on, GMass would stop sending those follow-ups to everyone.
Force prior conversation below message is a useful setting for making sure your mass emails simulate one-on-one emails. If you turn on this setting, GMass will add your prior email thread underneath new messages to a contact — even when you’ve changed the subject line. This simulates the way you’d email someone individually — you’d probably reply to their past email thread but change the subject line.
The settings for Count only selected days of the week and Strict count of days between stages are both related to GMass’s “Choose specific days” feature. With that feature, you can choose not to send messages (including follow-ups) on specific days of the week. You can read up on the explanation for these two counting settings in the documentation for that feature.
Suppress blocks from later stages is another block handling feature. If any email in a campaign sequences is blocked, GMass will still send subsequent auto follow-up states. You can instruct GMass not to do that by checking this box.
Allow adding follow-ups after campaign is sent is a useful feature that allows you to add new follow-up stage(s) after you’ve initiated your campaign.
Gmail Limits
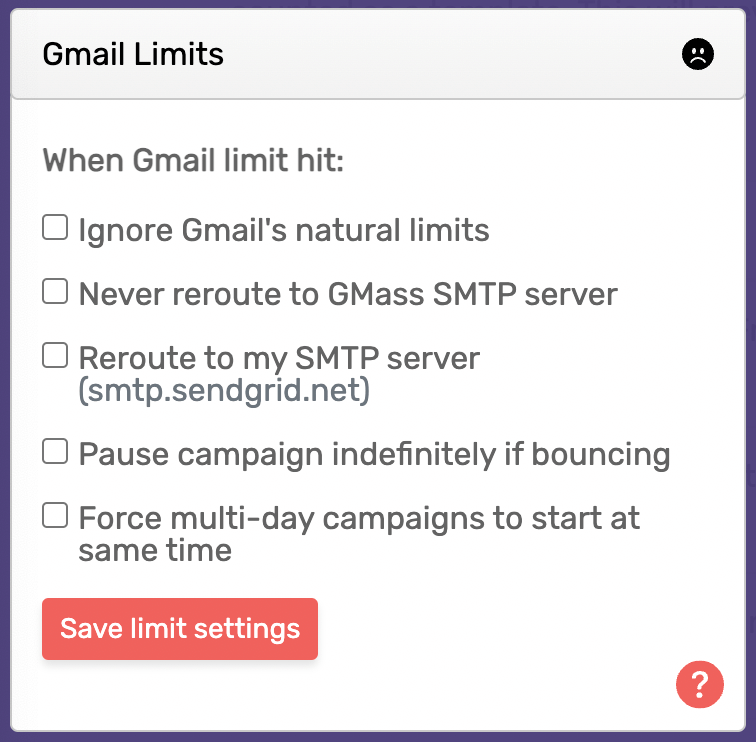
Gmail limits how many emails you can send in a 24-hour period. Free Gmail accounts can send up to 500 emails, paid Google Workspace accounts can send up to 2,000.
With GMass you can set up a third-party SMTP server to break Gmail’s limits and send virtually unlimited emails. And here in the Gmail Limits settings, you can tweak exactly how you approach those situations when you’re bumping into Gmail’s caps.
Ignore Gmail’s natural limits tells GMass to just keep on sending emails through Gmail, regardless of how close (or over) your limit you may be. Will this work? Hey, it might.
Never reroute to GMass SMTP server is an option to turn off one of the ways GMass tries to help you get your campaigns out. There are some cases where GMass will route your over-the-limit campaigns though our own SendGrid SMTP account. If you turn on this option, we won’t do that with your campaigns.
Reroute to my SMTP server lets GMass know it should use your own SMTP server (which you set up a few menus earlier in the dashboard) when you’re over Gmail’s daily limits.
Pause campaign indefinitely if bouncing tells GMass to pause your campaign when you hit Gmail’s limits. Normally GMass will split your campaign over multiple days or reroute it through our SMTP server or yours in those cases. When this setting is on, GMass will pause the campaign instead.
Force multi-day campaigns to start at same time is your way to control the time GMass sends large campaigns that we’ve split over multiple days to stay underneath Gmail’s limits.
Email Authentication
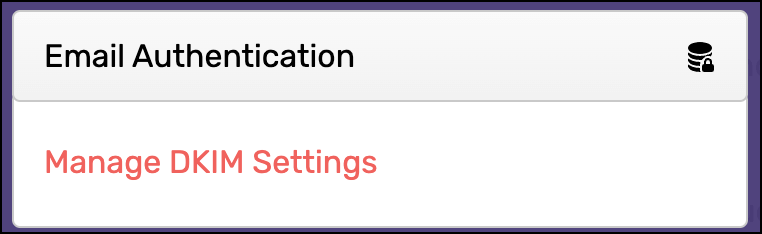
In the Email Authentication section of the dashboard you can manage your DKIM settings when you’re using a third-party SMTP server with GMass.
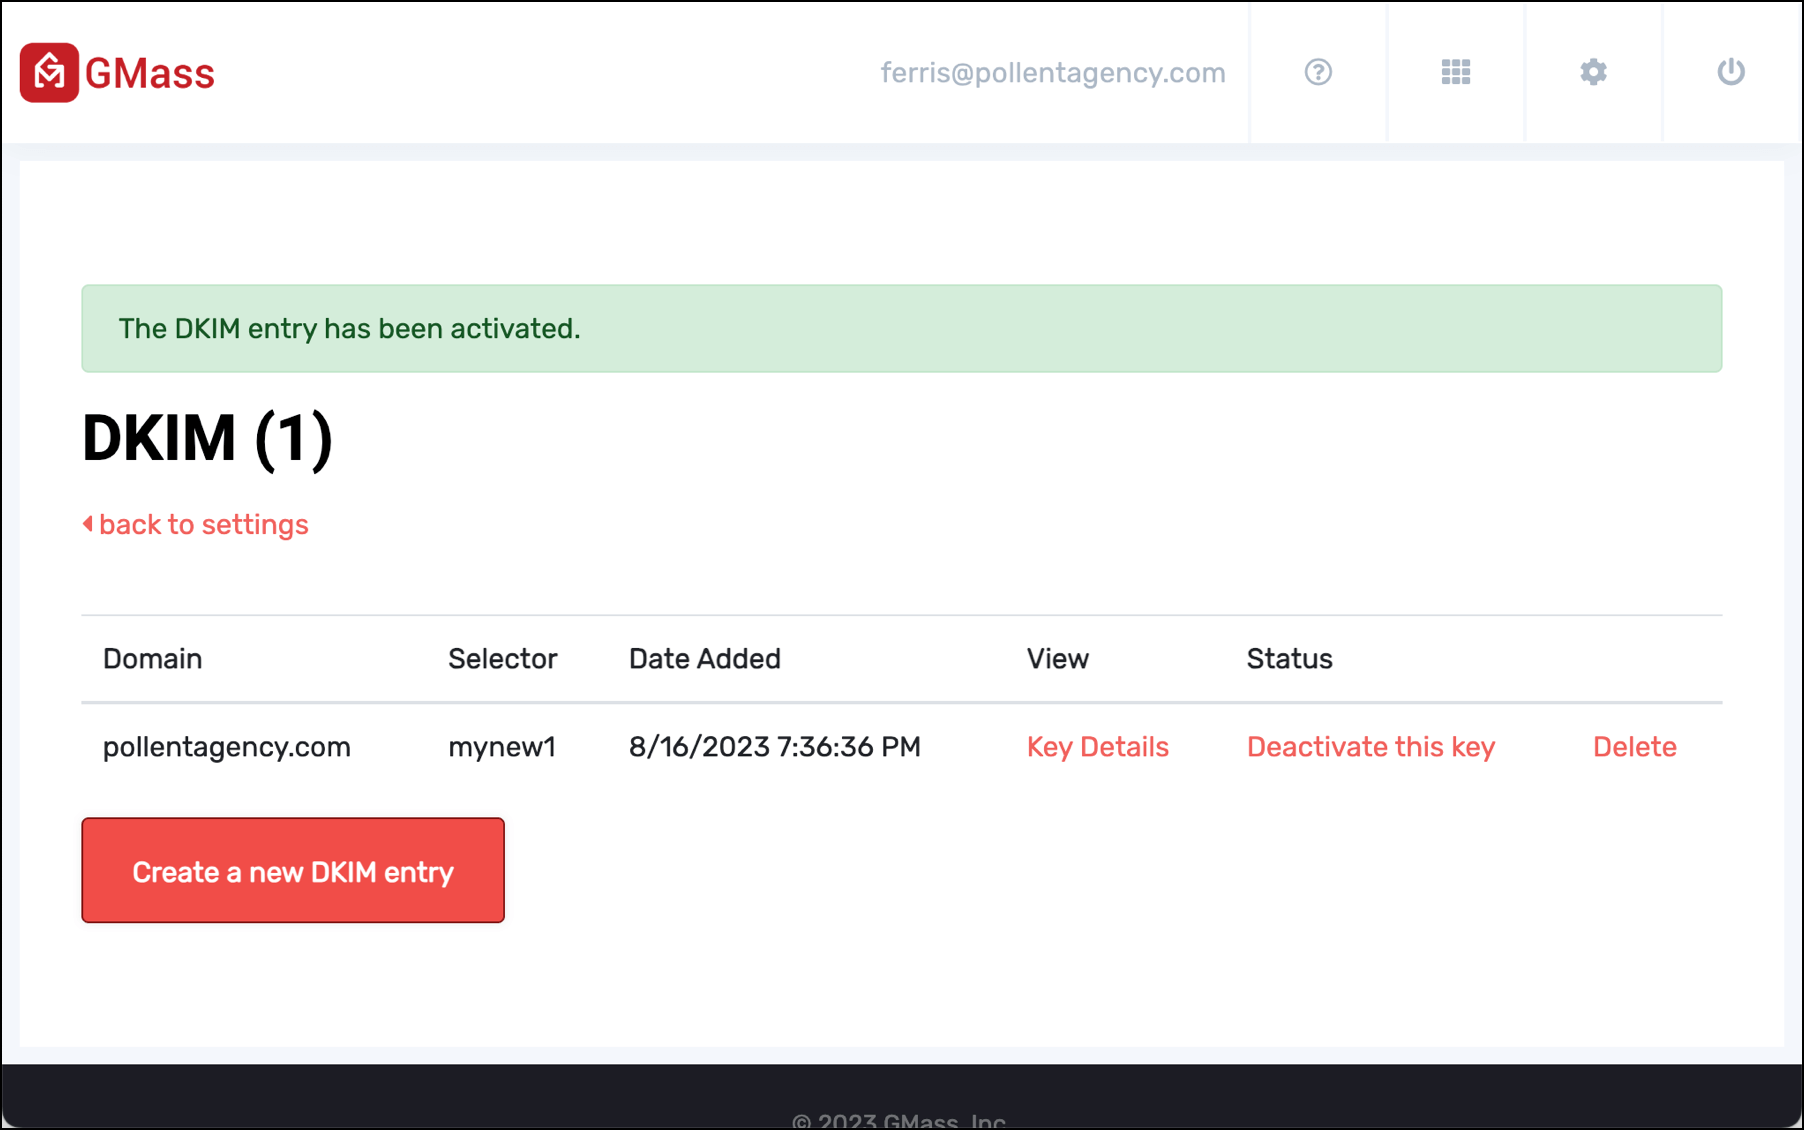
This helps ensure your emails are DMARC compliant when you’re sending through an external server.
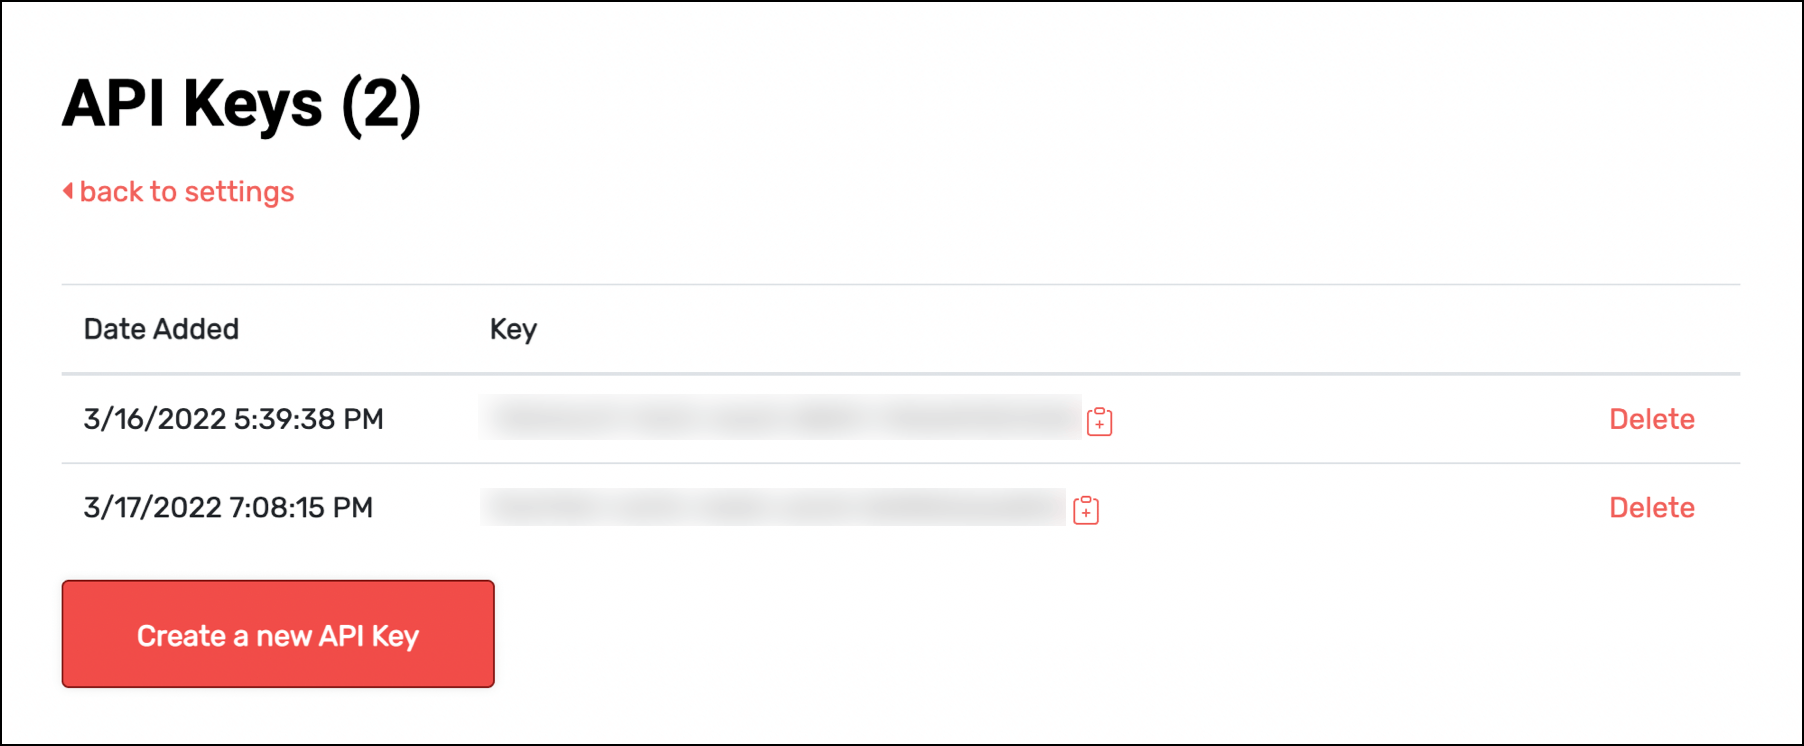
API Keys
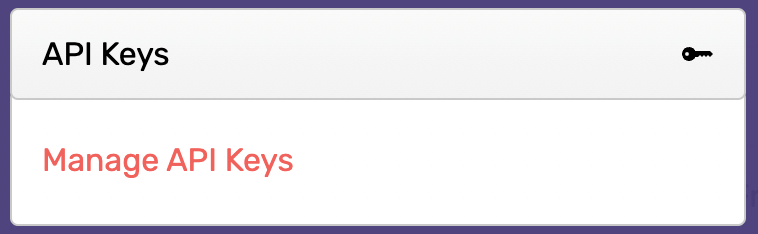
You’ll need your GMass API keys if you want to connect GMass to other apps (either apps you build or via Zapier). This section of the GMass dashboard is where you can generate and manage your API keys.
Sending
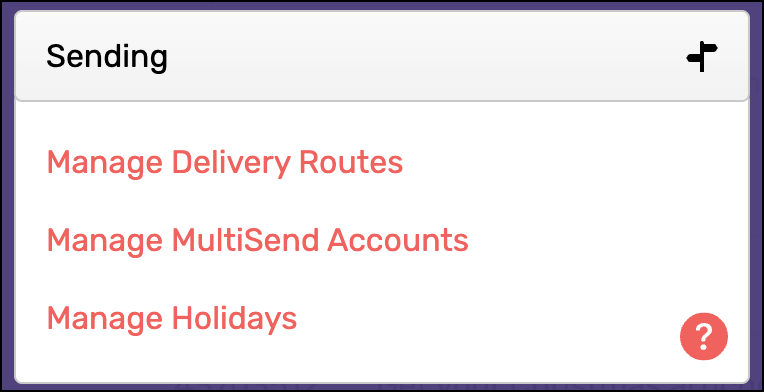
In the Sending section you’ll tweak specific account-level settings around different sending features.
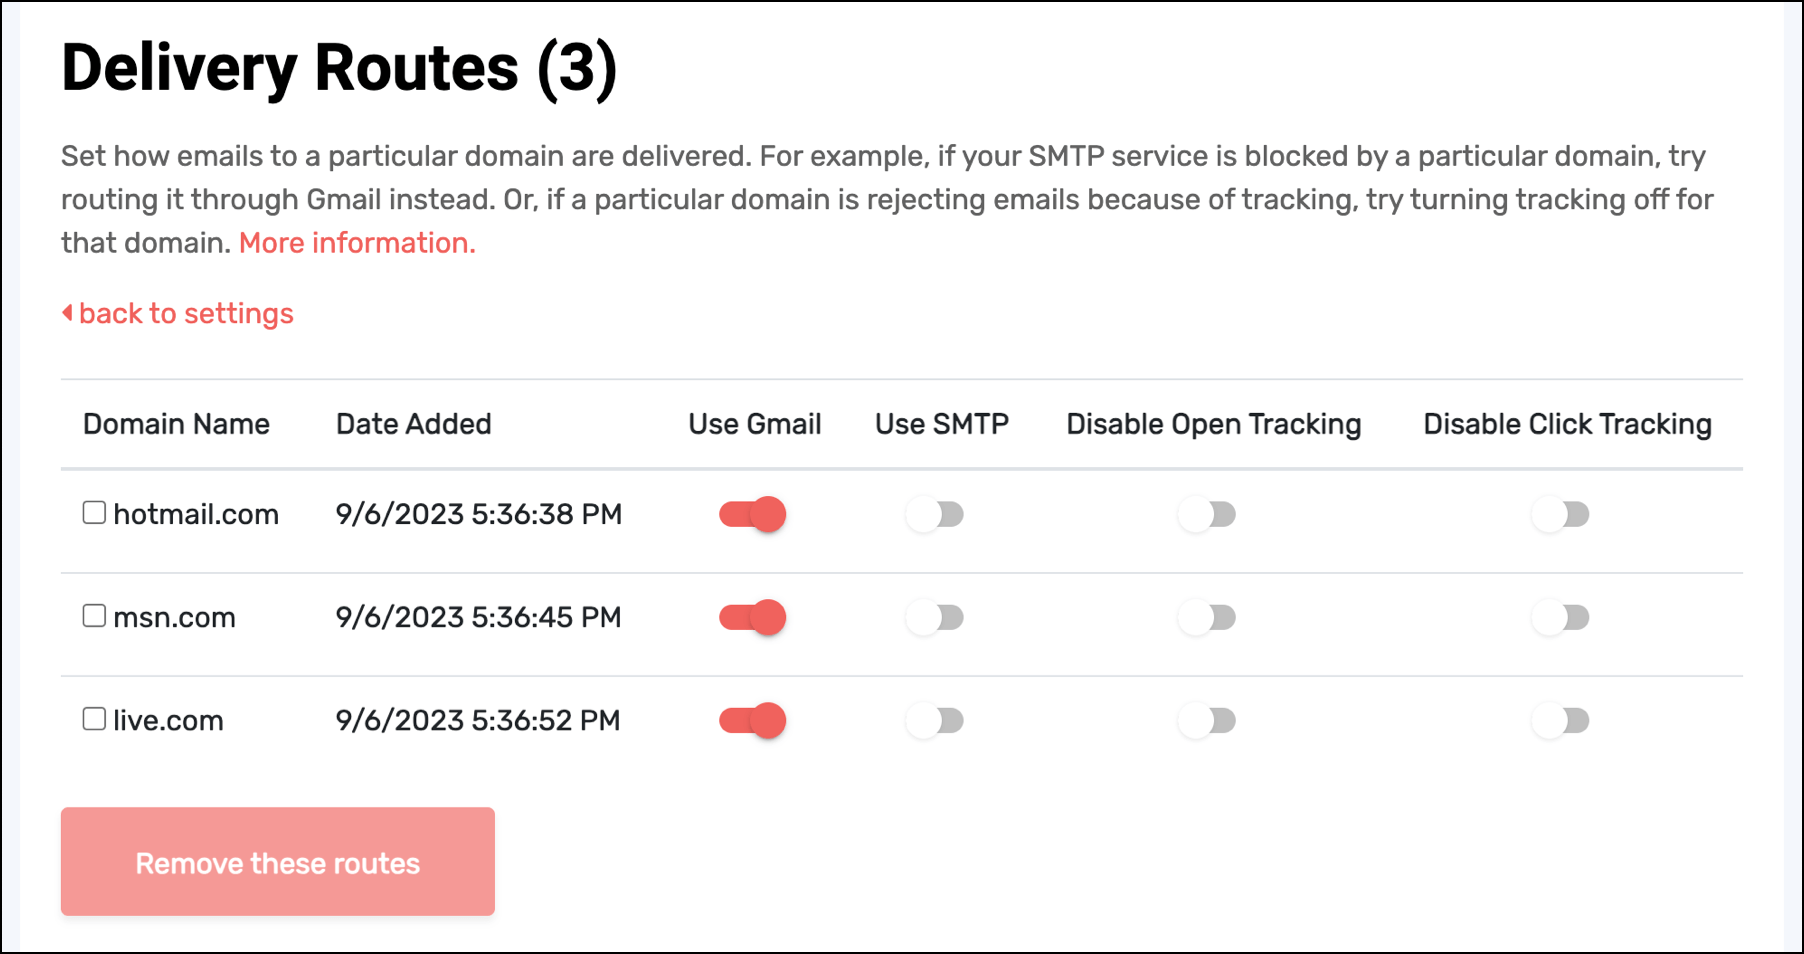
Manage Delivery Routes is where you’ll set up specific sending routes if you’re having deliverability issues with a specific email service provider or domain.
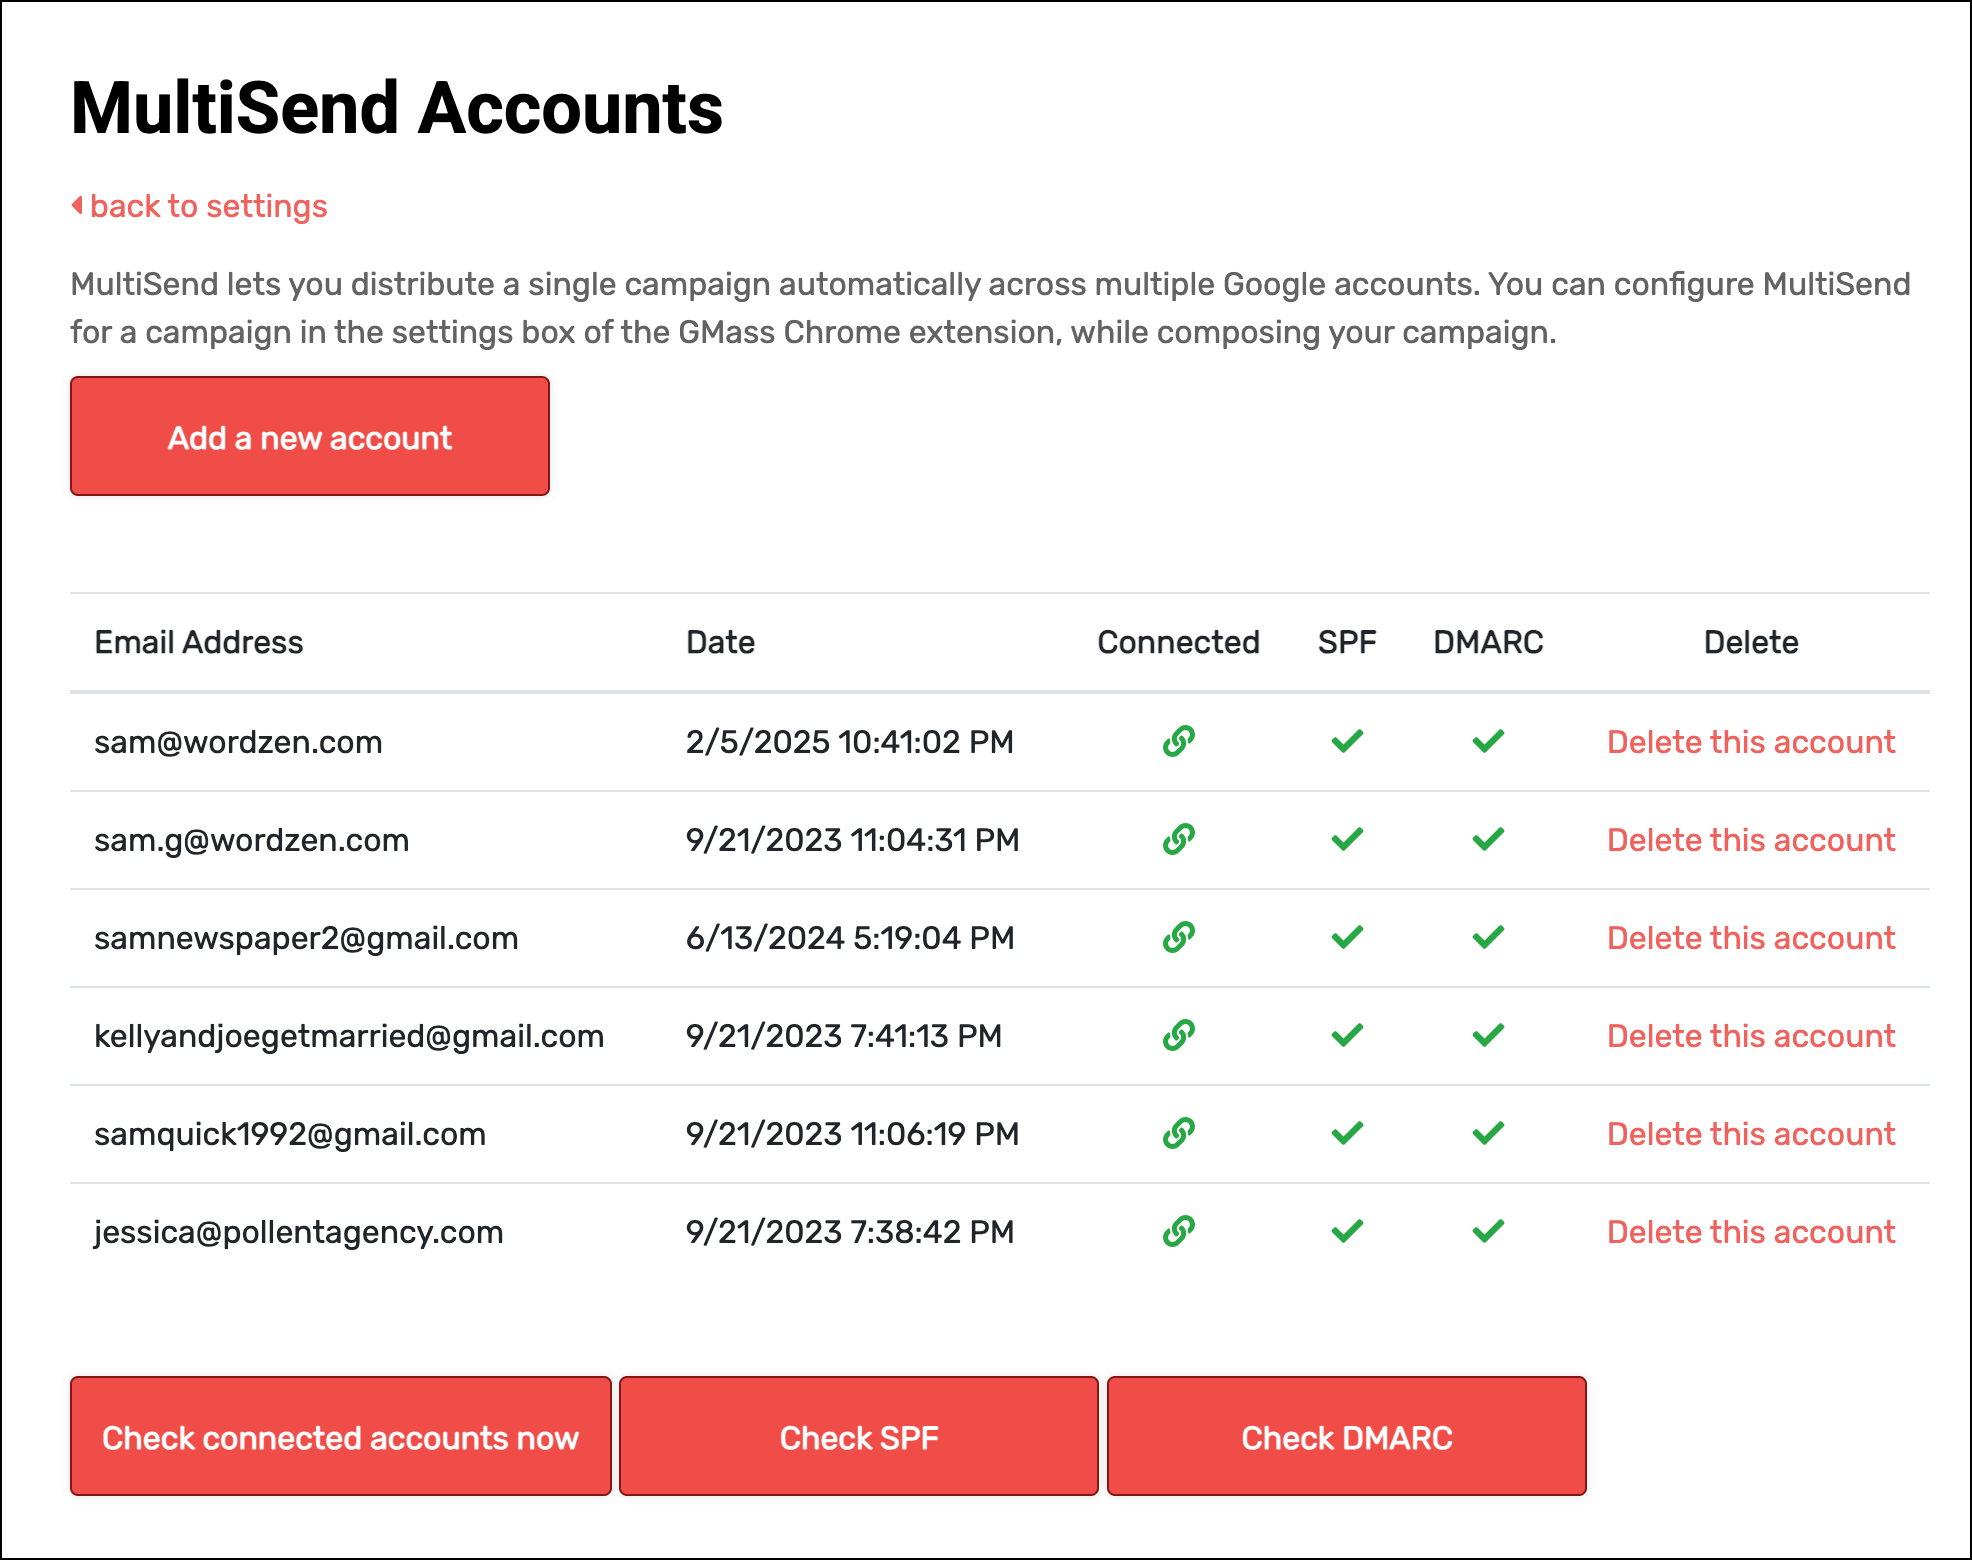
With the Manage MultiSend Accounts settings, you can add, remove, and monitor the extra sending accounts you’re using for GMass’s MultiSend inbox rotation.
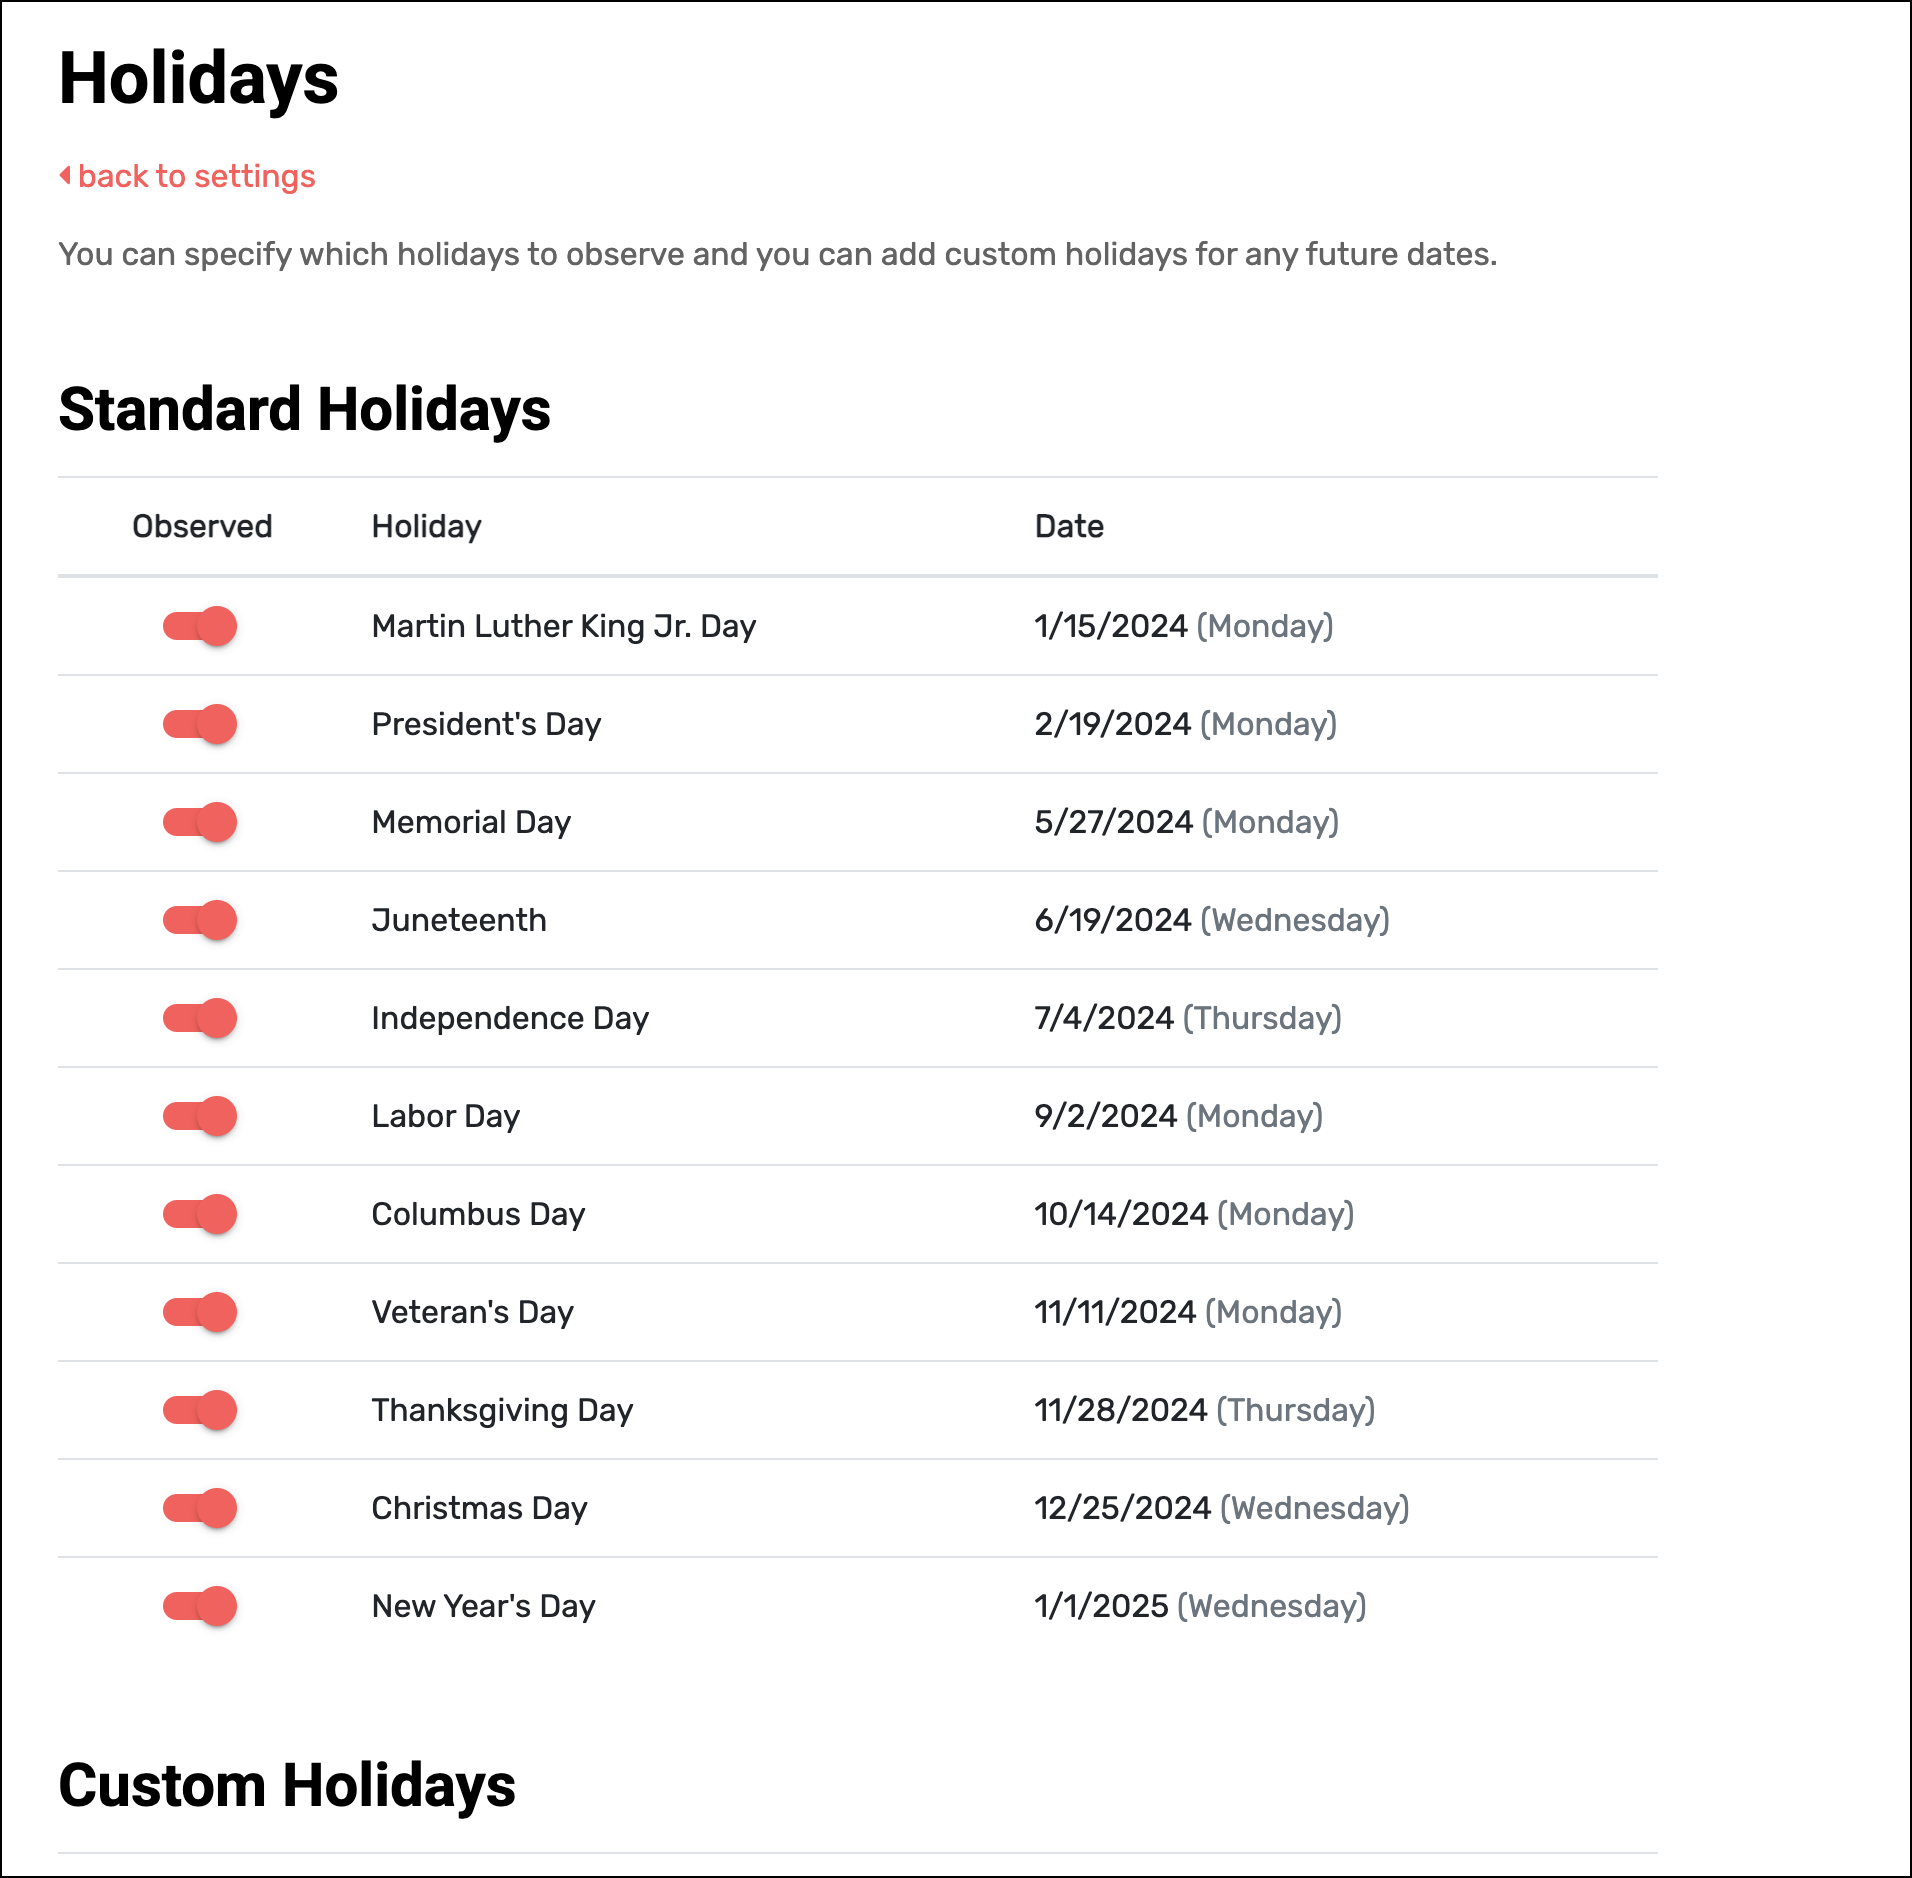
And with Manage Holidays, you can designate which holidays you’d like to skip in your sending. You can add, remove, and manage your account-level list of holidays here; then, on a campaign-by-campaign basis, you’ll choose whether to skip sending on holidays from the GMass settings box.
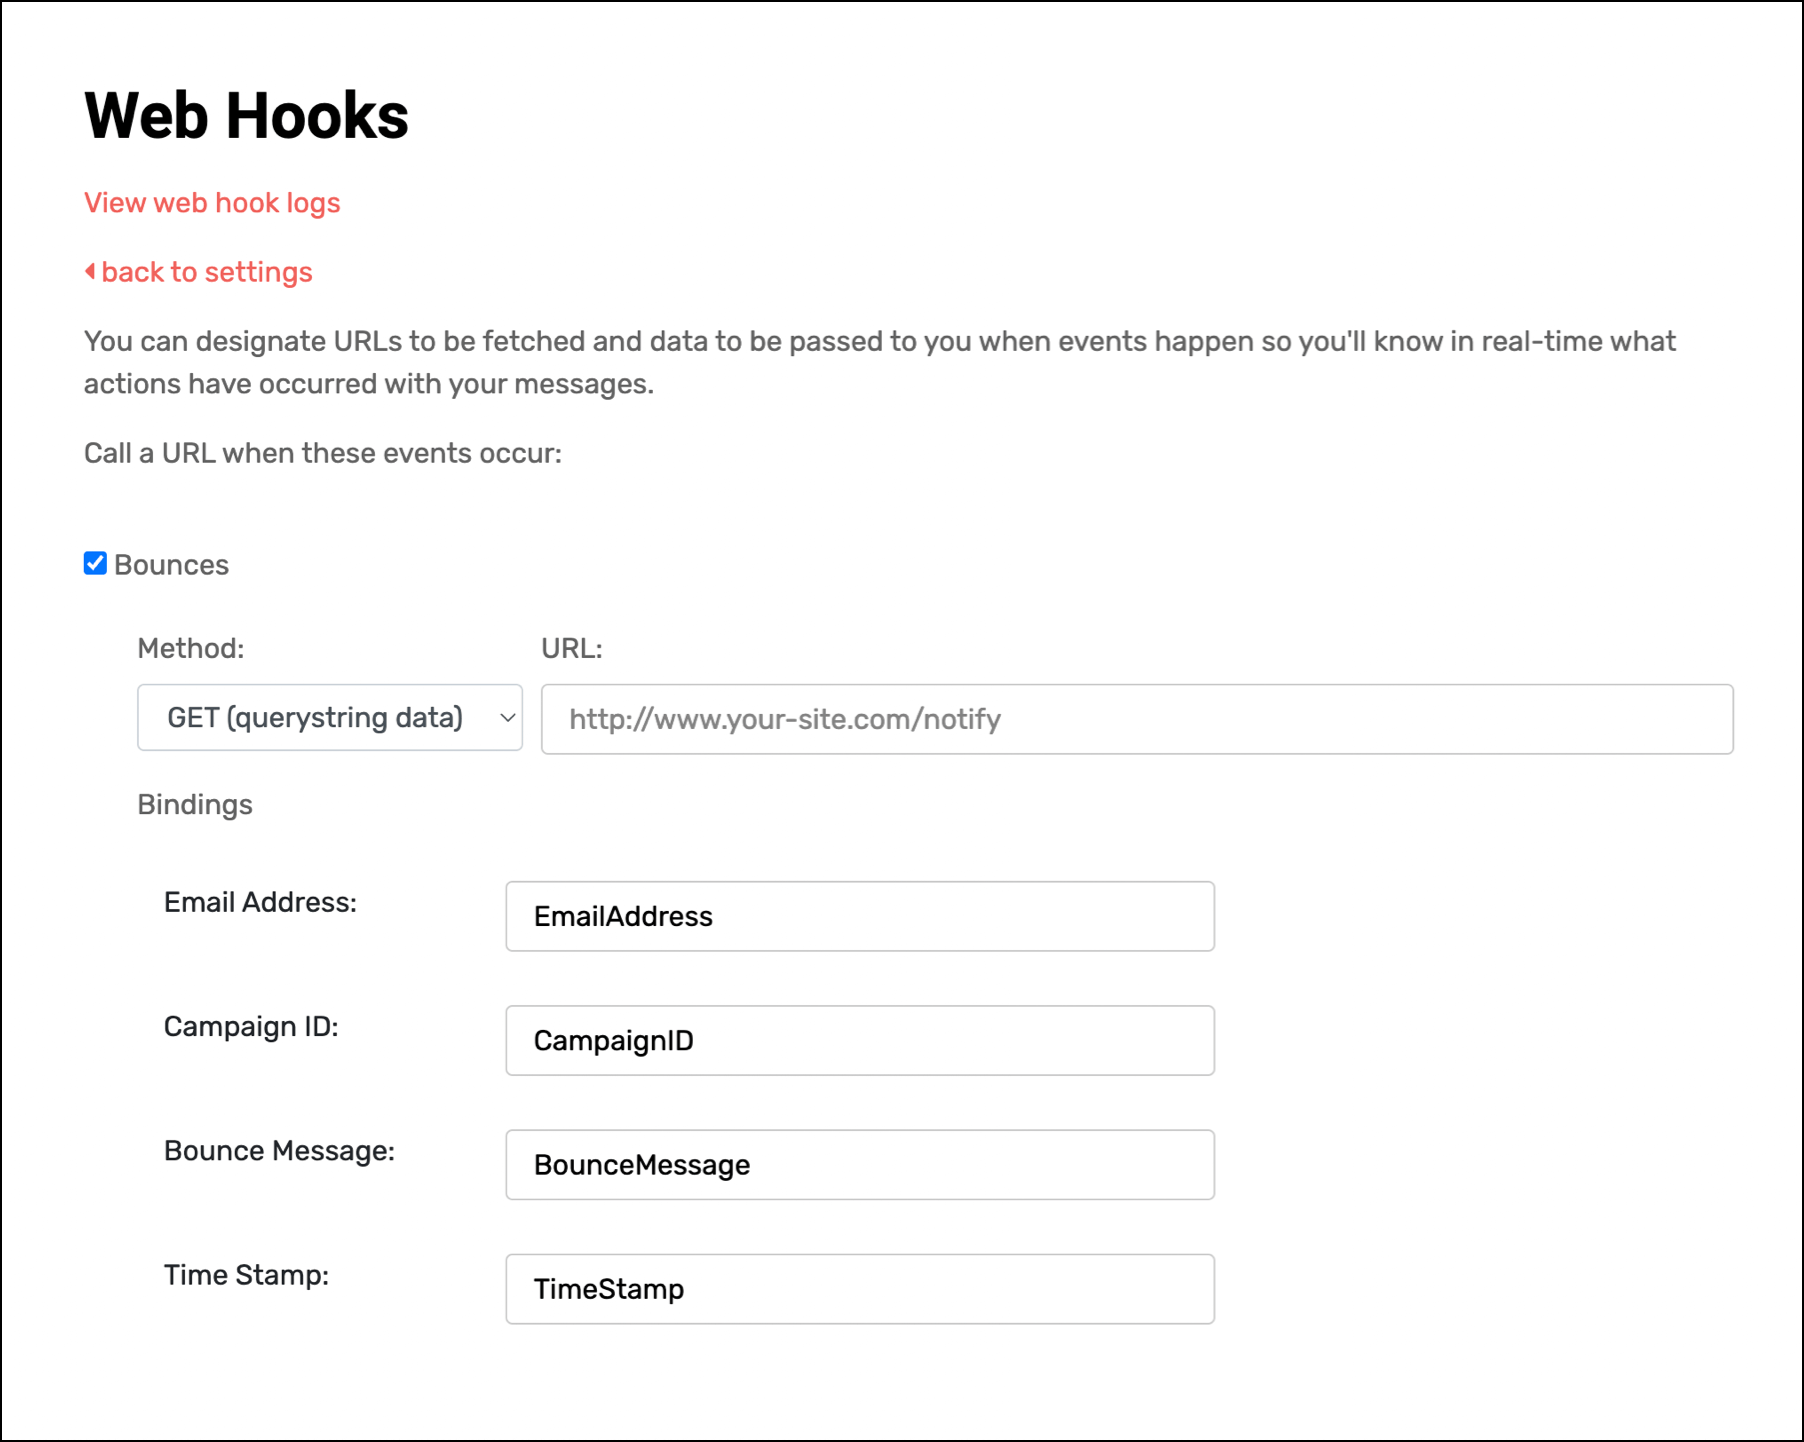
Web Hooks
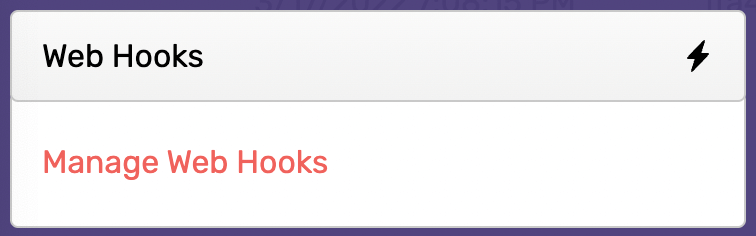
Webhooks allow GMass to call a URL on your server based on certain events, which is useful for logging events in a database or CRM (among many other applications).
In the web hooks management area you can set up the webhooks for different events (like clicks, bounces, and so on).
GMass Transactional SMTP Relay
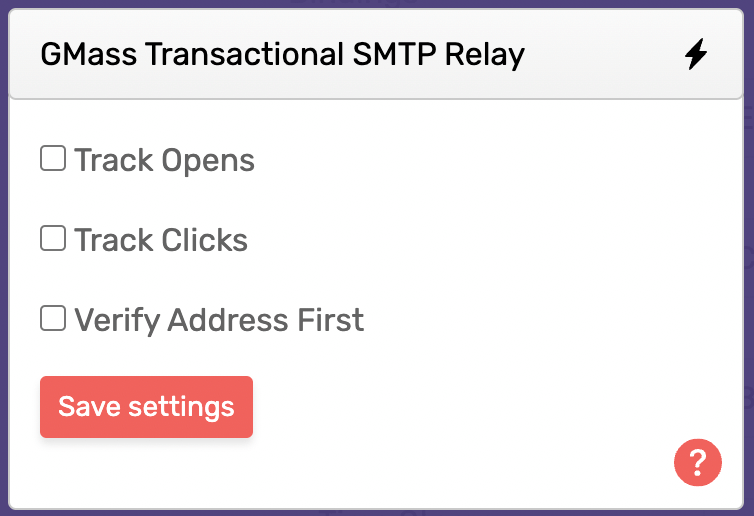
Transactional emails via the GMass transactional SMTP relay work different than your standard GMass campaigns. These transactional emails are business-focused (non-promotional) emails you send from your website or app. (Or via the API.)
Track Opens allows you to track opens on your transactional emails. If you check the box for this setting, GMass will add its hard-to-detect tracking pixel to the emails.
Track Clicks allows you to track clicks on transactional emails. GMass will add tracking to your links, using your custom tracking domain if you have one.
Verify Address First will run each transactional email through GMass’s free email verification service before sending.
Notifications
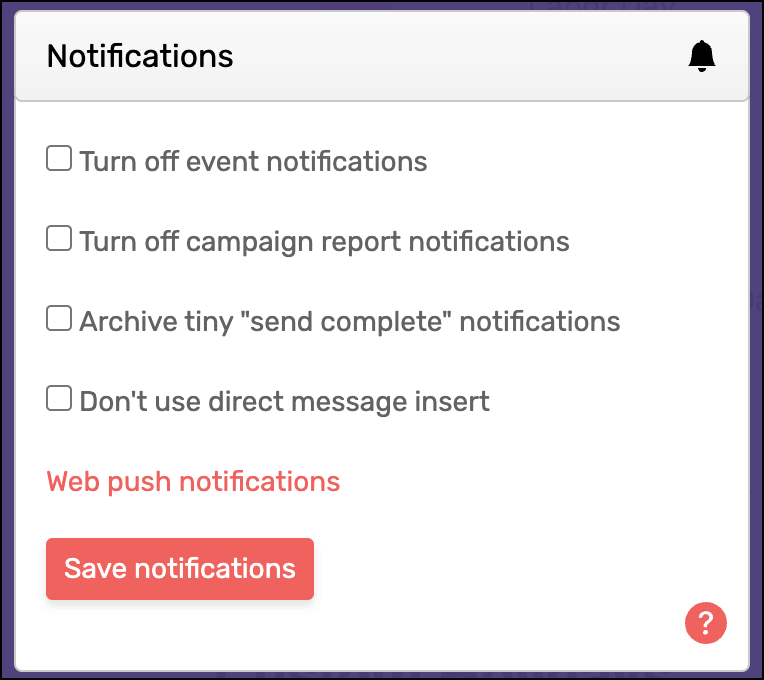
GMass sends you notifications at various stages of the campaign process. This is where you can control them.
Turn off email notifications will stop GMass from sending email notifications about, well, everything that happens with your campaign. While GMass automatically removes those emails from your Gmail inbox and files them under the appropriate labels, you may not want them at all. (Or you may be using an email client like Apple Mail that’s not so good about respecting Gmail labels.)
Likewise, turn off campaign notifications will stop those campaign notifications from coming to your inbox.
Archive tiny “send complete” notifications will hide the “send complete” message that appears when all the emails in your campaign have gone out.
Don’t use direct message insert skips using Gmail’s message insert API, which can create more messages in your mailbox.
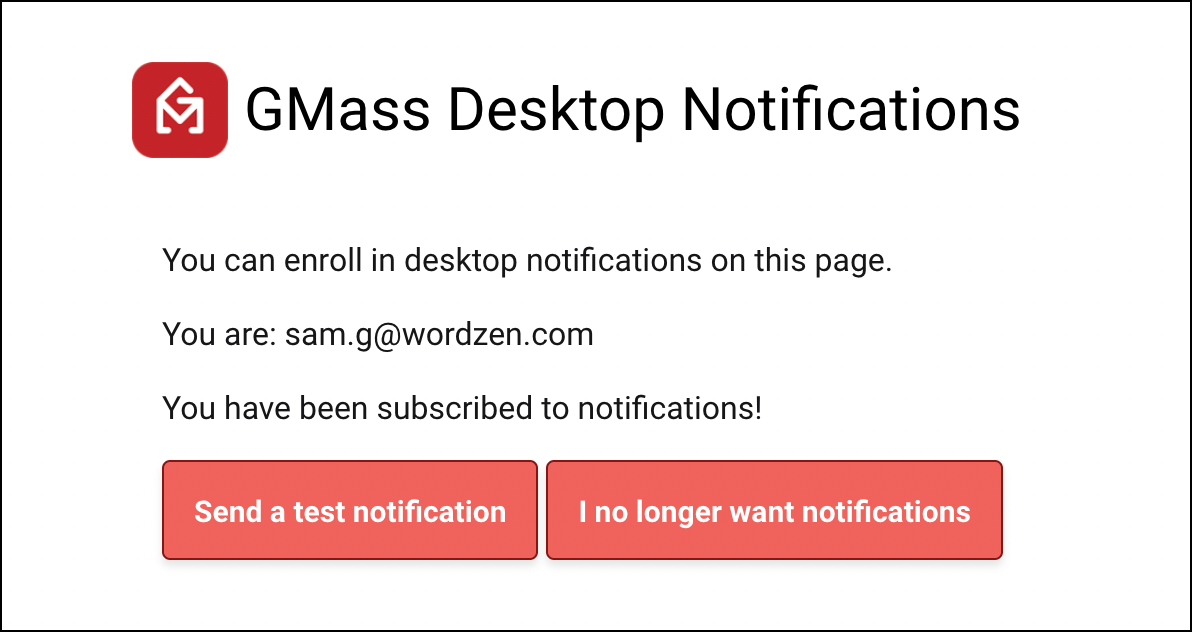
Web push notifications is a way to turn on or off desktop notifications from GMass.
Time Zone
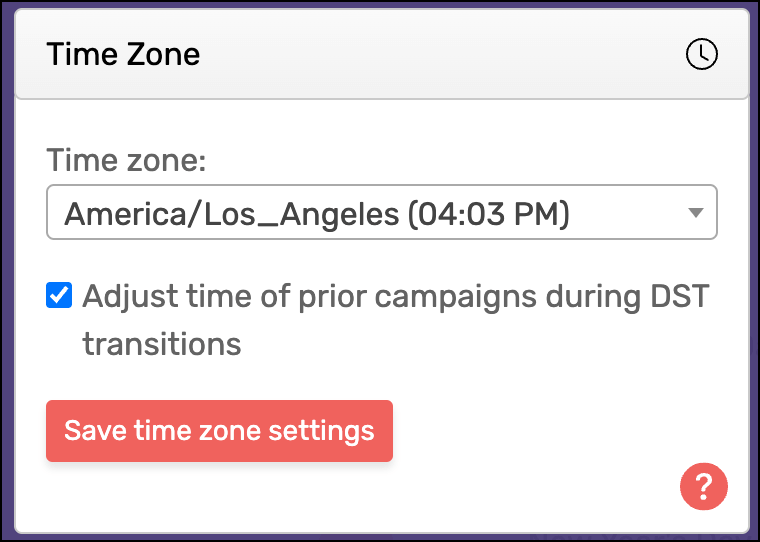
You can set a default time zone in GMass.
GMass will then use that time zone as the starting point for all your scheduling options, and it will give you more accurate reporting and handling of daylight saving time changes.
Other

The “Other” settings are the handful of account-wide settings that don’t fit into any of the above categories. (At least not at the moment; we add new sections to the dashboard settings when needed.)
Turn off beats popup is an option for people who don’t want GMass’s beat tracking features to appear when they attach an audio file to a message.
Keep white space around Sheet cells is an option for people who don’t want GMass to trim the white space at the beginning and/or end of the data in the Google Sheets you use for campaigns.
With Maximize spintax randomization you can have GMass use random spintax variations throughout the different spin sections in an email — this helps make every email unique.
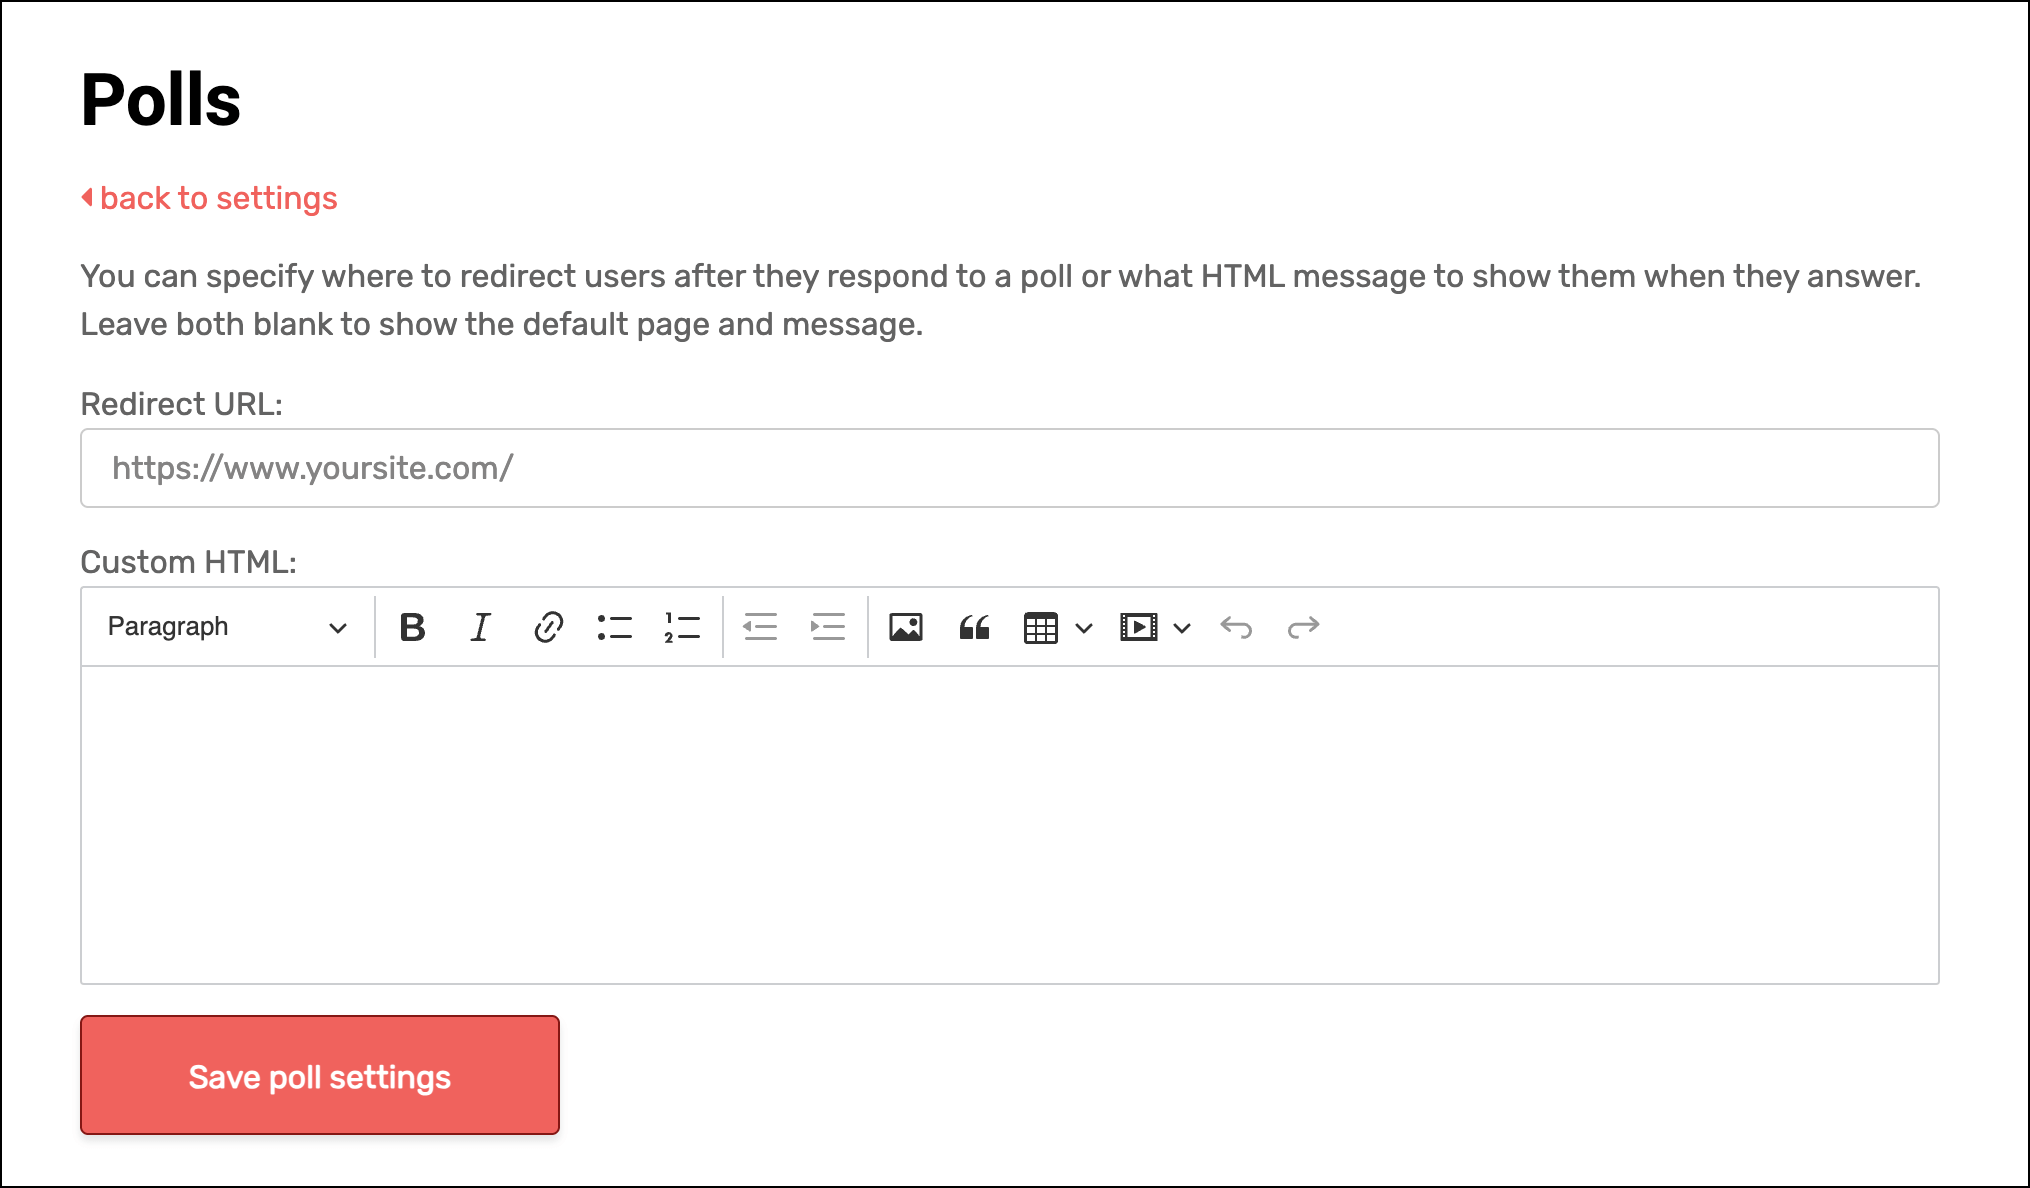
In the Poll settings you can add a URL for redirection or custom HTML after a recipient takes one of your email polls.
My Account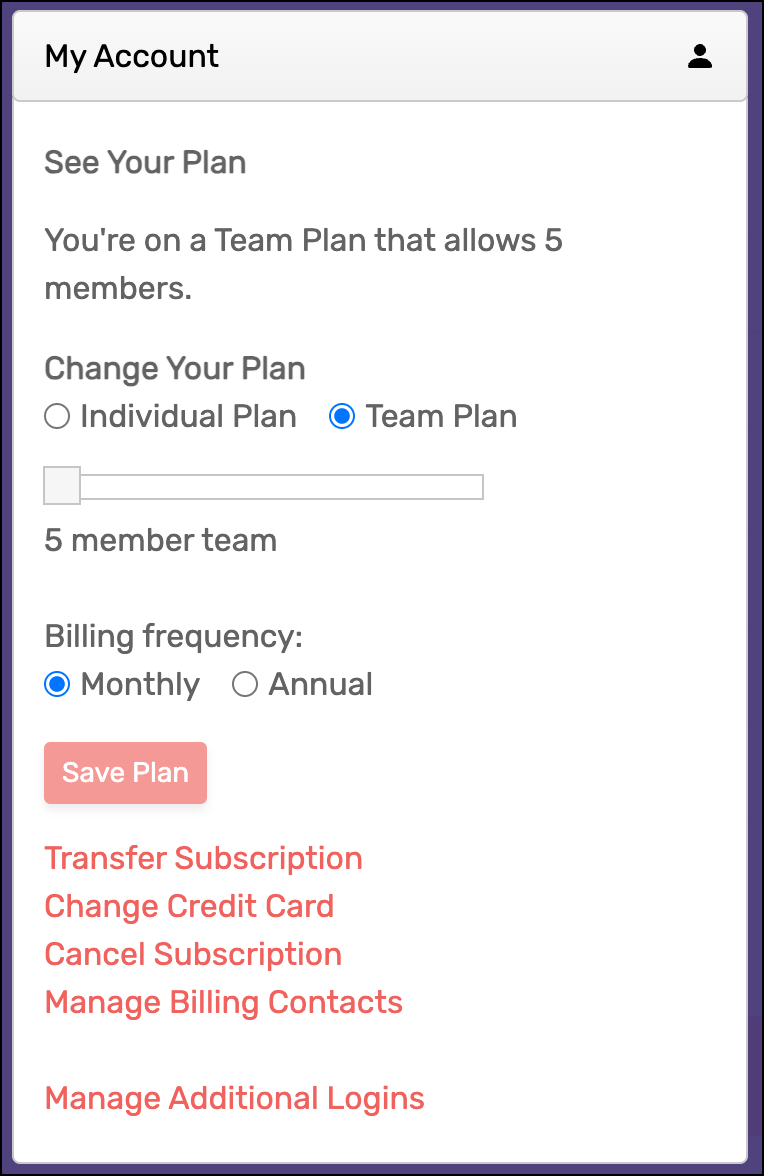
You can make changes to your plan right here in the dashboard.
You can use Transfer Subscription if you need to move your GMass account to a different email address.
Change Credit Card is if you, obviously, need to change the billing card.
You can also Cancel Subscription and Manage Billing Contacts from this section of the dashboard.
The “Manage Additional Logins” section is where you can grant access to your account (or see who has access). This is a feature often used by managers on team plans.
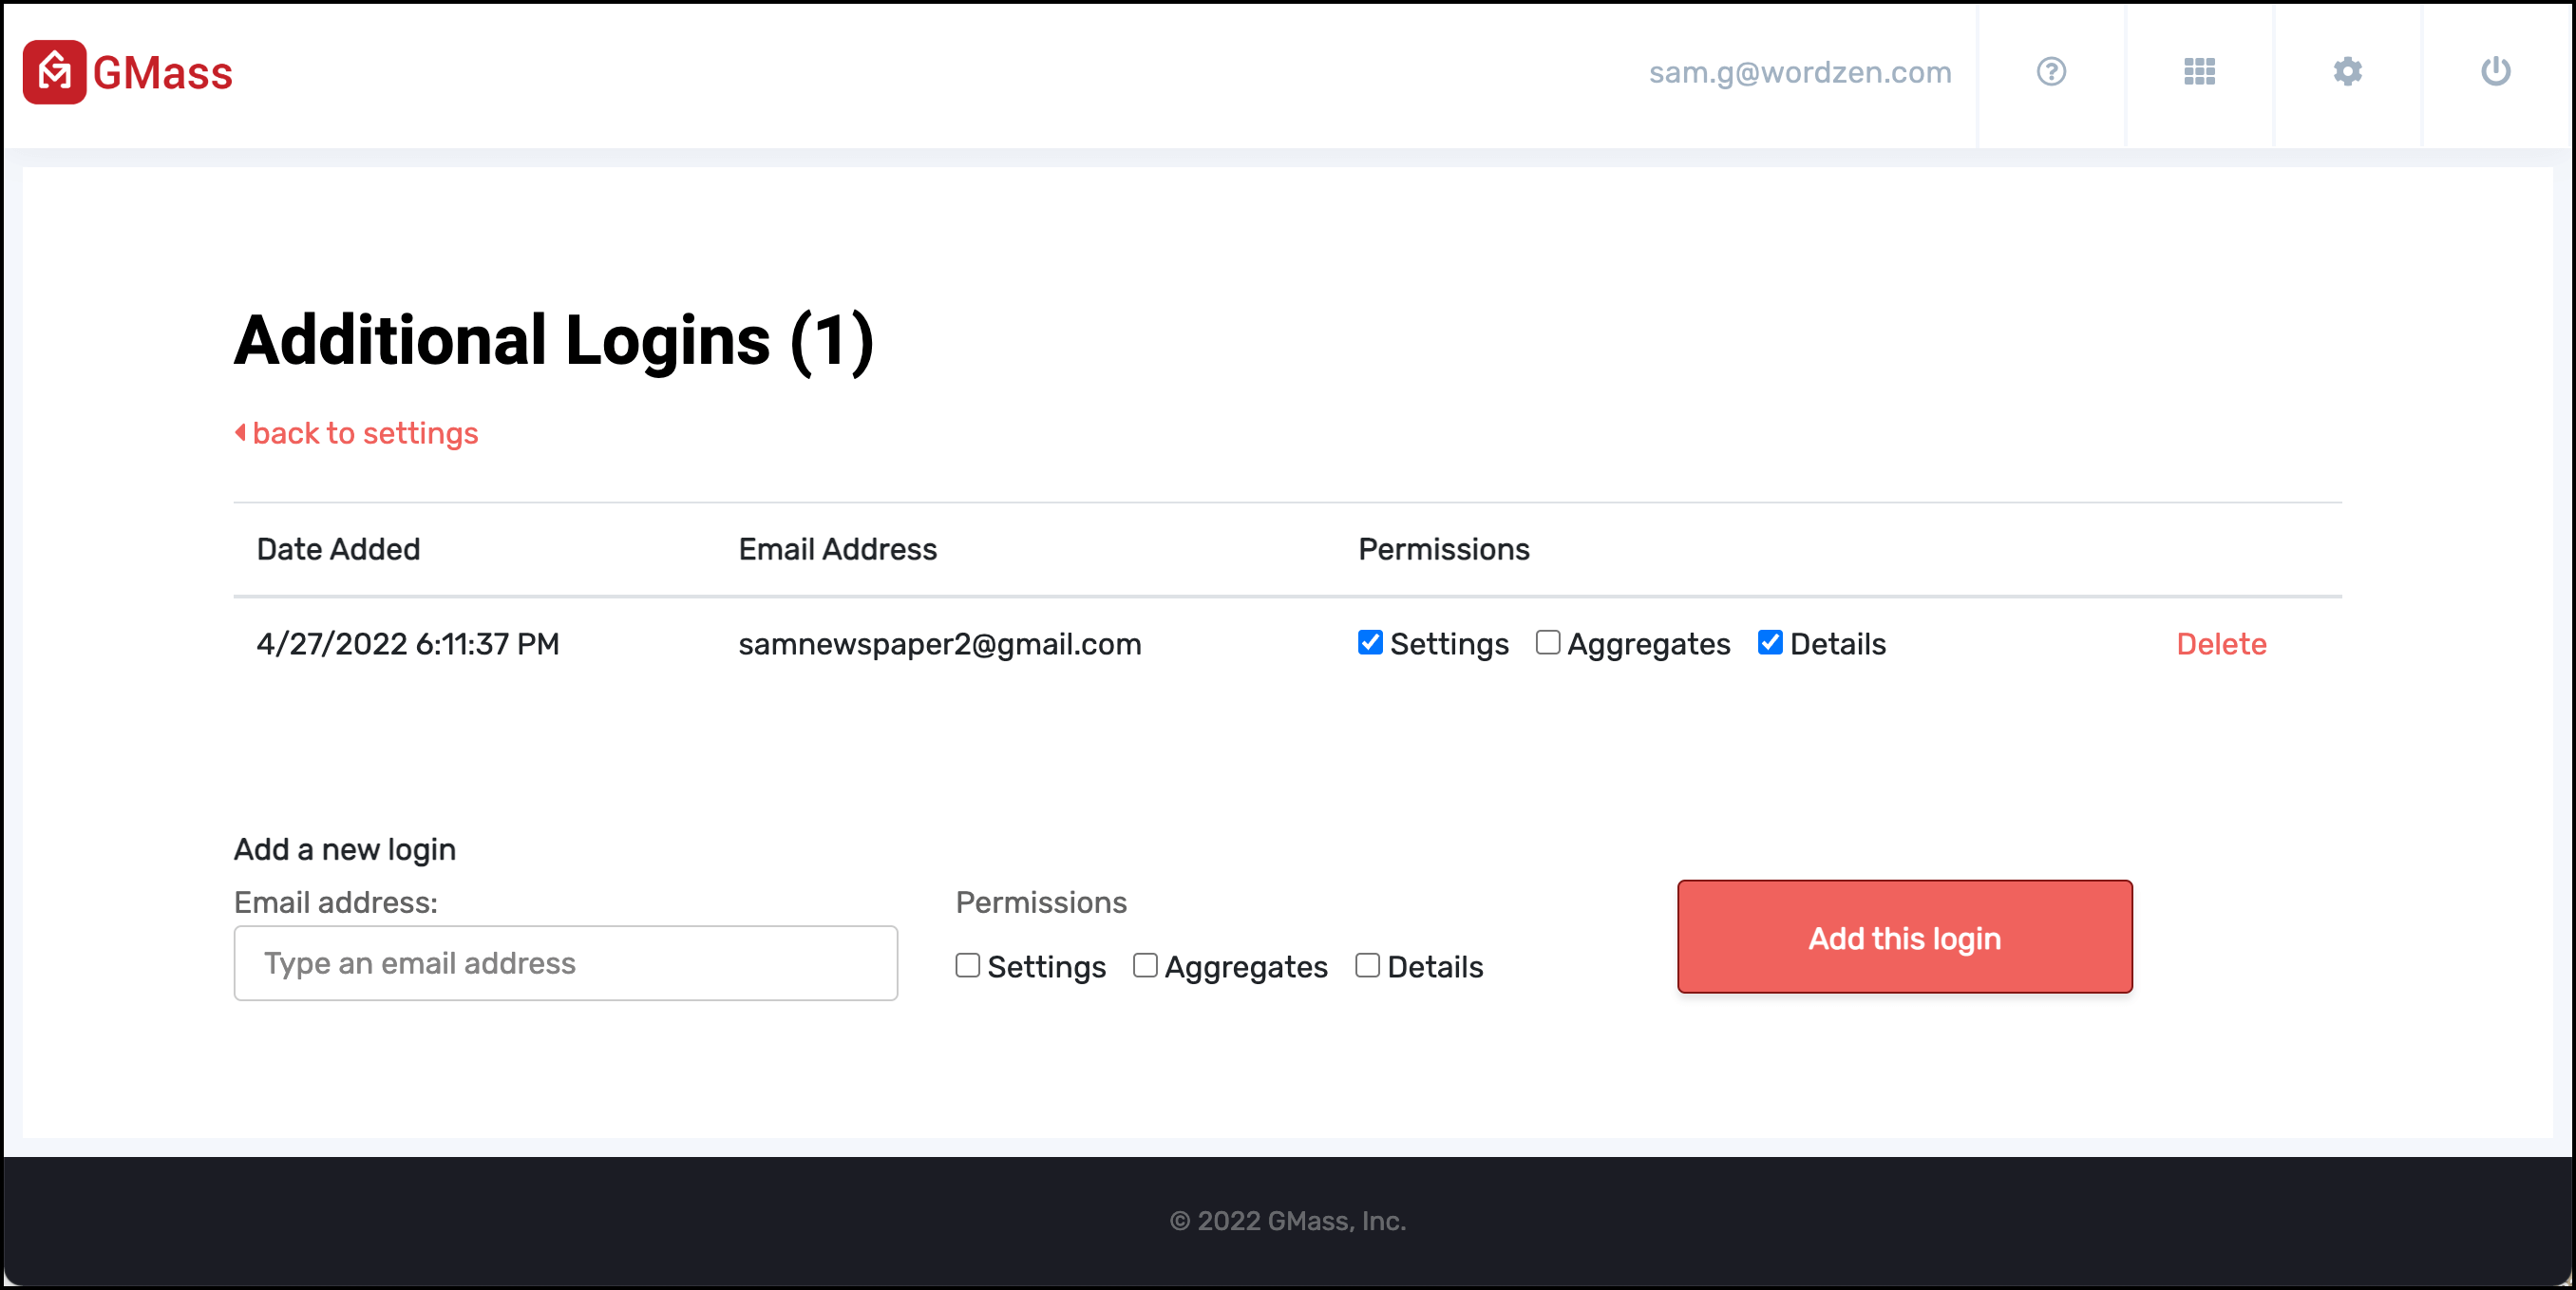
The permissions options are:
- Settings, which allows the additional user to view and change your account settings.
- Aggregates, which shows the logged-in user high-level stats but not detailed campaign reports.
- Details, which shows the person detailed campaign reports, including recipients’ email addresses.
My Team
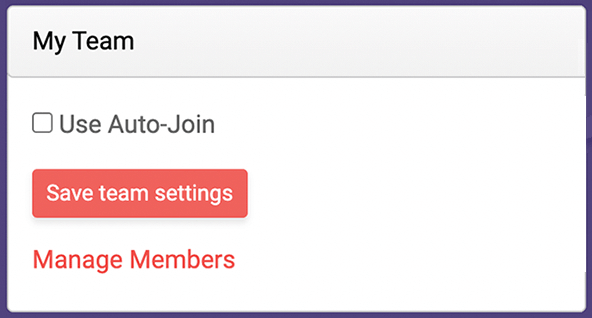
If you’re on a GMass teams plan and you’re the team leader, you’ll have an additional section in your GMass dashboard settings for team management.
Use Auto-Join automatically adds new people on your team plan as your team members.
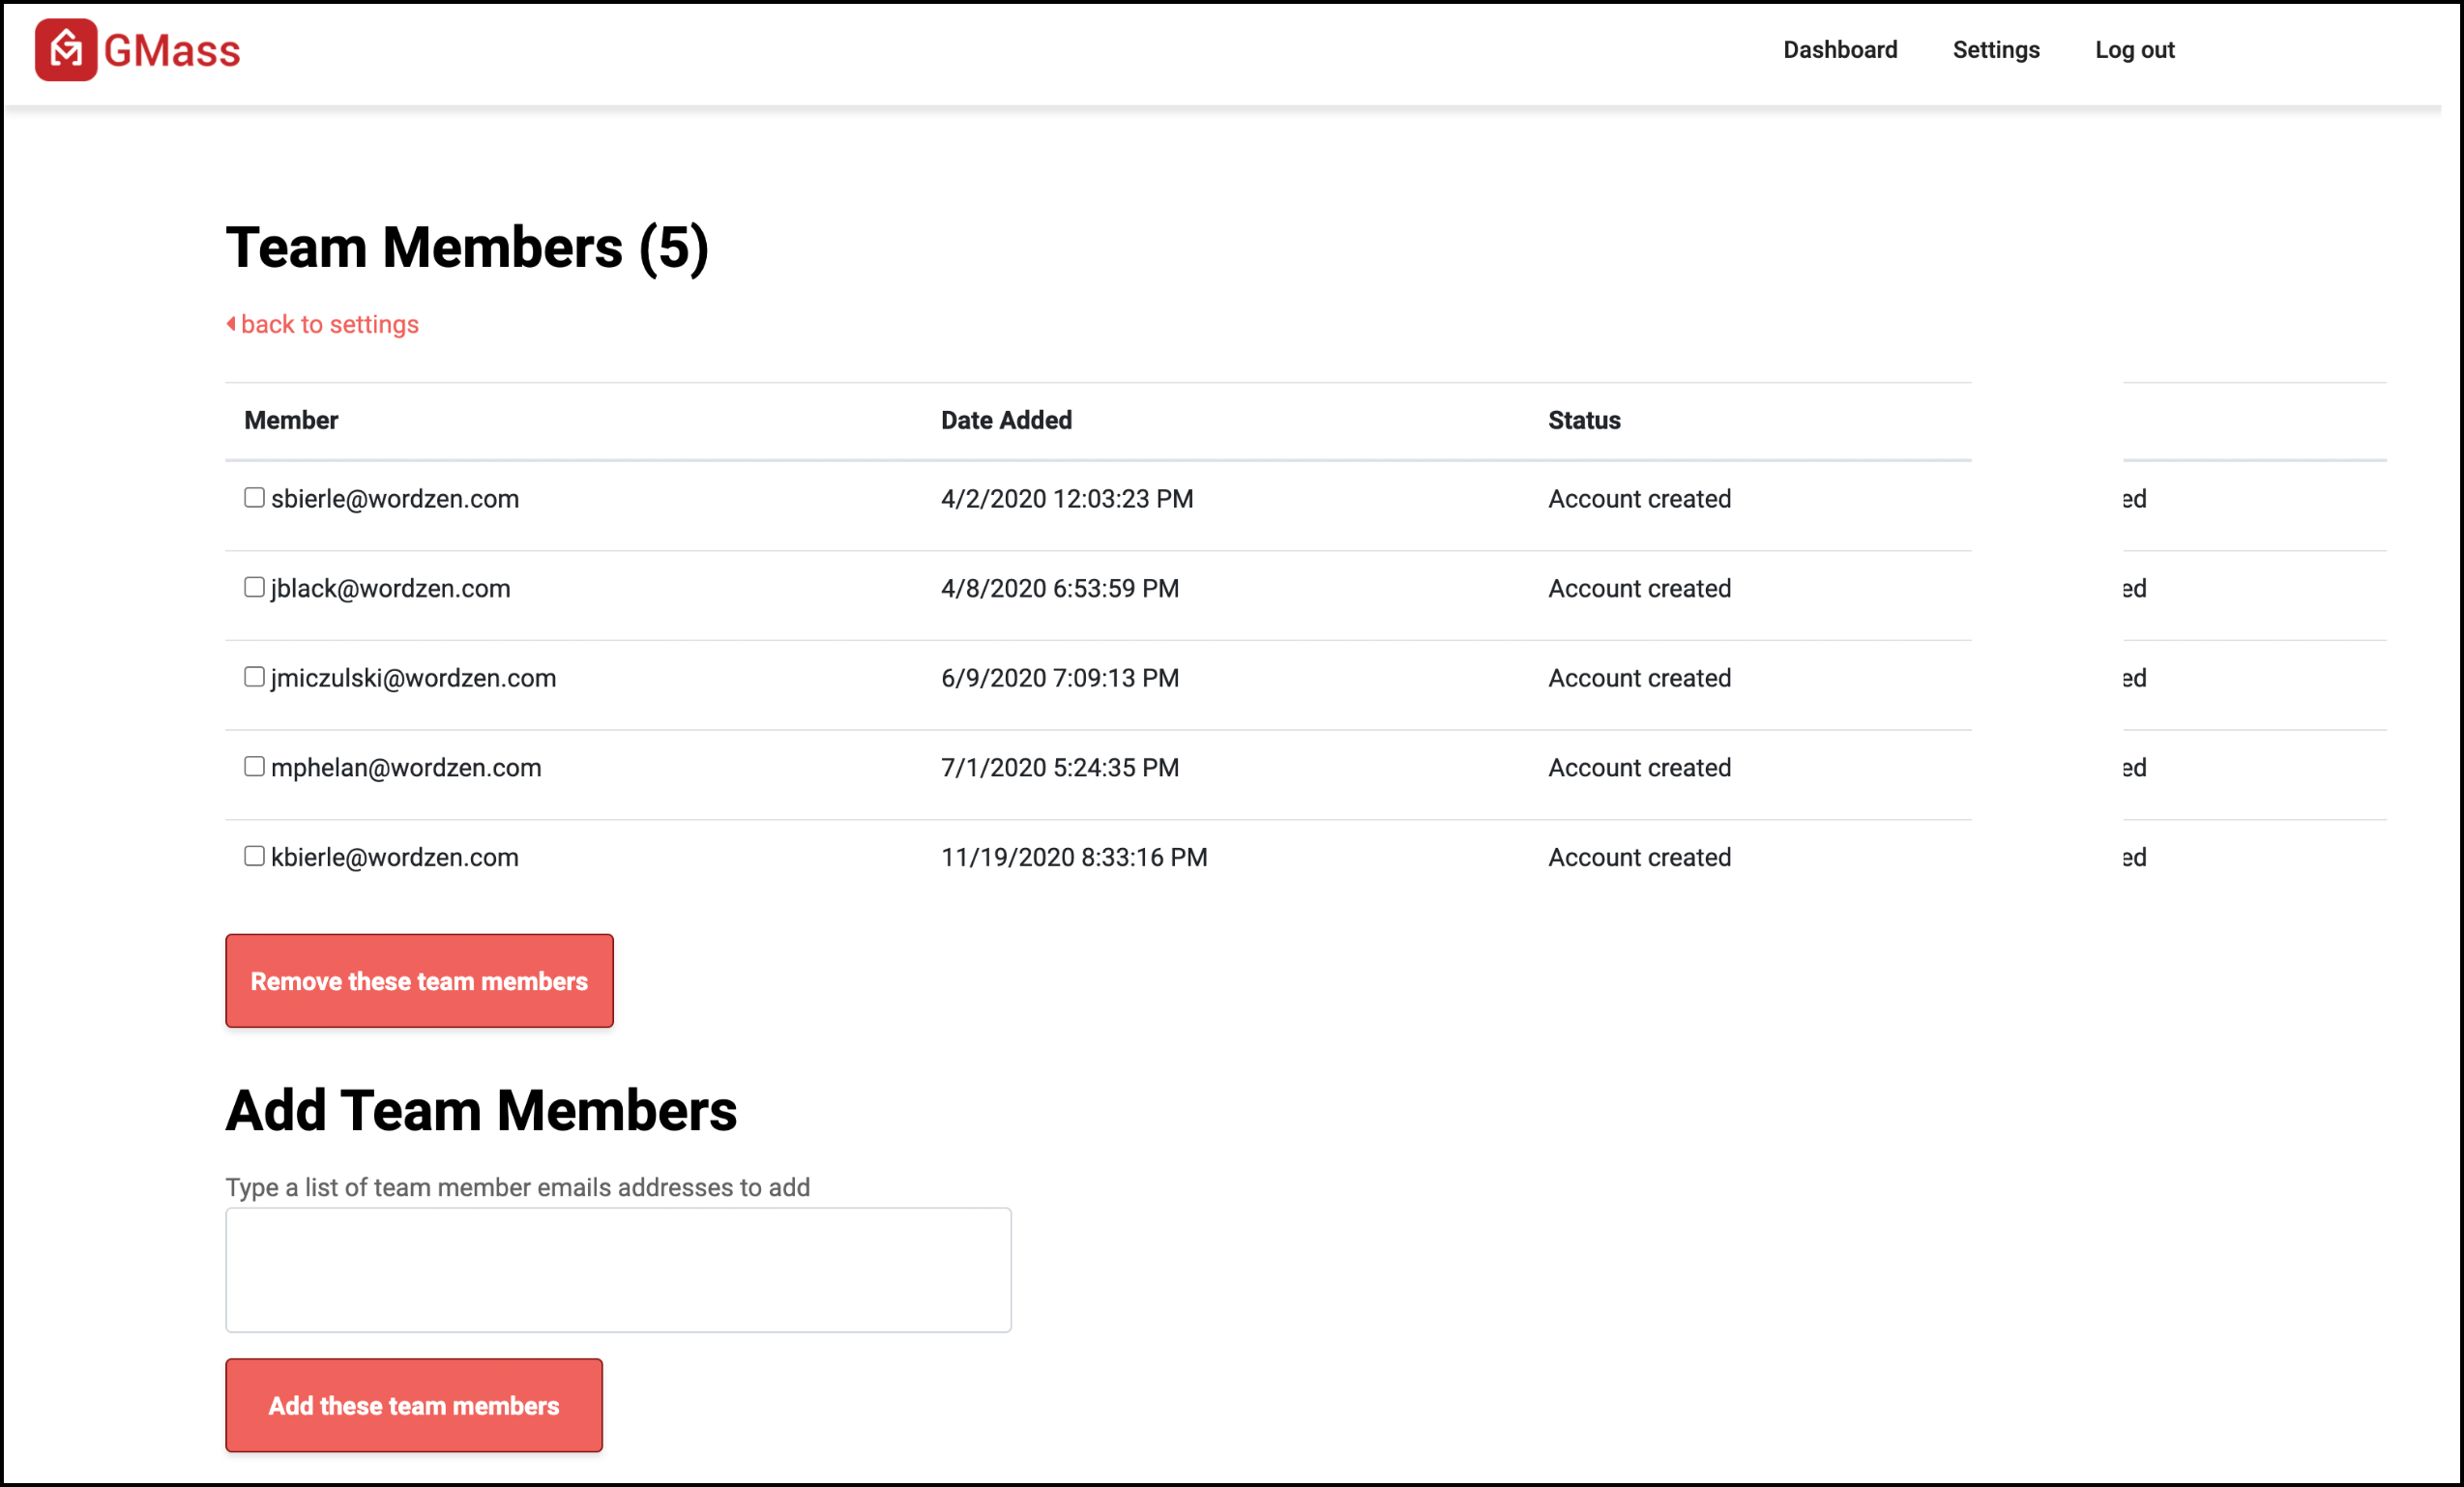
Manage Members is a place where you can see your team members and add new team members as needed.
Ready to Start Using the GMass Dashboard?
Access the GMass dashboard at any time through the button in Gmail or via a direct link.
Think of it as your go-to spot for a top-level overview of your campaign reports, handling reply management, and controlling account-level settings.
For more campaign-specific settings — auto follow-ups, scheduling, A/B testing, open and click tracking, and the like — you’ll use the GMass settings box.
Email marketing. Cold email. Mail merge. Avoid the spam folder. Easy to learn and use. All inside Gmail.
TRY GMASS FOR FREE
Download Chrome extension - 30 second install!
No credit card required


