<img height="1" width="1" style="display:none" src="https://www.facebook.com/tr?id=1822615684631785&amp;ev=PageView&amp;noscript=1"/>

Exciting news! We’ve re-engineered how GMass connects to Gmail to make it so that you can send Gmail mail merge campaigns that are a whopping 35 MegaBytes in size.

If you’ve previously encountered the “Your email exceeds the GMass size limit” or the cryptic “An Error occurred, but the error response could not be deserialized” error when sending big emails, that’s all in the past.

What can you attach to a 35 MB email campaign? These are just estimates but..

  • 10 MP3 songs
  • 20 high res images
  • 30 optimized PDF files

If you can dream it, you can mail merge it. Note that attachments and images can almost double in size when encoded into the format necessary for email transmission (MIME), so allowing 35 MB actually means a max of about 17-18 MB of attached files and images. Still though, this is more than double the previous size limitation.

Keep in mind that while I’ve made it possible to send huge 35 MB email campaigns in Gmail, your recipients may not feel the same excitement, especially those people reading your email on smartphones and paying for mobile data plans. So use this newfound power wisely!

See why 99% of users say they’ve had their best deliverability ever with GMass


Email marketing, cold email, and mail merge all in one tool — that works inside Gmail


TRY GMASS FOR FREE

Download Chrome extension - 30 second install!
No credit card required
Love what you're reading? Get the latest email strategy and tips & stay in touch.


Using a combination of Gmail, Google Sheets, and GMass, you can easily set up automated birthday emails to go out on people’s birthdays or any other specific date you like. In the Google Sheets spreadsheet containing your email addresses, you simply need a Date column that includes the date on which you’d like that particular email sent.

Overview

The basic steps to send automatic birthday emails in Gmail involve:

  1. Setting up a Google Sheets spreadsheet containing email addresses and birthdays.
  2. Using GMass to connect to the spreadsheet with a specific filter criteria.
  3. Composing the campaign and setting it to repeat daily.

Set up your spreadsheet

Your spreadsheet can contain any number of columns to personalize your emails, but at a minimum, for this to work, it should include a column for the actual email address and the date. In this case, we’ll assume we’re sending emails to people on their birthdays. In addition to the Email and Birthday columns, we’ll also include the first name and last name so that we can send a properly personalized email to each person on his/her birthday.

A sample spreadsheet containing a list of people and their birthdays. Note that the birthdays can be in any valid date format and need not contain the year.

In what format should the date be? Your date column can contain dates with years or without years, and they can be in any recognizable U.S.-based date format. For the date of January 15, 1985 for example, the spreadsheet cell can contain “1/15/85”, “1/15/1985”, “01/15/85”, “January 15, 1985”. It should not contain, however, the European date format of “15/1/85”.

If you want to leave years off of the date, that’s fine too. “1/15” and “January 15” are acceptable date values also.

Set up the filter criteria in GMass

Click the GMass spreadsheet icon and choose the spreadsheet and worksheet that you just set up. Because we don’t want to send an email to everyone on the spreadsheet, we need to specify filter criteria so that emails only go out when today’s date matches the date in the Birthday column.

The filter criteria is based on the “Birthday” column in the spreadsheet. We want to match rows where the Birthday is equal to the current date, without regard to the year of the Birthday.

Once you’ve inputted the filter criteria, click the CONNECT TO SPREADSHEET button to continue.

Note: If it’s nobody’s birthday today, then the Gmail Compose window will launch with an alias address in the To field representing 0 addresses. That is normal. It just means that right now, 0 emails will be sent. Since you’re going to set up the campaign to repeat daily, it will check to see if it’s anybody’s birthday on each day the campaign runs.

Set up the actual mail merge

A Compose window in Gmail should have launched where you can enter the Subject and the Message for the birthday email. Here I’ve personalized the Subject with the recipient’s first name, and I’m personalizing the Message with the first name.

Don’t be alarmed by the alias address representing O recipients. That’s just because it’s not anyone’s birthday today!

Now, in order to get this email to send every day to just the people whose birthday it is on that given day, you must check the Repeat daily checkbox.

Settings - all Sheets
The key setting of an automated birthday email campaign is to set it to “Repeat daily to all Sheets addresses.” That will cause GMass to query the spreadsheet daily to see what email addresses match the filter criteria. Without this setting, the email will send today to anybody whose birthday is today, and then will stop.

That will tell GMass to:

  1. Query the spreadsheet daily for rows where the current date is equal to the Birthday date.
  2. Send an email to just those people.

You can keep adding rows to your spreadsheet, even after the birthday campaign has started

You can add more rows to your spreadsheet anytime you wish, and GMass will automatically pick up the new email addresses and dates. You don’t need to edit your GMass campaign. Just add the new data to the spreadsheet and GMass will detect them and send the emails accordingly on the daily schedule you’ve already set.

Best Practices for Birthday Emails

What makes a good vs bad birthday email campaign? Check out The Pros & Cons of Birthday Emails, written by the folks at AWeber.

Get more replies with auto follow-up emails

Using this birthday email technique paired with automatic follow-up emails will get you even more responses to your birthday emails. In this example, setting just a Stage 1 auto follow-up will increase reply rates.

settings - auto follow-up
Adding auto follow-ups to birthday emails is a powerful way to maximize your response rate.

That’s all!

You can use this feature to send automated birthday emails or automated emails based on any date. For example, if you have a spreadsheet of orders your company has received, and one of the columns is the buyer’s email address, and the other is the buyer’s order ship date, you can have an email sent out automatically on the day that a buyer’s product ships, to let them know to expect their package in the mail soon.

Is your email list not in Google Sheets?

GMass integrates extensively with Google Sheets to make features like sending automatic birthday emails possible. What if you don’t use Google Sheets as the main warehouse for your email list data? Using one of the many Google Sheets integrations from Zapier, you can automatically sync data from almost any database system with Google Sheets.

Further Reading

You may be interested in an overview of how GMass sends mail merge campaigns with Google Sheets. You may also be interested in reading about setting up daily recurring campaigns using data in Google Sheets, which is what is necessary to send birthday and date-specific emails. And lastly, here’s a detailed guide to filtering rows in your spreadsheet for mail merges, in case you want to learn about techniques beyond just date filters in choosing which spreadsheet rows to send emails to.

Email marketing, cold email, and mail merge inside Gmail


Send incredible emails & automations and avoid the spam folder — all in one powerful but easy-to-learn tool


TRY GMASS FOR FREE

Download Chrome extension - 30 second install!
No credit card required
Love what you're reading? Get the latest email strategy and tips & stay in touch.


You can now create and apply your own custom Gmail Labels to campaigns, to help you keep your mail merge campaigns organized. For example, if you’re sending emails on behalf of different clients, or different projects, you may wish to create a Gmail Label for each individual client or project.

Let’s say I’m launching several email marketing campaigns for 3 different clients from my one G Suite account. I can create the following Labels: Client A, Client B, and Client C.

I create a Label called “Client A” in my Gmail account.

While I’m composing my email, I can apply one of my custom Labels to the message.

Important: In order for the Label setting to be saved you must make one more change to your campaign, either in the Subject or Message, after applying the Label. If need be, you can just type some text and delete it after applying the Label. This is a quirk of how Gmail and GMass work together.

I apply the “Client A” Label to my email while I’m composing it. I must make one more change to the campaign after applying the Label in order for the Label to apply to the message.

That Label will then also apply to all of the individual sent emails. Or, if I’m using the Just create Drafts option and not actually sending emails right away, all of the generated Drafts will have the custom Label applied.

After my emails are sent, I can see that the Label “Client A” has been applied to each sent email.

Doing so allows me to search by a custom Label if I want to quickly see the emails related to a particular client or project.

I can quickly see all the emails for “Client A” by clicking the “Client A” Label on the left.

You can take this one step further and now build a new email list for a new campaign based on the messages in the Client A Label. Perhaps I want to further refine the Search criteria to include a Subject filter. Then I can use the GMass “magnifying glass” button to build an email list based on this Label and the search criteria.

I can refine my search criteria along with the Label filter, and build a new email list for a new campaign based on the search criteria.

More information on Gmail Labels

While this article teaches you how to use your own custom Labels to organize individual sent emails, you may also be interested in learning about the GMass-specific Labels that get created and applied automatically as you create and schedule email campaigns.

Email marketing, cold email, and mail merge inside Gmail


Send incredible emails & automations and avoid the spam folder — all in one powerful but easy-to-learn tool


TRY GMASS FOR FREE

Download Chrome extension - 30 second install!
No credit card required
Love what you're reading? Get the latest email strategy and tips & stay in touch.


When you create a mail merge campaign in GMass, the campaign is temporarily saved as a Gmail Draft, and based on the state of the campaign, it will have one or more Gmail Labels applied to it.

  • If the campaign is set to send in the future, but does not have any auto follow-ups, it will have just the GMass Scheduled Label applied to it. This is the most common scenario.
  • If the campaign is set to send in the future and also has auto follow-ups, it will have BOTH the GMass Scheduled and the GMass Auto Followups Labels applied to it.
  • If the campaign has finished sending but has pending auto follow-ups, it will have just the GMass Auto Followups Label applied to it.
  • If the campaign has finished sending and also does NOT have any auto follow-ups, the Draft will be deleted.

What do the Gmail Labels mean?

If a Draft has the GMass Scheduled Label, that means it’s a pending mail merge campaign and emails will still be sent. If the GMass Scheduled Label is removed, the campaign will fail to send.

If a Draft has the GMass Auto Followups Label, that means the campaign has auto followups attached to it. This Label is simply for organizational purposes, so you the user, can easily see which campaigns still have pending auto followups. Whether this Label is applied to the Draft or not has no bearing on whether the auto follow-ups send or not.

Use your own Labels

In addition to the Labels that GMass uses to manage your campaigns, you can also apply your own custom Gmail Labels to organize your emails.

See why GMass has 300k+ users and 7,500+ 5-star reviews


Email marketing. Cold email. Mail merge. Avoid the spam folder. Easy to learn and use. All inside Gmail.


TRY GMASS FOR FREE

Download Chrome extension - 30 second install!
No credit card required
Love what you're reading? Get the latest email strategy and tips & stay in touch.


The Gmail file size limit can be quite frustrating.

As Gmail refuses to send emails with more than 25MB of attachments, it’s hard to send large presentations, images or videos.

However, there’s a workaround. In this article, I’ll show you how to bypass the current Gmail attachment limit and send as many big files as you want!

Here’s what we’ll cover:

Understanding the Current Gmail Attachment Limit

In 2017, Google announced that they were increasing the Gmail file size limit to 50 megabytes. However, there was a catch.

That 50MB attachment size limit was only for incoming email. So while you could receive emails with more information, you were still stuck with a restrictive 25MB limit for uploading.

To make matters worse, the 25MB file sharing limit isn’t really 25MB.

Let me explain:

Gmail lets you share files up to 25 MB in size, where the size is determined by the size of the file on disk. If you attach a file larger than 25 MB in size, it gets uploaded to Google Drive and Gmail places a download link to the file in the body of your email message.

If you attach big files greater than 25 megabytes, the Gmail app uploads it to Google Drive and links to it instead of attaching it.

However, even if you share files smaller than 25 MB, bypassing the need to use Google Drive, the actual email messages end up being around 50 MB in size, because of how an attachment file doubles in size when encoded into the format necessary for email file sharing (MIME).

Long story short, the files you attach to your email generally double in size in Gmail due to how it encodes an attachment file.

So what Gmail users are left with is a file size limit that’s essentially 12.5MB! Even if you use email apps like GMass that use Gmail API, it doesn’t entirely solve your problem. Why? The Gmail API has a hard file sharing limit of 35 MB for your email message.Therefore, in terms of using GMass and most other Gmail API based mail drop apps, your complete Gmail mail message, when encoded into MIME format, cannot exceed 35 MB.That equates to roughly 17-18 MB of added files such as an inline image or any additional documents.

Even though my attachment is only 24 MB as it sits on my computer, it expands to over 44 MB when MIME-encoded in my Gmail inbox, and I get an error message for my GMass request in the browser.

Also, note that the GMass size limit is applied to an individual email message, not all emails in aggregate. It doesn’t matter whether you’re sending it to one email address or to 1,000, the MIME-encoded email you compose cannot exceed 35 MB.

2 Easy Ways to Deal with the Gmail File Size Limit

There are two simple methods to workaround the Gmail attachment size limit. Let’s go over each one:

1. Use Google Drive

This is the default option for most people trying to share files that are larger than 25MB. When Gmail detects that your mail is larger than 25MB, it automatically uploads your attachments to Drive and adds a download link to it in your mail.

While this automatic process is helpful, it can be a little unwieldy to work with — especially if you’re dealing with multiple large files. For a more structured process, it’s recommended that you manually use Google Drive to upload large attachments that exceed 25MB.

Here’s a quick walk-through on how to use this cloud storage method:

Step 1

Sign up for Google Drive in your browser. Google Drive is a cloud storage and file sharing service that gives you a higher storage limit than a regular Dropbox account.

Once you sign up for Google Drive using your Google account, you’ll have instant access to 15GB of cloud storage space for free!

Step 2

Create a folder in Google Drive.

Once you’re in Google Drive, click the My Drive icon that’ll open up a drop-down menu tab in your browser where you can directly upload the file or create a separate folder.

Step 3

Once you’ve added your files/folders to Drive, you can open your Gmail inbox tab and start to compose your mail. Locate the Drive icon at the bottom of the window to find the files you’d like attached.

Step 4

You’ll now see all the files/folders stored in your Google Drive account. Select the ones you want to be uploaded and click the Drive icon titled “Insert as Drive Link” at the corner of the screen.

The Gmail app will now add a download link to these attachments in your email. All you have to do now is to click the “Send” button.

When recipients receive the mail, they can click on the link and will be redirected to these attachments.

2. Compress Your Files

Another easy way to get past the gmail client file size limit is by sending compressed files.

If you have multiple big files that need to be uploaded, you can always compress them into a zip folder. Zip folders take up less place and are easier to transfer to other computers.

Here’s how you compress files in Windows 10:

Step 1

Open File Explorer on your computer and navigate to the data and documents you’ll be sending.

Step 2

Click the “Control” key and select all these files you’d like to compress.

Step 3

Right-click and select “Send to > Compressed (zipped) folder” in the drop-down menu.

And that’s it!

You’ve now compressed all your large files into a zip folder. This change in size should take less space when uploading, helping you meet Gmail’s requirements.

Note – Zip folders can’t work miracles and usually reduce the size of your large files by only 30 to 40 percent. If the zipped folder still isn’t small enough for Gmail, then you’re out of luck. You’ll have to opt for the cloud storage route to get your files attached when you compose an email.

Tracking Your Attachment Opens

Using Google Drive to send a file link instead of sending attachments has three benefits:

  1. An attachment file usually triggers the spam filter in many organizations. Your recipients may not even receive the email as it lands in the junk folder.
  2. Many people are wary of opening any email files attached, even if the data is from known senders, to avoid risking malware. Links are usually considered far safer in an email exchange.
  3. Finally, when links are used, it enables the sender to actually track if people have clicked on the link or not right from their Gmail inbox.

How GMass Helps

Mail drop apps like GMass can help users track Drive links. This service supports click-tracking to help you determine if a person has opened your Drive link or not. This can be incredibly useful when sharing proposal documents as you’ll know when the recipient has accessed the links.

Just navigate to the “GMass Reports > Clicks” tab in your Gmail app and you can see all the tracking information:

Note – To prevent your links from looking like phishing links, GMass does not track links where the anchor text itself is the URL. We recommend that the sender re-labels their Google Drive download link to avoid this issue.

Conclusion

The fact is that the world’s most used email service provider can’t handle emails larger than 25 megabytes of data. Whether you use Gmail’s POP or IMAP server, the story remains the same.

However, until Google releases a new update (that actually helps a sender with uploading files) users can always send Drive links from their desktop device or their Android or iOS Gmail mobile app.

In the meantime, if you usually send out multiple emails at once, why not install the GMass mail merge chrome extension?

It can merge your emails and make mass emailing a breeze! Sign up for a free trial in just a few seconds here.

Ready to transform Gmail into an email marketing/cold email/mail merge tool?


Only GMass packs every email app into one tool — and brings it all into Gmail for you. Better emails. Tons of power. Easy to use.


TRY GMASS FOR FREE

Download Chrome extension - 30 second install!
No credit card required
Love what you're reading? Get the latest email strategy and tips & stay in touch.


See the bottom of article for real-time updates on this developing story.

Today I received a Google Docs “invite” from a friend of mine, and after investigating, I’ve learned that lots of people are getting fake Google Docs invites. The Twitter-verse is ablaze right now with reports of people getting these:

So what is the scam and how it is it spreading so quickly? You get an email from someone you actually know that looks like:

Yolanda Oster is a real friend of mine, making this email look even more authentic. If you click the Open in Docs button, you’re taken to a page on Google’s server, asking for permissions to your Inbox from an app called “Google Docs”. The tricky part is that “Google Docs” is not the Google Docs you know and love.

It’s a fake app that is named Google Docs, but it’s actually a guy named Eugene Pupov trying to trick you. Click the blue “Google Docs” link to get more info on the app:

Since the app will allow access to “manage your contacts” and “read, send, delete, and manage email”, it gives the attacker full access to your Inbox. It also allows the attacker to propagate the scam by sending the same email to all of your contacts.

I’m an expert at this because GMass requires the same type of access in order to send your mail merge campaigns through your Gmail account. Of course the difference is that GMass is a legitimate app providing a legitimate service, whereas [email protected] is trying to gain access to your account for far more sinister reasons.

Here’s what happens if you click ALLOW:

You’re taken to a page that looks like an Error page, but see the highlighted part? That’s an access token that’s likely been saved by the hacker, and that access token can be used to read the contents of your entire Gmail account.

What do you do if you already gave up access to your account?

Go here to view the apps connected to your Google Account and remove the fake “Google Docs”.

Remove the fake “Google Docs” app from the list of apps connected to your Google account.

Should you change your password?

Unfortunately, changing your password or enabling two-factor authentication will have no effect. The hacker has his own way into your Gmail account, and that is via the OAuth 2.0 access token shown above.

Who is Eugene Pupov and how can you get revenge?

Eugene Pupov is likely not a real person. Someone did, however, create a Google account with the email address [email protected] to create the fake “Google Docs” app. I suspect the FBI will track down the real perpetrator in short order. Google surely logs the IP addresses of everyone that creates a Google Developer account, which would have been necessary to create the fake app.

What are the best and worst case scenarios if you granted access to the fake Google Docs app?

It looks like Google has now removed the app, so if you haven’t fallen victim yet, you’re probably safe. If you did grant access though, even for a short time, it’s possible that the hacker retrieved the entire contents of your Gmail account and Contacts. In my expert opinion though, it’s unlikely that the attacker is planning on using that data in a malicious way. So, for example, if you have passwords and bank account logins stored in your email account, as many people do as a means of remembering and being able to search for their own logins, it’s likely harm won’t come your way, simply because that’s not the intent of most hackers. Most hackers just want to see if they can get away with perpetrating a scam. And, every major organization is now on high alert and will be looking for suspicious logins because of the pervasiveness of this news story.

How was this possible in the first place?

Any software developer can build an app which connects to users’ Google accounts and manages data. In fact, GMass is one such app, as is my other Gmail extension, Wordzen. One simply needs to create an app on the Google Developers Console, create an OAuth 2.0 sign-in, and get people to click a link that grants OAuth 2.0 access from the app to your Google account. The developer can specify what permissions he wants his app to request, and in this case, the fake Google Docs app requested permissions to manage your mail and manage your Contacts. A similar widespread story broke last week, when it was revealed that Unroll.me was selling user data to Uber. Unroll.me accesses your Gmail account using the same OAuth 2.0 mechanism that this malicious app does.

More Resources

Every major tech blog is covering this story today, however, none are doing it as thoroughly as I have in my post! Still though, read more about the scam on Gizmodo, TechCrunch, and The Verge.

Updates

Update 3:46 PM CST: Google has removed the app. Meaning, if you haven’t already been tricked, you are safe, unless a copycat app emerges.

Update 4:14 PM CST: If you received the email in your Gmail or G Suite account, Google is now flagging the message as dangerous and has disabled the link.

Update 4:46 PM CST: 29 minutes ago Google made an official statement on the issue stating they have rectified the issue:

Email marketing, cold email, and mail merge inside Gmail


Send incredible emails & automations and avoid the spam folder — all in one powerful but easy-to-learn tool


TRY GMASS FOR FREE

Download Chrome extension - 30 second install!
No credit card required
Love what you're reading? Get the latest email strategy and tips & stay in touch.


You now have more control over your account’s bounce list and how bounces are handled for your account.

In this article, we’ll cover everything you need to know to manage your bounce list.

One important thing to know going in: GMass’s reply management system automatically processes all incoming email after you send an email campaign, and categorizes bounces, unsubscribes, real replies, and even block notifications.

By default, addresses that bounce, where the bounce message indicates a legitimately bad email address, are placed on an internal “bounce list” for your account. And future GMass campaigns are suppressed against your account’s bounce list to prevent you from sending future emails to addresses that have bounced in the past.

How to Ignore or Override Your Bounce List

There may be cases, however, when you want to continue to send to bounced addresses. For example, if you’re a low volume mailer sending to just personal contacts, and an email address continues to be placed on your bounce list that you know to be legitimate, you may want to have your campaigns ignore bounces.

If you don’t want to have your campaigns ignore bounces, meaning you DO want your campaigns to suppress the addresses on your bounce list, you may want to delete one or more addresses from your bounce list.

Sometimes email addresses can inadvertently end up on your bounce list even though they are legitimate. For example, if an address blocks you, but GMass detects it as a legitimate bounce instead of a block, then you will want to remove it from your bounce list.

If you’ve configured your Gmail account to send via an alias address through an external SMTP server, and your SMTP server is misconfigured and bounces all of your addresses, you may want to clear out your entire bounce list.

These are just examples, but there are lots of reasons you may want to delete some or all of your bounced email addresses.

Now you can do all of these things from the GMass dashboard.

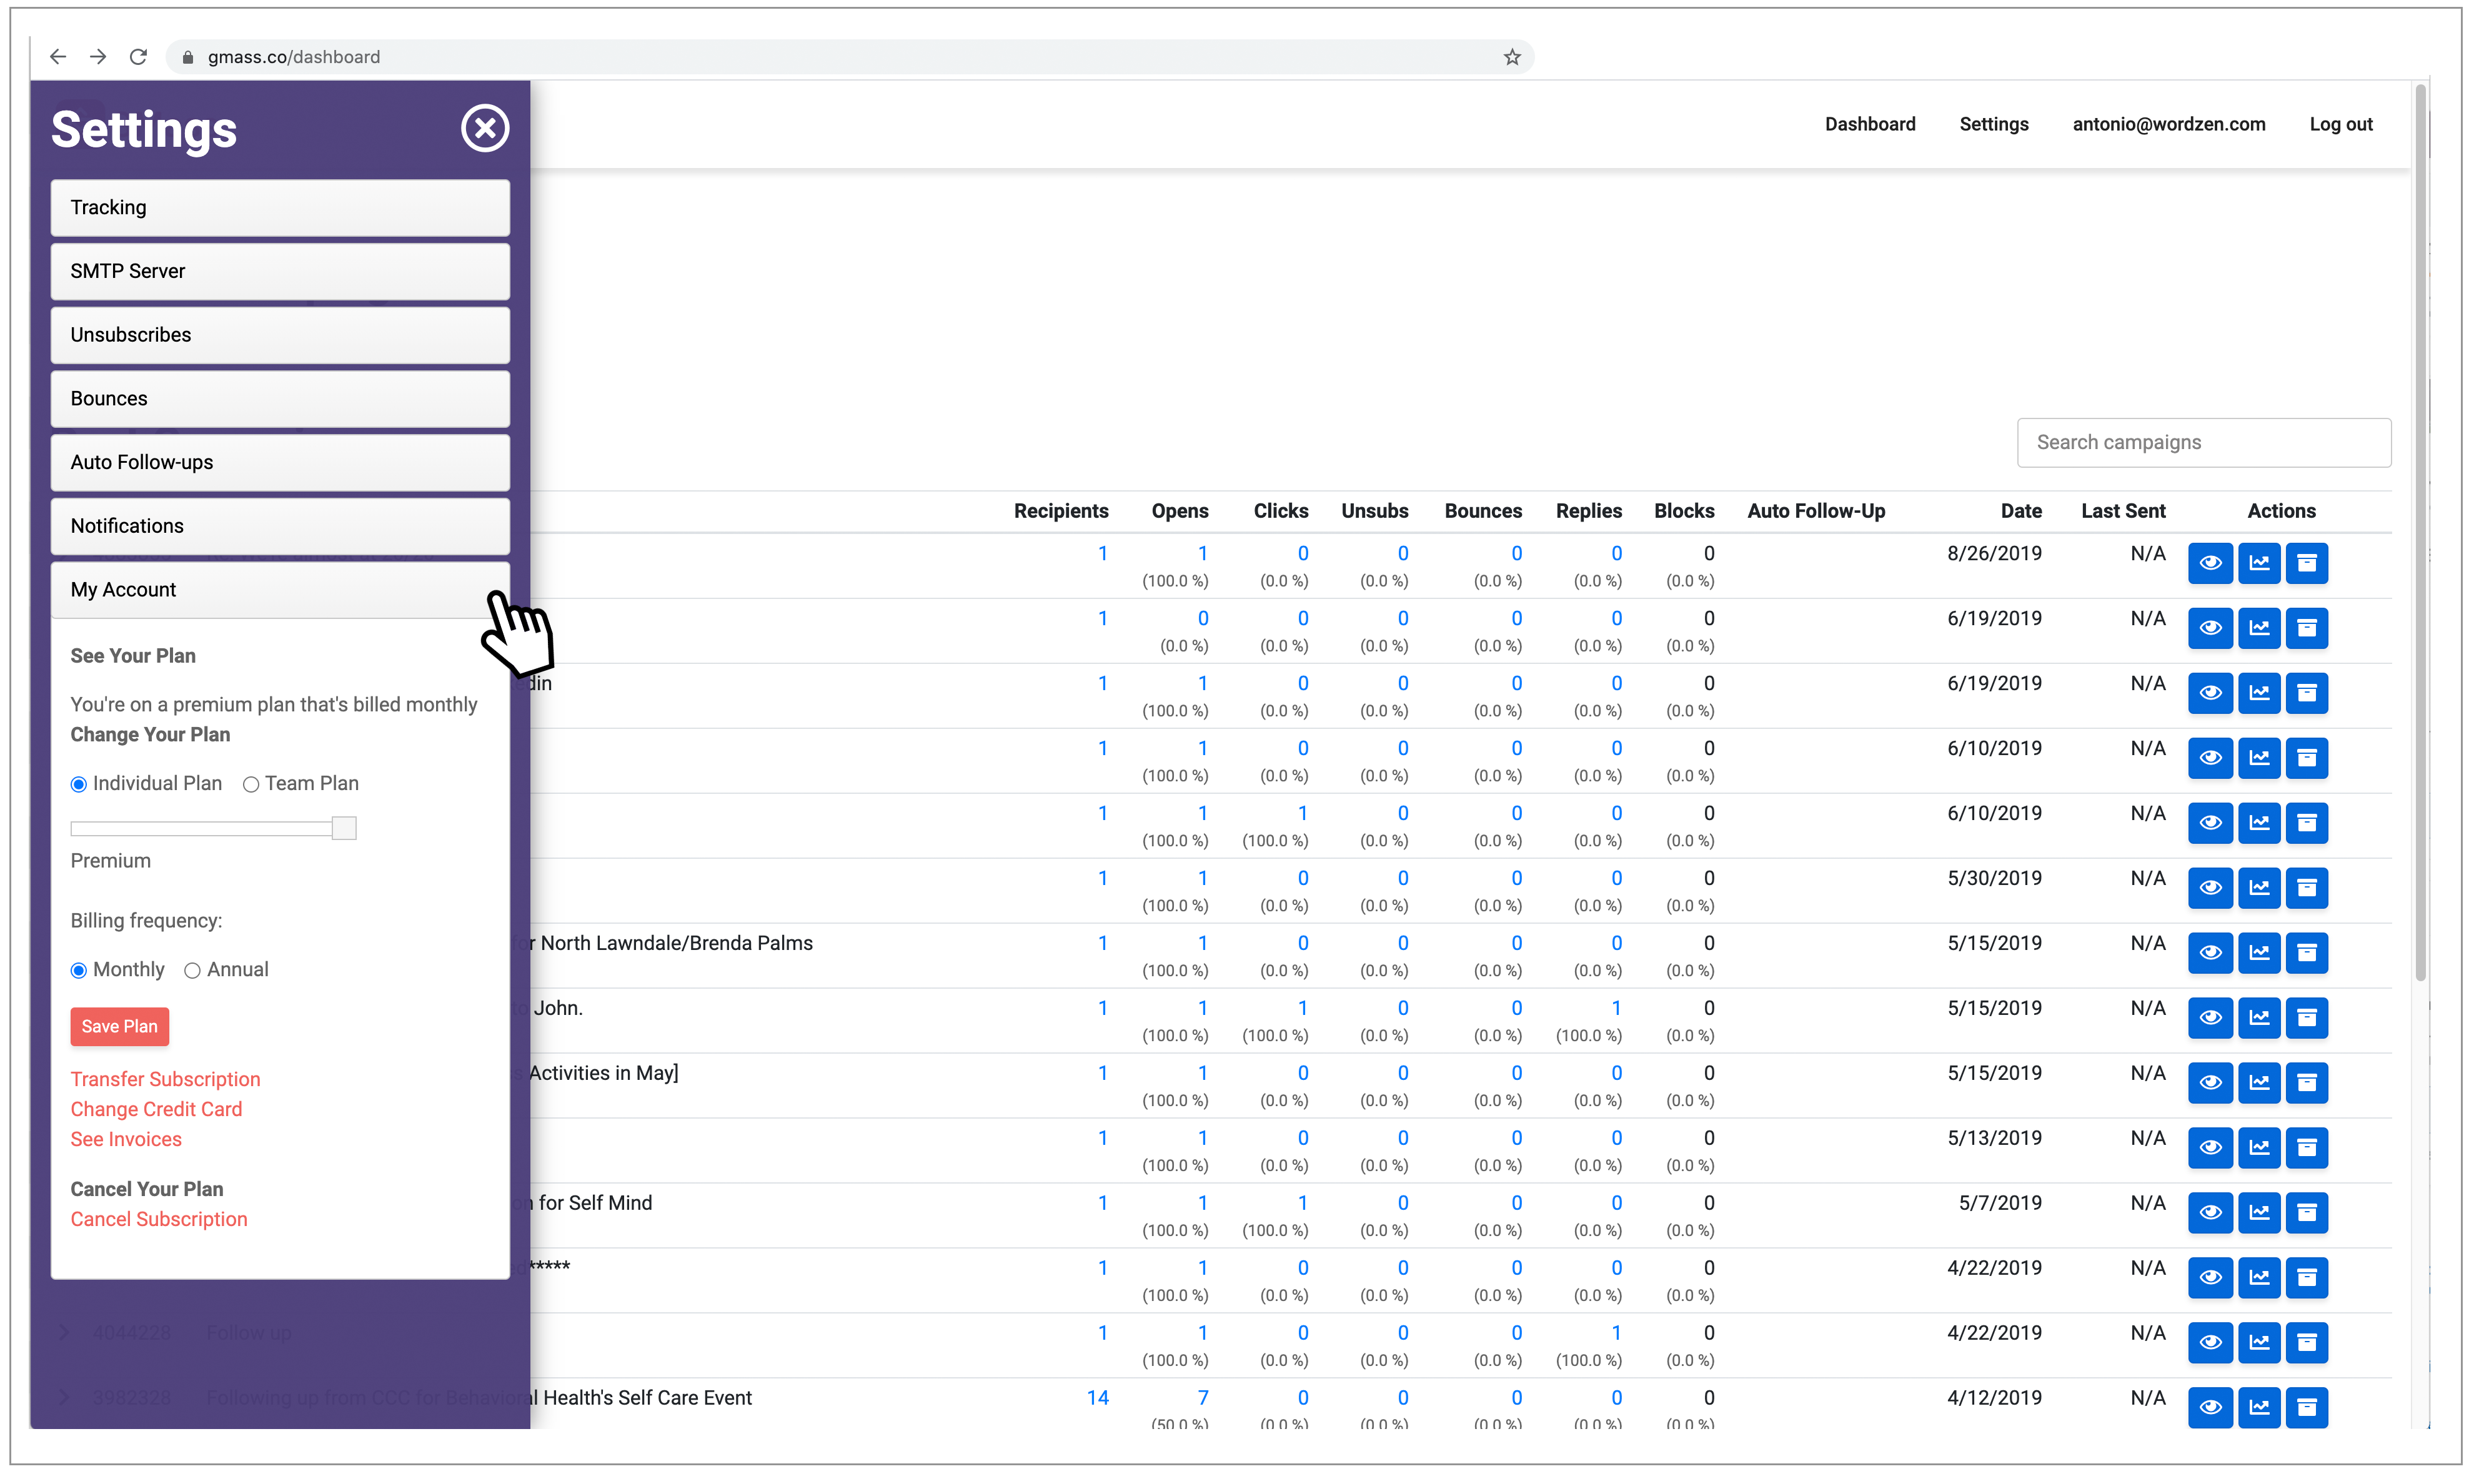
Click on Settings (the gear icon) in the top right. Then click into the Bounces section in the left fly-out panel.

To have your campaigns ignore your bounce list

Ignore bounces

Check the box next to Ignore bounces. Then click the Save bounces button.

Your campaigns will now ignore your bounce list (at your own risk, of course).

To clear out your bounce list of all addresses

Click on Managed bounced addresses. Click on the checkbox in the header row. That will select all the bounced addresses on the screen. Then click Delete these emails to remove those addresses from your bounce list.

To clear out your bounce list of just certain addresses

In the Manage bounced addresses section, click the checkboxes next to only the addresses you want to remove. Then click the Delete these emails button.

Which option should you choose?

If you set your account to ignore bounces, then you don’t need to worry about ever deleting addresses from your bounce list, because your bounce list will now be irrelevant. Your future campaigns won’t use your bounce list to exclude recipients, so you don’t need to care what addresses end up on your bounce list.

You would only need to ever remove an address from your bounce list if your campaign is using the default setting of NOT ignoring your bounce list.

Bounce Notifications in GMass

By default, GMass will leave bounce notifications in your inbox for a short period so you can see them, then we’ll archive them away to declutter your inbox. However, if you want instant bounce removal, you can do so by selecting the Make bounces disappear instantly option in the GMass dashboard’s Bounces section.

Make bounces disappear

Regardless of whether or not you use instant bounce removal, GMass filters all bounces under the GMass Reports –> Bounces Label. Here you can see the actual bounce notification received by Gmail.

As for what happens to the Note that simply deleting a message from the “Bounces” Label has no effect on your account’s bounce list. Deleting a message from the “Bounces” Label will NOT delete the corresponding bounced address from your account’s bounce list.

Bounces vs. Blocks — And How to Handle Them

There’s a significant (but not widely-known) difference between bounces and blocks.

In this section I’ll cover the difference — and also how you can have GMass handle what to do with blocked emails.

What’s the difference between a bounced email and a blocked email?

Bounces are emails that go undelivered and “bounce” back, largely, because of something invalid with the recipient’s email address. You can see many of the most common bounce codes here, but in short, they often result from incorrect or invalid addresses (maybe even due to a typo on your end), mailboxes that no longer exist, mailboxes over their quota, or technical issues along the mail sending journey.

Blocks, on the other hand, are rejections that tend to result from a problem on your end as the sender. For instance, you could have an email blocked because it’s flagged for a content violation or an invalid SPF record.

How GMass handles bounces versus blocks by default

By default, GMass handles bounces different than blocks.

When you sent an email that bounces, GMass automatically adds it to your bounce list (as discussed throughout this article) and suppresses any future emails you attempt to send to that address.

When you sent an email that’s blocked, GMass sends you a notification about the block and the reason why it was blocked. However, by default, GMass does not add addresses that returned blocks to your bounce list. The reason: Since you’re getting the block notification with the reason, you could theoretically fix the problem on your end. And once you’ve fixed the issue, you’d be able to send successfully to that address in the future.

How to have GMass add blocks to your bounce list

But… maybe you don’t want the above scenario.

Maybe you want blocked addresses to go onto your bounce list because you don’t plan to/know how to/want to fix the problems causing the blocks. Or maybe you’re afraid blocks are hurting your domain’s reputation and you don’t want to risk getting them over and over.

In those cases, there’s an account-wide setting you can use to have GMass automatically add your blocks to your bounce list — meaning any future emails you try to send to that address would automatically be suppressed and not sent.

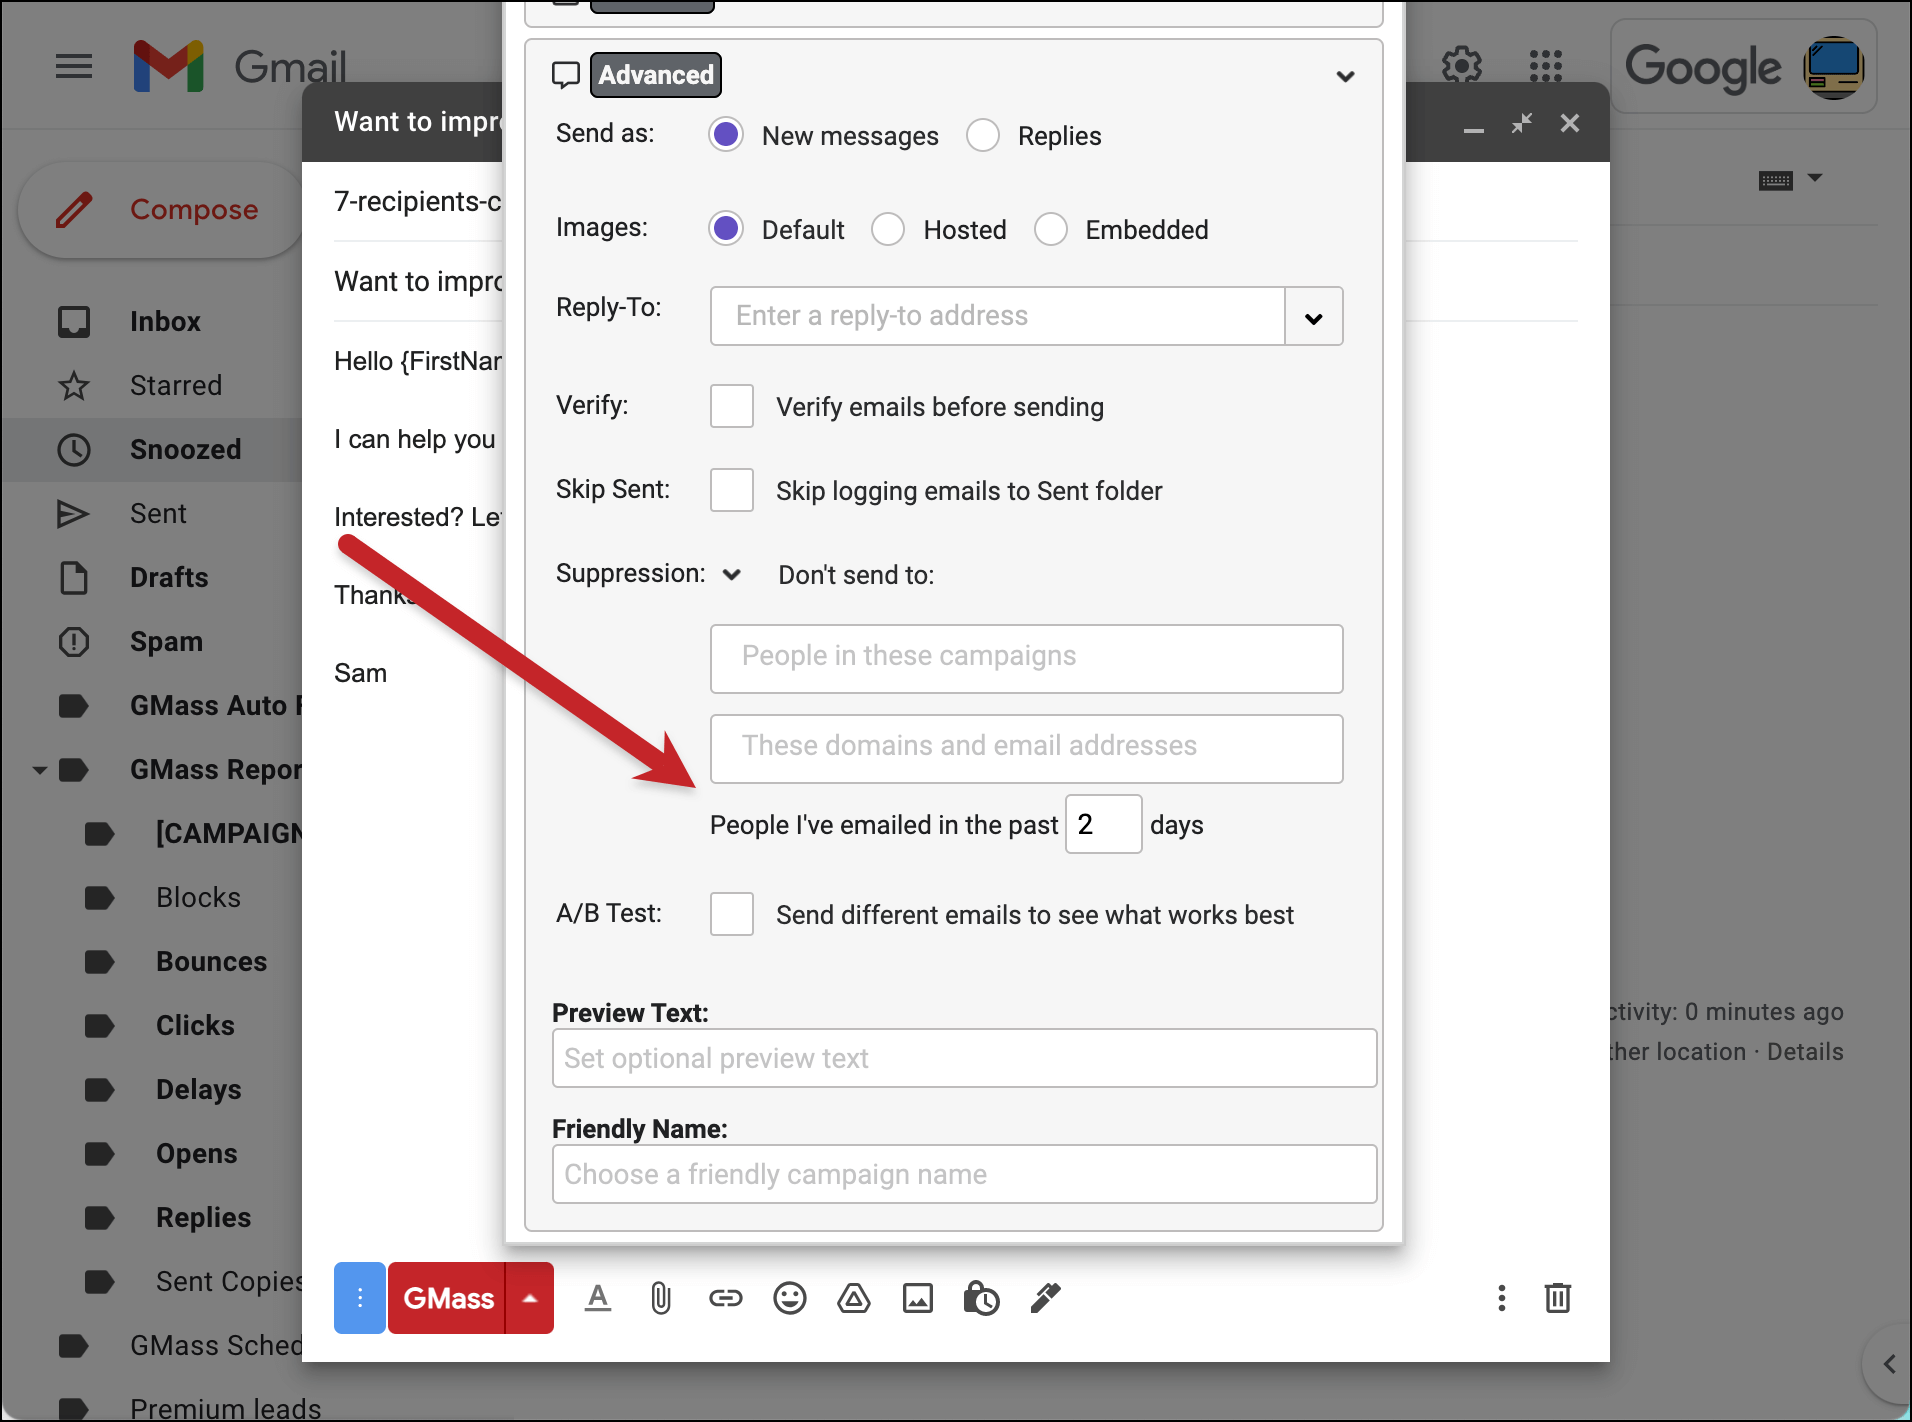
In the GMass dashboard, go to Settings > Bounces. Then check the box next to Treat blocks as bounces.

Once that’s on, GMass will treat your blocks like bounces and add them to your bounce list.

That means all other behaviors associated with bounces will now apply to blocks. Including:

How GMass handles blocks in auto follow-up stages

When any email in a campaign sequence is blocked, by default GMass will still send subsequent auto follow-up stages to that address.

However, you can change that default behavior with a setting in the GMass dashboard.

In the dashboard, go to Settings > Auto Follow-ups. Then check the box next to Suppress blocks from later stages.

With that setting turned on, the blocked address will be added to the campaign’s suppression list. That means no further follow-ups will go to that address for that campaign.

However, when you include that address in a future campaign, it will receive the initial message and follow-ups (unless you get another block, at which point it will suppress the rest of that campaign’s follow-ups).

Example: You create a campaign with three stages of auto follow-ups. And when you send the campaign, the address [email protected] returns a block.

  • If you have “Suppress blocks from later stages” checked: [email protected] is added to the campaign’s suppression list and will NOT receive any of the follow-up stages. However, if you send a future campaign to [email protected], GMass will send it.
  • If you do not have “Suppress blocks from later stages” checked (aka the default setting in GMass): GMass will still send the auto follow-ups stages to [email protected].

But… the GMass “Treat blocks as bounces” setting overrules all this

If you have the Treat blocks as bounces setting turned on in the GMass dashboard, as soon as a message is blocked, that user is added to your bounce list. Which means they won’t receive any of the auto follow-ups, nor any future campaigns.

In other words: If you have Treat blocks as bounces turned on, the Suppress blocks from later stages setting becomes irrelevant.

Bounces and Blocks in GMass: In Review

A quick roundup of everything from this article:

When an email bounces, GMass automatically adds that address to your bounce list. Anytime you attempt to send an email to that address in the future, GMass will suppress that email — meaning it won’t be sent.

You can manually remove an email from your bounce list in the GMass dashboard, so future emails can go out to that address.

You will receive bounce notifications via email. Those stay in your inbox for a brief period of time but, if you want, you can tell GMass to have them skip the inbox and just go right into the Bounces label.

Blocks are different than bounces, because a bounce generally results from something you can fix. So blocked addresses are not added to your bounce list and future emails will be sent to those addresses.

You can instruct GMass to treat blocks like bounces and add blocked emails to your bounce list — via a setting in the GMass dashboard.

Auto follow-ups will still go out to blocked addresses during a campaign. However, you can tell GMass to suppress auto follow-ups in a campaign to a blocked address with a setting in the GMass dashboard.

Ready to transform Gmail into an email marketing/cold email/mail merge tool?


Only GMass packs every email app into one tool — and brings it all into Gmail for you. Better emails. Tons of power. Easy to use.


TRY GMASS FOR FREE

Download Chrome extension - 30 second install!
No credit card required
Love what you're reading? Get the latest email strategy and tips & stay in touch.


Today I’m proud to introduce the world’s first mail merge service with live email proofreading. Before you send your Gmail mail merge campaign, you can now have a live English expert correct and improve your email content with the click of a button. No other email marketing or mail merge platform offers this. GMass is launching a revolution to perfect your email marketing content.

See the demonstration below, using an example email that everyone has seen — a Nigerian 419 scam email:

Mail Merge with Live Proofreading Animation
A demonstration of the GMass live proofreading feature. Click the animation for a closer look at what’s happening.

Before hitting the GMass button to send your mail merge campaign, just click the Proofreading button. My email proofreaders are standing by 24 hours a day Monday through Friday, and sporadically on the weekends. A proofreader will correct any spelling, punctuation, grammar, and mechanical errors, as well as improve word choice, sentence structure, rhythm, and organization.

Your email campaign will be handled in about ten minutes. Every GMass account gets THREE FREE proofreading submissions. We want you to use the proofreading service so you can see just how awesome it is! After that, the cost is $3.95 (USD) per proofreading submission.

After proofreading is complete, click the Differences button to see red/green markup showing exactly what was changed.

Perfect English in your email campaigns will:

  1. Generate a higher response rate from your prospects
  2. Convey that you’re intelligent and in command of your communication
  3. Make you the envy of email marketers around the world

Frequently Asked Questions

Q: My English is pretty strong, and I already write good emails. Should I still use this service?

A: In most cases, our team of English experts can find at least a few elements to improve in an email campaign. Even if you’re already a good writer, there’s a good chance that the GMass proofreaders will find room for improvement.

Q: I already use Grammarly to check my emails. Why do I need your proofreading service?

A: Grammarly is a great plugin for checking the mechanics of an email, and our proofreaders actually use it as a double check to catch spelling mistakes. It, however, is far from perfect, and oftentimes, its suggestions miss the mark. Grammarly can’t offer what a live proofreader can in terms of substituting stale words with more meaningful ones, and helping reorganize content so that your sentences read well and sound amazing. The proofreader’s goal is to make your emails perfect.

Q: How long will it take to proofread my email?

A: About ten minutes! When your email is ready, you’ll get an email notification that the proofreading is complete.

Q: My emails aren’t in English. Can I still use the proofreading service?

A: Not at this time. For now our proofreaders can only edit emails in English.

Q: When are the proofreaders available?

A: Proofreaders are standing by 24 hours a day, Monday through Friday, CST time (Chicago time). Proofreading is also done sporadically on the weekends, but may take longer than 10 minutes.

Q: Can the proofreaders fix my links or optimize my images, in addition to improving my English?

A: Right now the editors are focusing on improving your language, but in the future, we may train them to fix links, optimize images, and even fully design your email campaigns.

Q: Who are the proofreaders? Are they overseas?

A: No, all of our editors are based in the United States and are native English writers and speakers. They actually work for GMass’s sister service, Wordzen, which is an email writing and proofreading service.

Q: Who is eligible to use the proofreading service?

A: All GMass accounts are allowed three free email proofreadings. Afterward, we’ll bill you $3.95 USD for each email you submit for proofreading. After your first three, you must be a paying subscriber to continue to use the proofreading service, since only then will we have your credit card on file to bill you.

Q: What if the proofreader doesn’t find anything to correct or improve in my email?

A: Then the proofreader will inform you of that, and you won’t be billed and it won’t count against your proofreading allotment.

Q: How will I know what the proofreader changed?

A: After proofreading is complete, just click the GMass Settings arrow, and you can toggle between the Before, Differences, and After views. The Differences view has a red/green markup showing exactly what’s been changed. The After view is the final proofread email that should be ready to send. The Before view is your original version, before any edits were made.

Ready to send better emails and save a ton of time?


GMass is the only tool for marketing emails, cold emails, and mail merge — all inside Gmail. Tons of power but easy to learn and use.


TRY GMASS FOR FREE

Download Chrome extension - 30 second install!
No credit card required
Love what you're reading? Get the latest email strategy and tips & stay in touch.


If you’re a paid GMass subscriber who has already subscribed with a credit card (as opposed to PayPal), you can now change your GMass plan on your own.

Note: If you still have a free account, this below method is NOT how you subscribe. Please subscribe directly from the Pricing page.

Now, if you want to upgrade from a Standard Plan to a Premium Plan to get the auto follow-up feature, you can now do that. Similarly, if you want to downgrade from the Standard Plan to the Minimal Plan with the footer, you can also do that.

You can also upgrade from an individual subscription to a Team Plan.

Finally, if you want to switch from a Monthly to an Annual plan, you can also do that.

How to change your plan if you’re a subscriber

You can use our dashboard to easily upgrade or downgrade your plan.

Go to your dashboard, and then click on the My Account section. Here’s a direct link to the “My Account” section.

My Account settings on dashboard

Adjust your plan and click the “Save Plan” button.

Note: The old method for changing plans, which involved composing an email to a specific GMass address, is no longer operational.

Switching from individual plans to a team plan

If you have several individual subscriptions and you want to consolidate to a team plan, then you should:

  1. Decide which account should be the team leader. This will be the account with the power to add/remove other team members.
  2. Upgrade the account that you wish to be the team leader to a team plan, using the dashboard and the instructions above.
  3. Cancel the individual subscriptions for everyone except the team leader.
  4. Once the individual subscriptions are cancelled, the team leader can now add those accounts as members of the team through the dashboard.

Important things to know

  1. If you have subscribed with PayPal, you cannot use this system to change your plans. PayPal subscribers will need to login to their PayPal accounts, subscribe to the new plan and cancel their old plan, from within the PayPal interface.
  2. Using this system, you can move between the Minimal, Standard, and Premium Plans, and you can also switch from Monthly to Annual billing. You cannot switch from Annual to Monthly Billing.
  3. If you are on a Team Plan, you cannot use this tool to downgrade to a non-Team Plan.
  4. If you are on a Team Plan, you can change the number of users in your Team Plan. Meaning, you can switch from a 5-user Team Plan to a 10-user Team Plan with this tool.
  5. You cannot use this method to upgrade from a free account to a paid account. For that go to the Pricing page to subscribe.
  6. You cannot use this method to cancel a paid subscription. For that go to the cancellation instructions.

Further Reading

Check out the GMass Pricing FAQ.

See why 99% of users say they’ve had their best deliverability ever with GMass


Email marketing, cold email, and mail merge all in one tool — that works inside Gmail


TRY GMASS FOR FREE

Download Chrome extension - 30 second install!
No credit card required
Love what you're reading? Get the latest email strategy and tips & stay in touch.


Since GMass uses the native Gmail Compose window for campaign creation, you can copy/paste emojis into the Subject Line in order to send an eye-catching mail merge campaign to your email list.

To insert an emoji into your email marketing campaign, just copy/paste it from anywhere on the web. You can go straight to the official source, the Unicode Complete List of Emojis. Be sure to copy/paste from the “Browser” column of this page since GMass operates in the Chrome browser. The website getemoji.com also has a plethora of emojis right on the homepage, that you can copy/paste into your Subject, but you can copy/paste from anywhere. Looking for more? Just Google “Email Subject Line Emojis” and you’ll uncover a wealth of emoji resources.

The Unicode.org list of emojis

What are the caveats?

While not all email clients support emojis in the Subject Line, most do, including Gmail. I happen to be fortunate in that my entire email list is comprised of 100% Gmail and G Suite email addresses, since they are all users of GMass, so I can be certain that 100% of my email list will see my emojis properly. If you’re not as lucky as I am to have such a uniform email list, don’t rely on the emoji being rendered for your Subject to make sense — it’s best to still use words just as any regular Subject Line, and only use emojis to enhance the Subject. If the emoji doesn’t render, you want your Subject Line to still make sense with the words that are present.

Avoid using Gmail’s emoji picker for the Subject

Gmail has its own emoji picker that you can use to insert emojis into the Message, but I’ve found that they don’t work well in the Subject Line. Even if you copy/paste the emoji from the Message area into the Subject, it’s rendered as small square rather than the actual emoji.

Further Reading

Litmus has published the most comprehensive guide available on emoji support in various operating systems and email clients.

Crazy Egg has published information on which emojis are seen the most in Subject Lines and their impact.

Here’s an undated article from Campaign Monitor that includes emoji compatibility information, but given that the guide is undated (my biggest pet peeve with blog posts), the information probably isn’t current. Why no date Campaign Monitor, why?


Ready to send better emails and save a ton of time?


GMass is the only tool for marketing emails, cold emails, and mail merge — all inside Gmail. Tons of power but easy to learn and use.


TRY GMASS FOR FREE

Download Chrome extension - 30 second install!
No credit card required
Love what you're reading? Get the latest email strategy and tips & stay in touch.


When creating a Gmail mail merge campaign, you can suppress recipients based on how many days it has been since they last received an email from you.

This a part of the GMass Suppression features which also allow you to suppress email addresses that received past email campaigns — or suppress emails to specific domains or email addresses for a particular campaign.

These are different than the GMass unsubscribe features — as suppression works on a campaign-by-campaign basis. In a way, it’s like “unsubscribing” people from just one particular campaign (without adding them to your unsubscribe list).

Days since suppression lists

Why suppress based on number of days since the last email?

Let’s say you’re engaging in cold prospecting, and you have many spreadsheets containing different email lists from different sources. You’re sending multiple mail merge campaigns over the next week, each one connected to a different spreadsheet. Since you’re cold prospecting, you want to make sure that one prospect doesn’t receive the same cold email from you as part of two different campaigns.

You could suppress all past campaigns for each new campaign, but this would get tedious because if you were sending 20 cold prospect campaigns, you’d have to suppress all 19 against the 20th to make sure that 20th campaign didn’t contain any duplicates from the past 19. If certain campaigns were scheduled for the future, you wouldn’t even be able to choose them from the Campaign Suppression tool because the campaign wouldn’t exist yet.

In this case, it would be much easier to set the suppression based on number of days since an email was last received. If I started my cold prospect campaigns 3 days ago, I could just set my Suppression Days value to 3, and that would ensure that I don’t send again to anyone that has already received an email from me.

Timing

The suppression list is calculated on-the-fly whenever your campaign runs. For example, if your campaign is sending 200 emails/day at 3PM, and you have Suppression Days set to 10 days, then every day at 3PM, the system will look back exactly 240 hours (24 hours x 10 days) and pull a list of everyone you’ve sent to in the last 240 hours and skip sending the current batch to those people.

Other Suppression Resources

You may be interested in reading how to suppress based on recipients of a prior email campaign or based on domains and/or specific email addresses. Lastly, you can also create a dynamic suppression list from a Google Sheets spreadsheet.

See why 99% of users say they’ve had their best deliverability ever with GMass


Email marketing, cold email, and mail merge all in one tool — that works inside Gmail


TRY GMASS FOR FREE

Download Chrome extension - 30 second install!
No credit card required
Love what you're reading? Get the latest email strategy and tips & stay in touch.


GMass